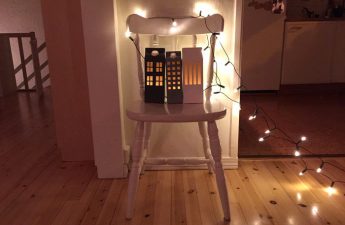
Do you want to spend time with children for fun anduseful activity? Then this master class is for you. You will learn how to make a charming paper lantern using ordinary office scissors and glue. We are all a little in love with paper lanterns, or rather, various variations on the theme of traditional Chinese lanterns. Light, delicate, graceful, they fill the space with soft, slightly subdued light and create an atmosphere of warmth and comfort. Paper lamps look harmonious in any interior and, which is very relevant, are much cheaper than analogues made from other materials. Today we will teach you how to make a stylish paper lantern with your own hands. Do not forget to involve children in the creative process, because you will have to work with tools that they know firsthand: paper, office scissors and glue stick. Together you can create a whole collection of lanterns that will transform your interior.  So, take a rectangular white sheet of paper (A4 or A3-format, depending on what size of the lamp you need) and perform the following actions:
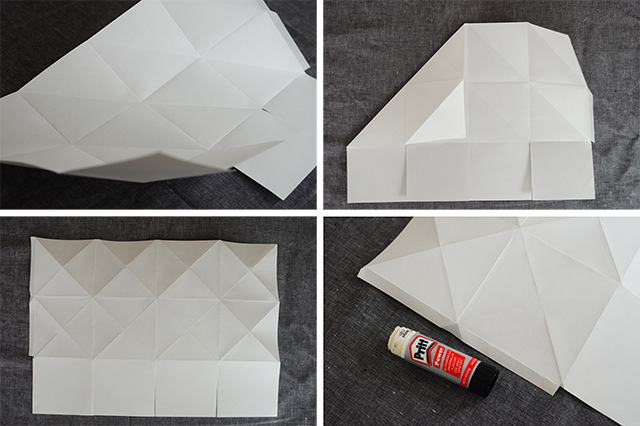
- Fold the edge of the sheet on one side (approximately 1 centimeter).
- Fold the sheet in half (the bent edge is not taken into account).
- Now straighten the sheet and fold each of the halves again in half (the bent edge is still not taken into account).
When performing these actions, use the photoinstruction shown below. 
- Straighten the sheet and fold it threefold: first fold the bottom third of the sheet, then the top one.
- Straighten the sheet and make incisions along the fold lines in the lower third of the sheet. The bent edge in this part of the sheet should be cut off altogether.
- Now you need to make diagonal creases in each square. Start from the bottom left corner and go to the end of the sheet.
- Straighten the sheet and repeat the last action, but now start bending from the upper left corner. As a result, each square, except for the cut, must be separated by two diagonals-creases.
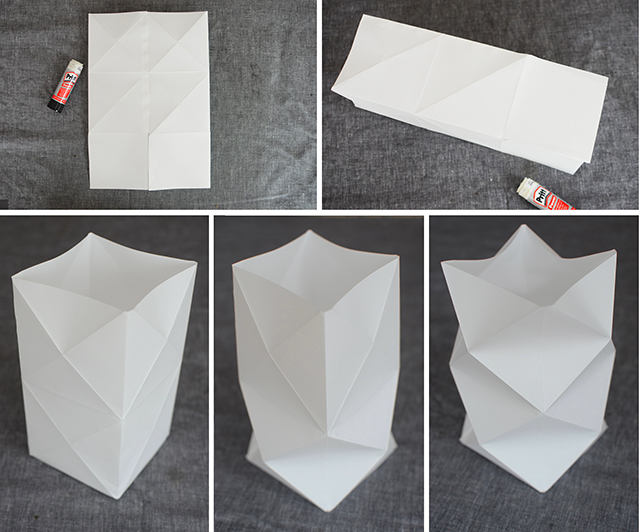
- Straighten the sheet again, bend the folded edge that you made at the beginning, and glue it with glue.
- Fold the sheet in the form of a volumetric rectangle (parallelepiped) and glue its opposite sides. You can and vice versa: first fold and glue, and then shape the parallelepiped.
- Fold the bottom of the notched squares (bend) and glue them together.
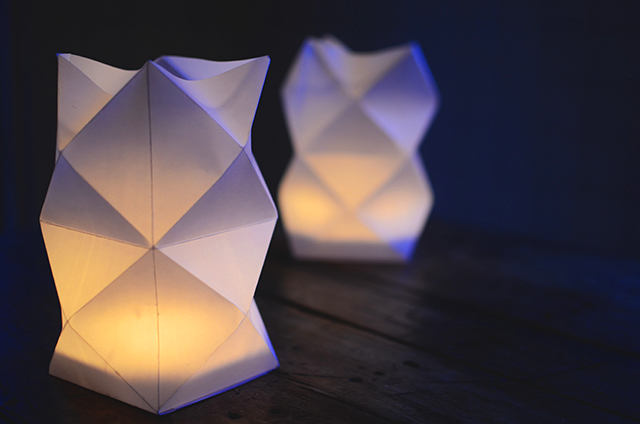
- Now, gently push your fingers inside the ends of the lamp as shown in the photo. As a result of intersection of diagonals of squares, convex angles are obtained.
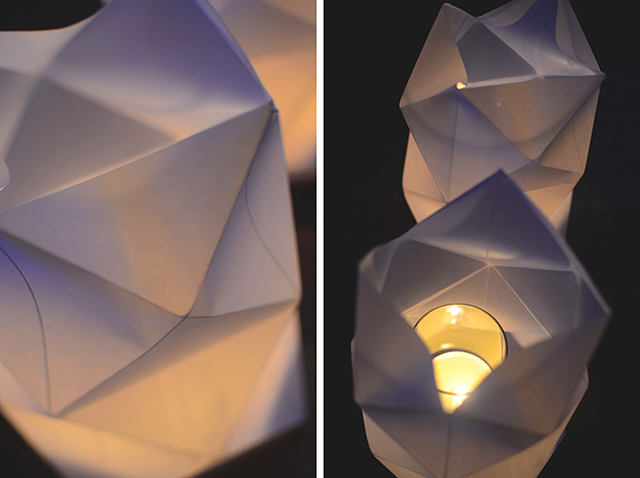
 The lamp is ready.Put a candle inside, but be sure to place it in a tall glass beaker or other container to avoid burning the paper. Now you and your children can enjoy the play of light and shadow, as well as the magical atmosphere that this adorable paper lantern creates!
 blogg.skonahem.com

