There are many options to cover the wallssomething, but among all there is an obvious leader - the flock. To flock the walls with your own hands, you do not need to have a whole range of technical skills or especially expensive equipment, but you need a desire.  Flocking walls is a decorative coating, consisting of small pieces of acrylic paint.
Preparatory work
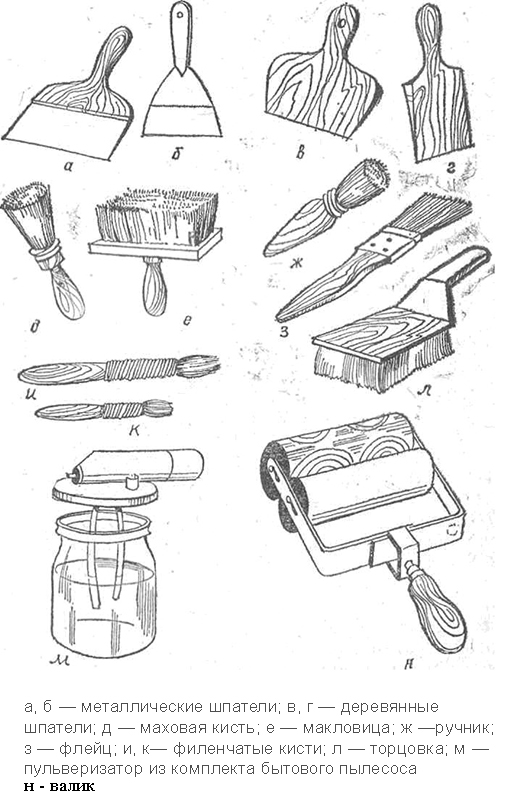
Tools and materials:
- putty knife;
- primer;
- roller;
- paint.
A particularly pleasant advantage of the material in hisunpretentiousness. It can be applied to any surface, and due to its heterogeneity, it neutralizes all the shortcomings. But nevertheless there are features which should be observed:
 Tools for flocking walls. Not all requirements are immediately met, so at the very beginning you need to prepare the wall for work. For this, the surface is cleaned of the former coating: wallpaper, tile, paint, etc. When cleaning, do not need to knock down the plaster, so if the paint segments are not removed, they can be left in place. Wallpaper and all other types of cover are much easier to separate. Now the wall needs to be primed. Primer in this case is not necessary, but it increases adhesion, and at a low price, it is better not to forget this step. Drying takes 3-4 hours, for which you can prepare a room that is not subjected to processing. The room is sealed with polyethylene film and mounting tape over the entire area that will not be used, including floors and ceilings. Work passes quickly enough, but the primer during this time has time to dry up. Now you can cover the surface with paint or whitewash. The color scheme is chosen arbitrarily, and some experts use several colors to get the final result in the eye. The main thing here is not to use bright colors so that they do not interrupt the color of the flock. Only after the paint has dried, can be started to finish the walls with a flock. A high-quality surface is the guarantee of durability. Back to contents</a>
Primary activity
Tools and materials:
- rollers with long and medium pile;
- spray;
- base;
- flock.
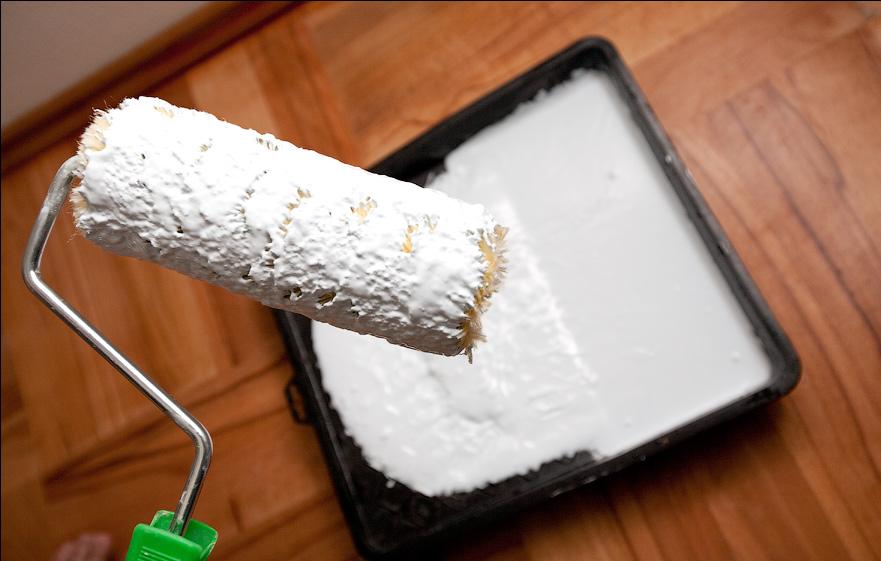 Flocking begins with the application of the base on the wallwith a roller. Flocking begins with the application of the base on the wall. To do this, you need a roller with a long hard pile, which is dipped in a container with a mixture, wiped off on the mesh (or a special rippled surface). Often, one layer is not uniform, so you have to do another 1. After the base is applied, you can start to mix the varnish. It is best to do this manually using a bar, because A drill with a nozzle can destroy a considerable part of fragile flocks. But you can use a screwdriver, which does not have so much speed, but there is not enough power. Sometimes manufacturers pack the flakes separately, so mixing is done manually. After mixing, flocking can be started immediately. Flocking process is carried out in 2 ways:
After finishing the walls with a flock you needleave the surface for a day to completely dry, after which you can start to operate. The difference between the 2- and 3-component flock is visible in the end, but the method of application is identical. The three-component version looks much more interesting, but the price is much higher. Back to contents</a>
Summarizing
The flocking process is quite simplea task that even a child can do. The final result is quite hard, but at the same time warm and reliable. All work is carried out in gloves and mask-respirator, tk. There are harmful vapors in any case, in addition, work with chemistry can affect the skin. Special damage can not be, but it is never harmful to be reinsured.


