What could be more pleasant on a cold winter morning,than breakfast in bed! Our today's master class will teach you how to make an original and stylish table on the bed of wooden planks and copper plumbing items on a bed. It's a dull cold morning so you want to spend more time in a cozy warm bed. Do not deny yourself this pleasure! Our master class will teach you how to build an original and practical table on your own. With this simple, but very stylish device you can eat and work without getting out of bed. 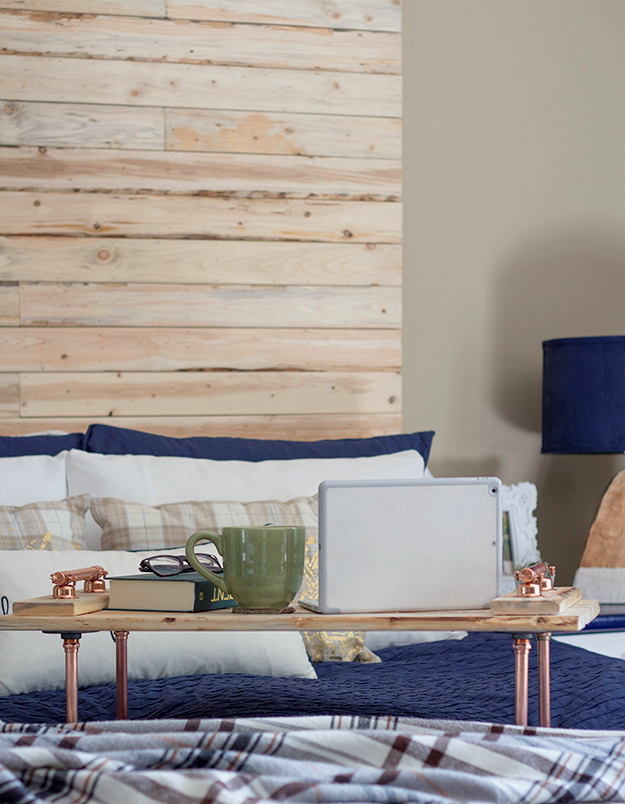 To create such a table, you will need the following tools:
- drill,
- clamp,
- yardstick,
- Ruler,
- pencil,
- pipe cutter,
- saw.
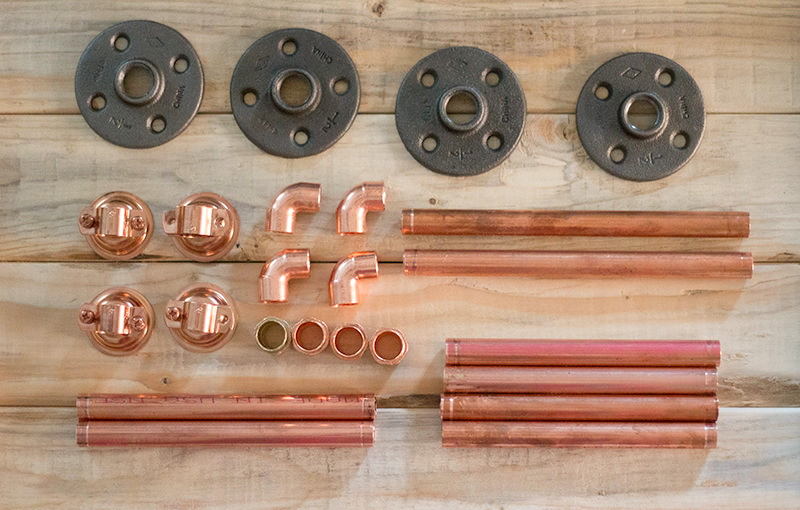
You can do without the last two if you cut in accordance with the required dimensions right in the store. Necessary materials:
- 1.5 meters of copper pipe (diameter 15 mm),
- 4 adapters (15 mm inlet),
- 4 connecting bends (15 mm),
- 4 flanges (15 mm),
- 4 plugs (15 mm),
- 4 supports (15 mm),
- 3.6 meters of solid wooden board (about 6.5 cm wide),
- epoxy adhesive,
- glue for wood.
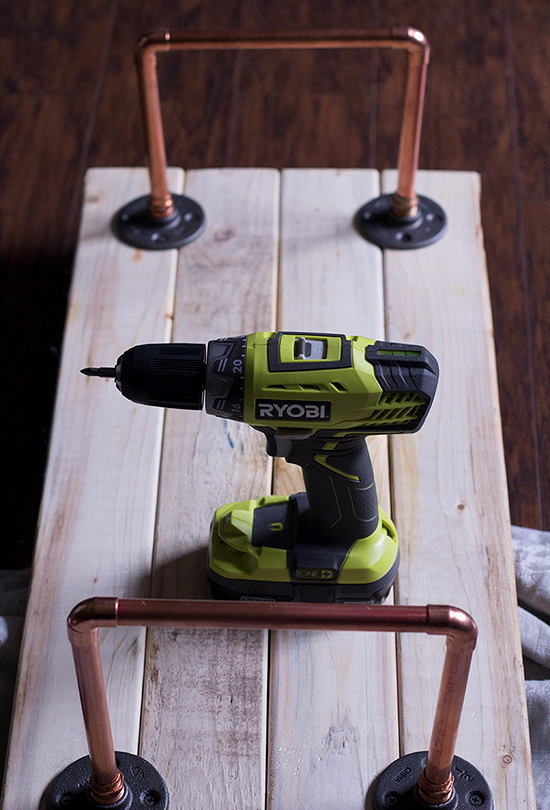
First, cut the board so that you getfour fragments 75 centimeters long and two fragments 30 centimeters long. Cut the pipe as follows: two 20 centimeters, four 16 centimeters, two 19 centimeters. Connect four long boards together by gluing them together. Secure with a clamp. This will be the countertop. Then glue the shorter pieces on the sides, perpendicular to the position of the countertop planks. These will be the bases of the pens. 
 We proceed to install the legs of the table. To do this, perform the following steps:
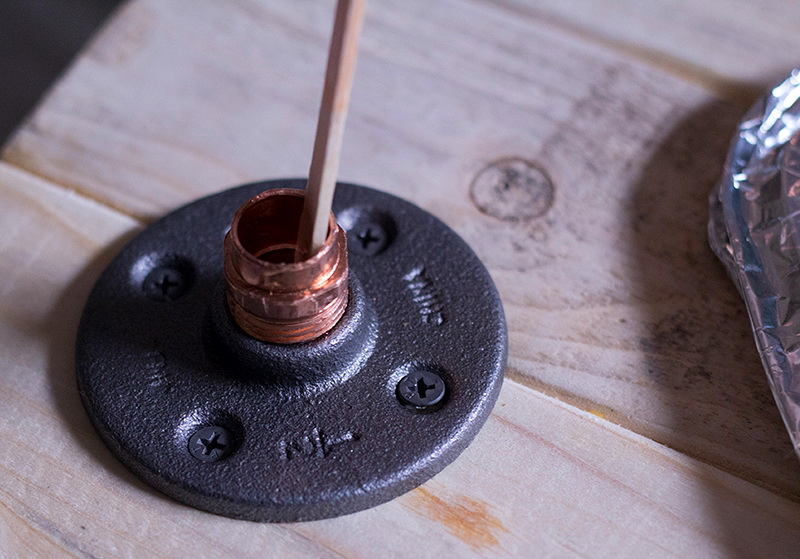
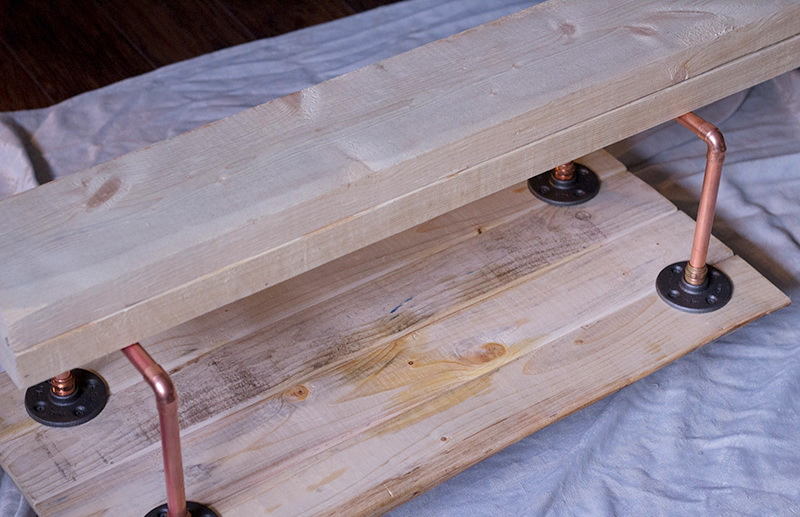 Turn the table face to face. Attach the supports to the wooden bases for the handles (two for each, near the edges) with screws. Insert the remaining fragments of the tube 19 centimeters long into them. To give the handles a more aesthetic appearance, close the ends of the pipes with copper plugs, without forgetting the epoxy adhesive for fixing.
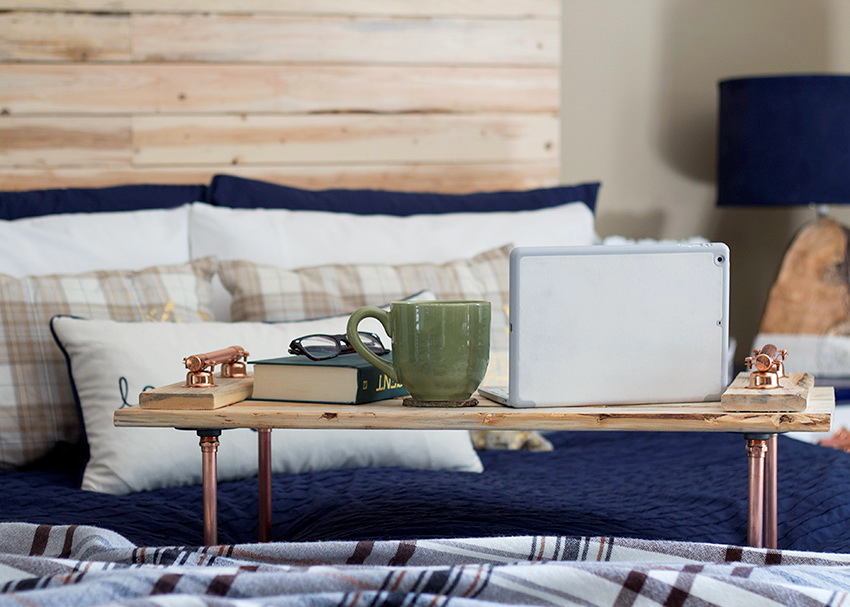 Now your table is completely ready! It's time to get into bed and try it out! upcycledtreasures.com