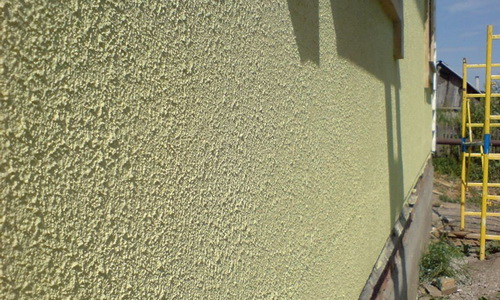
External plastering of buildings is carried out forprotection of walls from the effects of precipitation, creation of an additional vapor barrier layer, and also for their alignment. A high-quality layer of plaster makes the walls windproof, soundproof and warm. Finishing work with decorative plaster is carried out both outside and inside the building. Decorative plaster, for example, on the external walls of a house, will give them additional protection from precipitation.
We make decorative plaster with our own hands
When creating decorative items with your own handsplaster mortar as binders use cement, gypsum and lime. To make a high-quality mortar, you need to have a construction mixer, since it is very difficult to make it manually. Plaster can be made from a mixture of sifted clean river sand and binder. The technology for preparing it for finishing is the same as for preparing masonry mortar. When using gypsum in the mortar, the technology changes slightly. First, make a mixture of sand, cement and water and only then add gypsum. The compositions for self-preparation of the finishing mortar are listed in the table. What the solution is applied to Composition by volume river sand cement M 300 lime slaked lime ground gypsum clay Compositions for external finishing Plinths, cornices and other protruding parts 6 1 5 1 Brick, concrete and wooden walls 14 1 1 16 1 1 6 0.5 11 1 0.5 Compositions for internal finishing Brick and concrete walls in damp rooms 9 1 7 1 1 Brick and concrete walls in dry rooms 5 1 0.3 4 1 0.3 10 1 1 9 1 1 4 1 0.3 4 1 0.3 0.1 Wooden walls 6 1 0.5 7 1 Wooden ceilings 7 1 5 1 0.5 Tools: Scheme for applying decorative plaster.
- trowel;
- putty knife;
- building mixer;
- graters;
- capacity;
- ladder;
- roller;
- plumb bob;
- level.
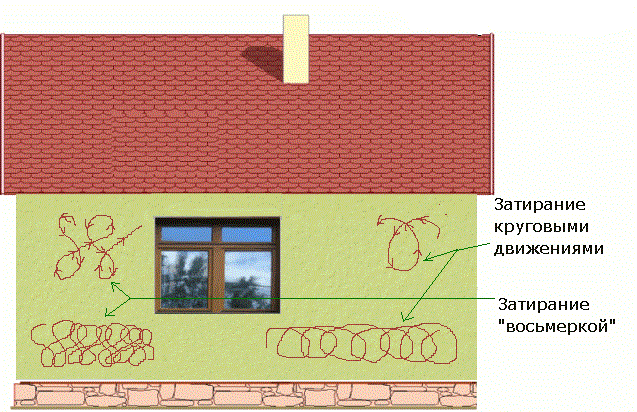
Using decorative finishes for claddingwalls, you can create a unique texture for their coating. Before you start decorating the walls by applying the solution, the surfaces need to be prepared. They must be clean and smooth. To do this, they are first primed, covering up microcracks, thereby providing a reliable base for subsequent coating with decorative plaster. After the primer has completely dried, you can begin laying the decorative layer. To ensure that the coating is smooth, the walls need to be checked with a plumb line. Strongly protruding and small parts of them from the timber are planed off with a plane, or the mortar drips on concrete or brick walls are removed with a grinder. The angle between the walls and the ceiling should be made especially carefully. Return to contents</a>Do-it-yourself wall finishing with plaster IfIf the developer decides to finish the premises with his own hands, it is best to use structural plaster for the work. It has increased plasticity, which allows the work to be carried out at a slower pace. Before starting work, the prepared surface is moistened with water. This can be done with a garden sprayer or a household sponge. The composition is applied with a trowel or a wide spatula from the corner of the room. The layer is leveled. If for some reason a thicker layer is needed, the solution is applied in 2 layers. After giving time for 1 layer to dry, the next layer of mortar is thrown on. When grouting it, a certain decorative pattern can be created. The resulting cavities and shells in the laid layer are immediately sealed, without leaving them for later. Adding fillers to the structural plaster makes it textured. These can be polymeric materials, marble or granite chips, etc. A thin layer of plaster no more than 2 mm thick is applied to the dry layer of primer. Special stencils or tools are used to create the desired pattern. After drying, the decorative layer is covered with translucent paints or wax. An original look can be given to the decorative plaster laid on the walls using ordinary polyethylene film. Folds and knots are created on the prepared film. This film is attached to the laid but not dried layer, gluing it by pressing. In this position, the applied layer is left to dry for about 15 hours. After this, you need to carefully remove the film and cover the relief pattern with transparent or translucent paint. Before painting, the dried layer must be freed from dust.


