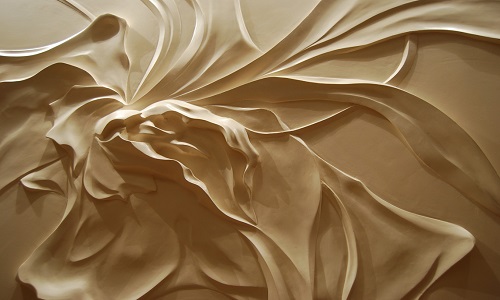
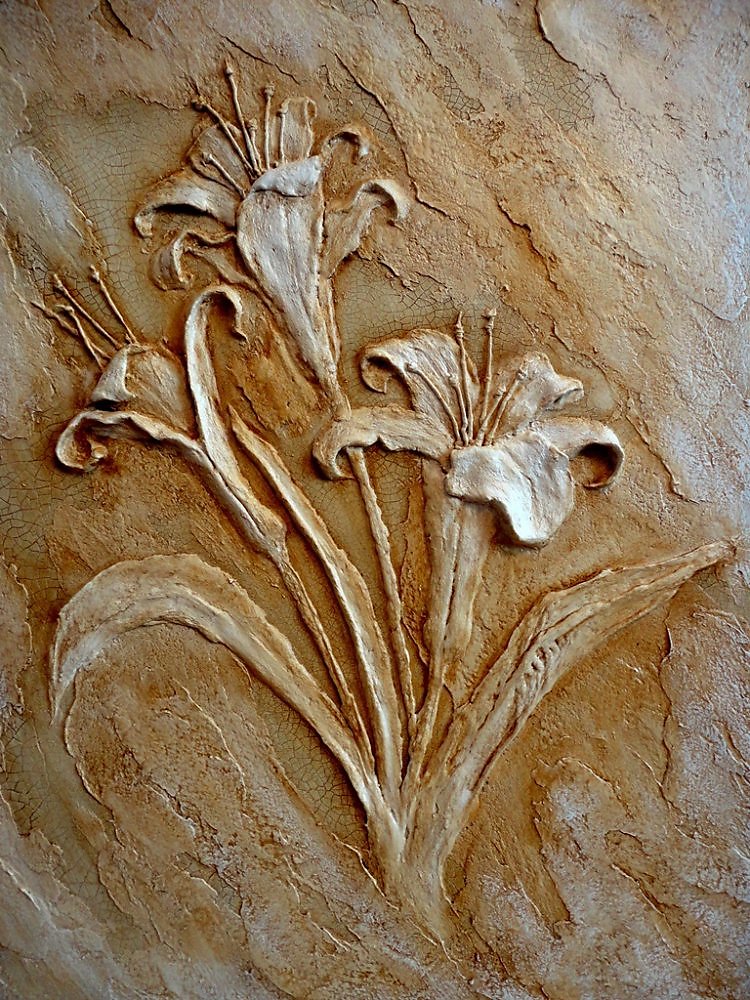
If you are looking to create a personalized andextraordinary interior, then you simply need to know how to make a bas-relief with your own hands. Such work requires a creative approach and certain skills, but do not despair, you just need to study the technology and practice a little - then you will succeed! For the first time, it is recommended to use patterns with small volume, for example, a flower, a branch with a bird.
Production of bas-relief from plaster
You will need:
- tracing paper;
- a copy;
- Painting tape;
- spatulas and palette knives of various sizes;
- soft brush;
- self-tapping screws;
- plaster;
- finishing putty;
- building mixer.
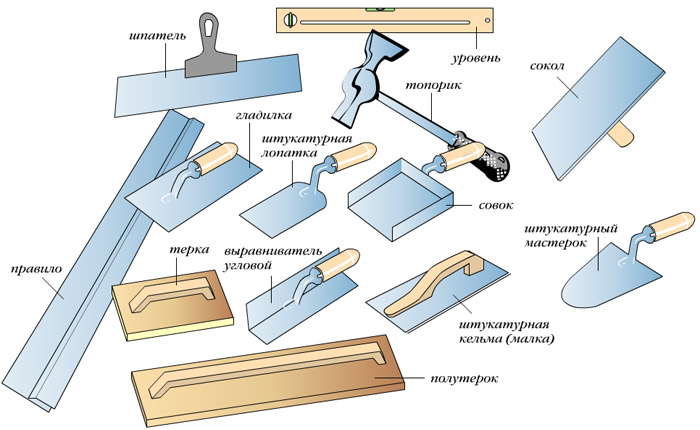
 Tools needed for plastering.Before you start, you need to prepare a sketch. It is best to use a sheet of tracing paper for this purpose. If you are new to this business, do not use too complex drawings with multi-step relief. For the first time, it is enough to take a pattern with a small volume, for example, a flower, a branch with a bird, etc. Transfer the drawing to tracing paper using a simple pencil. The bas-relief is made on a pre-prepared surface, the wall must be leveled, plastered and primed at least 2 times (necessary to improve adhesion). If you plan to make a panel in a room with high humidity, then use an antifungal primer. Start working after the primer layer has completely dried. Using masking tape, attach the carbon paper and tracing paper to the wall, transfer the drawing. To prevent the bas-relief from collapsing, it is necessary to insert dowels in the thickest places and tighten the screws (not all the way). This is a kind of reinforcement that will not allow the plaster to crumble. Dilute the plaster according to the attached instructions, let it stand for about 5 minutes, mix again with a construction mixer. Apply the bottom layer of plaster according to the pattern, let it dry well. Then apply the second layer, as if sculpting the elements. Use a spatula, palette knife or your own hands for the work, try to feel the material. In order to give the relief elements additional strength, use a bandage soaked in plaster. Cracking can be prevented if you wet the finished parts of the panel with a damp brush from time to time. It is advisable to make the last layer of the bas-relief from finishing putty, since this material is easy to sand. It is best to use a ready-made composition. Putty is applied either with a spatula or a brush. At the finishing stage, additional lines are drawn, the cracks between the wall and the bas-relief are sealed. After the putty has dried, the panel is sanded with fine sandpaper. Next, the surface is primed and then covered with acrylic paint. Return to contents</a>
Bas-relief in the Terra technique
 To create a bas-relief in the Terra technique you will need: dried flowers and herbs, plaster, finishing putty, PVA glue, acrylic paints. You will need:
- dried flowers and herbs;
- PVA glue;
- plaster;
- finishing putty;
- acrylic paints.
Make a bas-relief using the Terra techniquestrength to everyone, you don’t need to be a talent of an artist or sculptor for this. In this case, nature will do everything for you, you will only need to stock up on dried flowers and herbs. Ears of cereals, roses, beautifully shaped leaves, cereals, sand, etc. will do. After the material has been collected, you can start working. First of all, prepare the wall, it should be leveled, plastered and primed. In this case, you can use PVA glue diluted with water in a ratio of 1 to 1 as a primer. Lay out the herbs on the table, make a composition out of them, mark a place for the panel on the wall. Dilute the plaster with water according to the attached instructions, add PVA glue so that you get the consistency of thick sour cream. Apply the resulting mass to the wall, press the herbs into it, fill the voids with sand, seeds or cereals, leave until completely dry. In order to give strength to dried flowers, it is necessary to prime them with PVA glue 3-4 times. Then dilute the finishing putty with PVA glue to the state of liquid sour cream, cover all the elements with a brush, leave until completely dry. Cover the bas-relief with acrylic paint. An interesting effect can be achieved if you apply dark paint to the entire surface, for example, brown, then wipe it off with a damp cloth so that only the recesses remain painted. Then emphasize all the bulges with a light tone (white, milky, lilac, beige, gray). Return to the table of contents</a>
Making a bas-relief with a stencil
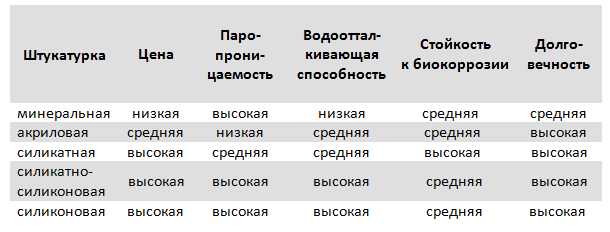
 Table of indicators of different types of decorative plaster. You will need:
- penofol;
- sharp clerical knife;
- plaster or putty;
- Painting tape;
- sketch with a picture;
- spatula or palette knife.
Making a bas-relief using a stencil is notwill not be difficult. You can use a ready-made stencil or make it yourself. First of all, you need to select a drawing, print it on a printer or draw it by hand. Then, using masking tape, you need to attach the sketch to the penofol, cut the stencil with a sharp knife along the outline of the drawing. In this case, it is better to use insulation rather than film, since the thicker the stencil, the more convex the panel will be. The wall is cleaned of dust and previous finishing, leveled, putty, and primed at least 2 times. Next, attach the stencil with construction tape. Such a bas-relief can be made not only from plaster, but also with putty. The choice of material in this case is not of great importance, since the thickness of the resulting relief will not be too large. The plaster is diluted according to the instructions, kept for at least 5 minutes, and stirred again. The putty is good because it is sold ready-made and does not need to be diluted. The composition is applied to the wall using a spatula or palette knife. Try not to go beyond the boundaries of the stencil. There is no need to level the plaster, as this will smooth out the volume. Remove the stencil immediately, if you do not do this, it will stick to the bas-relief, and it will be difficult to tear it off. Let the work dry, then sand the surface with fine-grained sandpaper soaked in water, cover with a primer. Then everything depends only on your imagination, you can paint the bas-relief in any color you like, complement the composition with mosaic elements, etc. A bas-relief plate is made using the same technology, only a sheet of plasterboard is used as a base instead of a wall. Using the advice of experts outlined above, you can easily make a wall panel with your own hands.</ ul>


