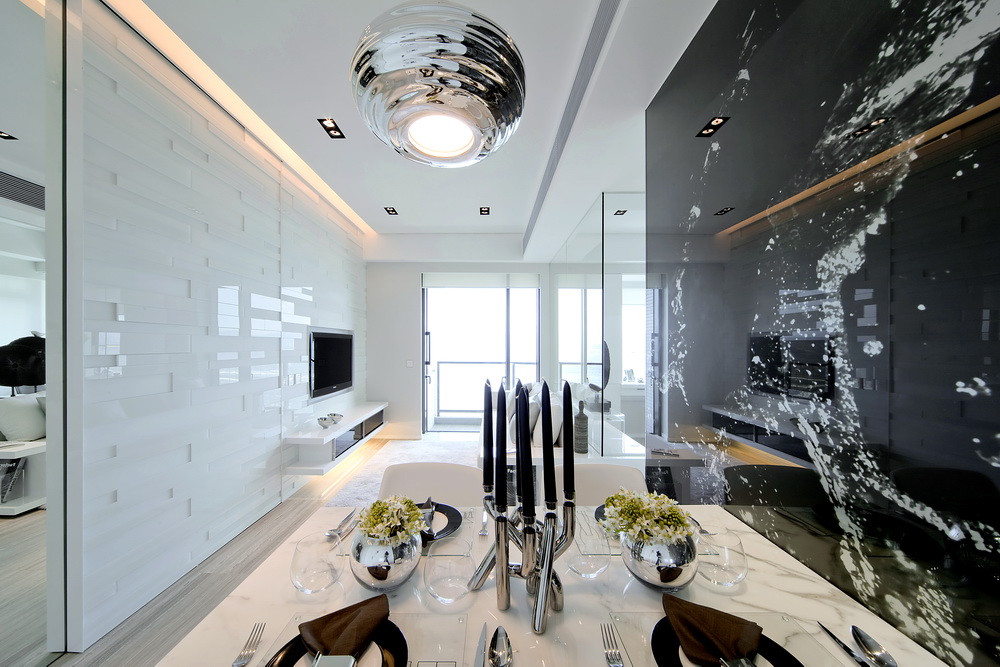
Do you still associate renovation withgluing new wallpaper? But in reality, this is a much more complex and large-scale process that has a certain structure. Let's consider each of the stages point by point and as thoroughly as possible
Repair is a word that evokes sacred awe inof the average person and the state of bored readiness for everything of an experienced architect who has delivered several dozen turnkey projects. In order to understand today's complex topic, we invited exactly such an architect - Mito Melitonyan.
According to him, before starting any repairslevel of complexity, we need to decide what we want to achieve with this renovation. Further actions depend on this conclusion. As an example today, we will consider the most complete option, when you start renovation in an apartment without finishing, the so-called Shell’n’core. 1. Tasks and goals
Before starting any business, you need to decidewith a list of tasks that you want to solve in the process - draw up a technical task, where you should try to take into account all your wishes. Will it be a cosmetic or major renovation, what interior style do you prefer and what new technical systems will you use to create comfort. You probably already know what you want to see in the final, all that remains is to set priorities and outline the main steps. 2. Layout
After defining all the tasks and goals, you canstart transferring them to paper. The layout will reflect all functional areas and, if possible, furniture arrangement, you will need this later for designing electrical and low-current circuits. At this stage, it is also worth deciding on the materials that you will use during the repair, and you can also draw up an approximate estimate for further work. 3. Walls
Based on the existing plan, we begin to buildwalls. Before finishing the work (and ideally before starting it), you should complete a ventilation and air conditioning project so that you can calmly lay out all the ventilation boxes at the moment when the height of the walls begins to approach the ceiling. The same applies to laying air conditioning lines. They need to be sorted out before the finishing stage, so that you don’t have to re-putty the walls later.
At the same time, windows and window sills are installed.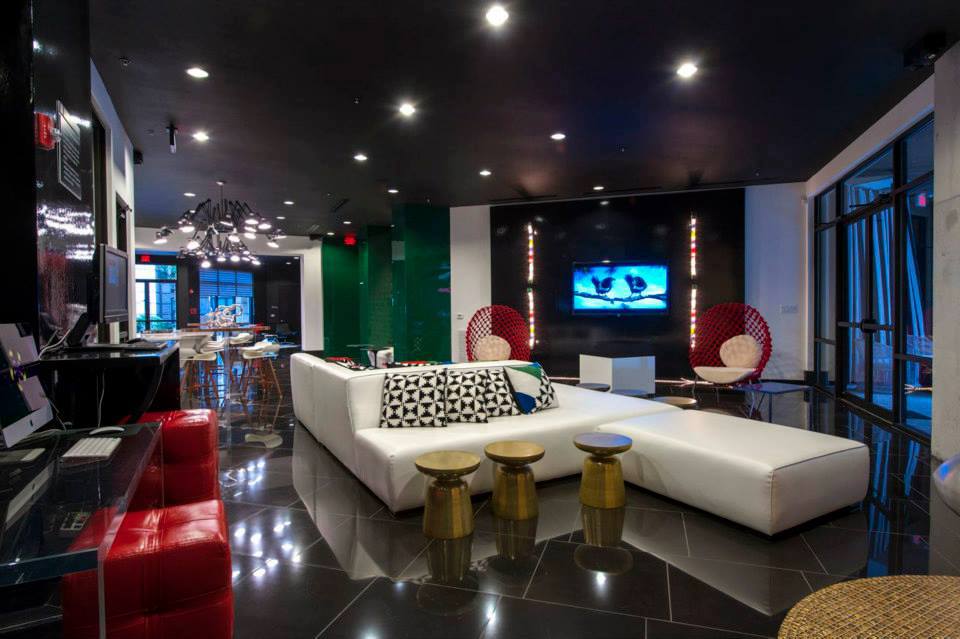 4. Electricity, heating and water supply
If the heating in the apartment is distributed through pipes infloor from one comb, this is the best option - you will not have to rack your brains over how to hide the riser, which in budget apartments is usually located in almost every room. At this stage, the water supply system is laid if you are moving wet areas or if the water inlet is not in close proximity to the wet area. As for the bathrooms, you can do them after pouring the rough screed over the entire floor.
Electrical wires run through the floor andrise up to the level of the sockets, and the wires for lighting are laid from the ceiling down to the switches. In parallel with the electrical wiring, you can do plastering of the walls in which there is no such electrics.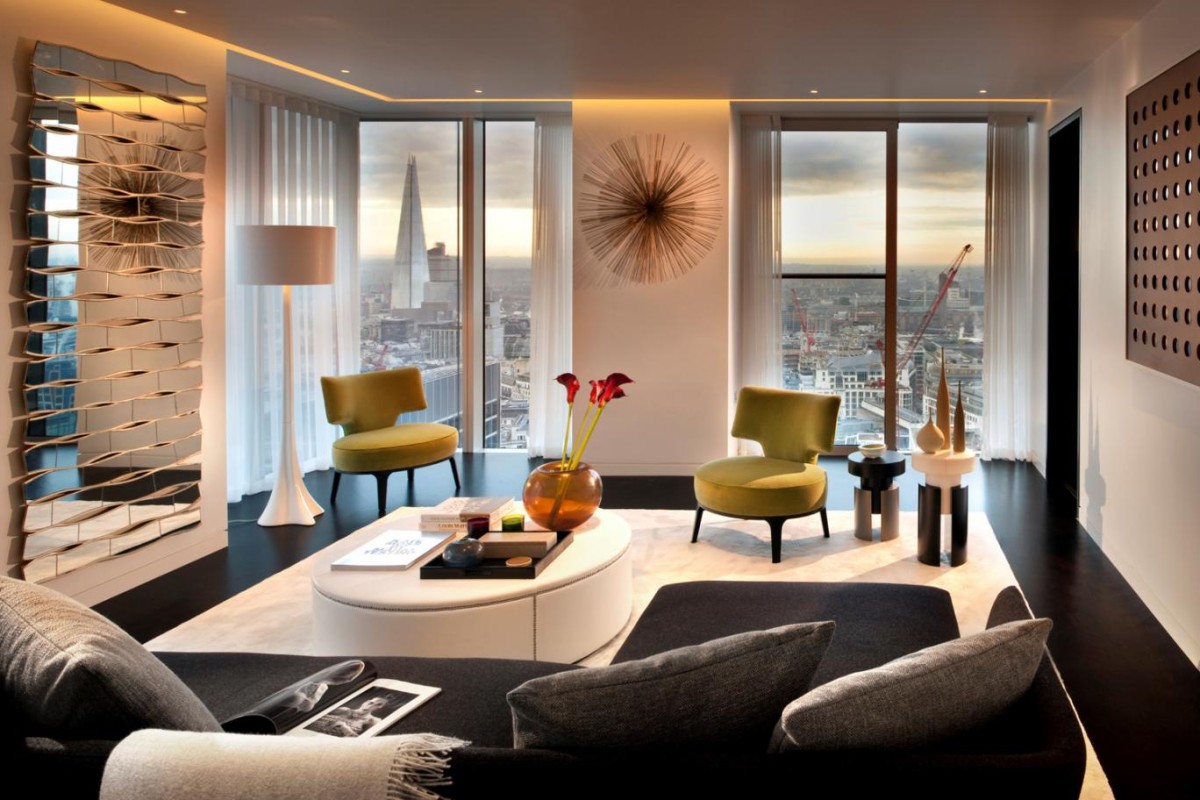 5. Tie
After pouring the screed, you can smoothly get to workbathrooms. The screed dries for at least three weeks. During this time, it should release moisture and gain strength. At the same time, you can install underfloor heating devices.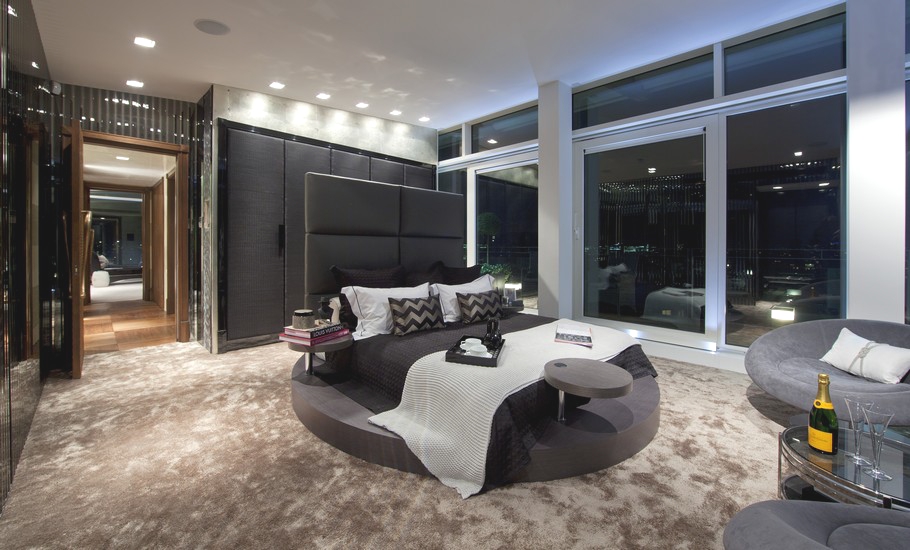 6. Lighting scheme
Before working with ceilings, you should decide notnot only with lighting schemes and their scenarios, but also with the lamps themselves. The ceiling lamp may be large and heavy, or it may turn out that the built-in size is not quite standard. In this case, there is a risk of the lamp hitting the profile. It is undesirable to allow such cases, otherwise the profile will have to be cut, and if the profile turns out to be load-bearing, the ceiling will lose its load-bearing capacity and may fall apart.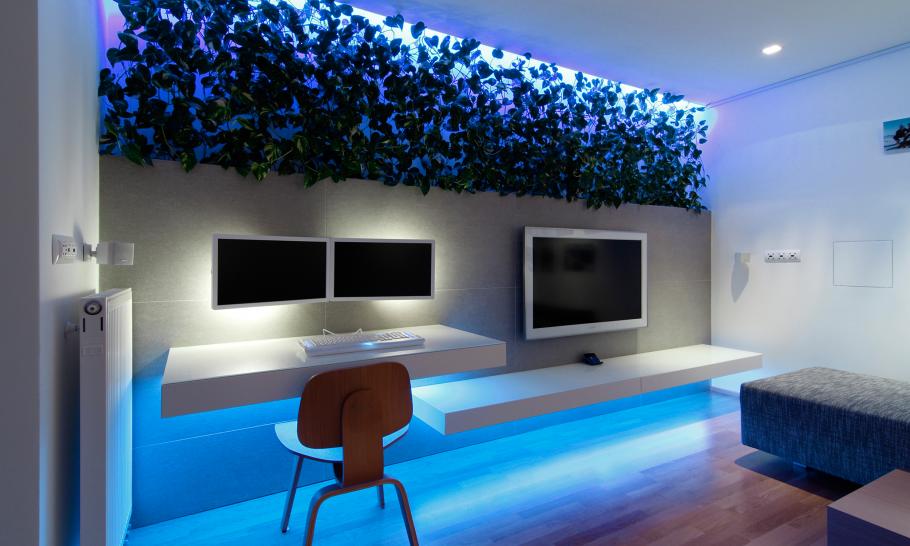 7. Ceilings
After forming the ceiling in accordance withthe ceiling can be covered with all the lamps that are supposed to be hung on it. The main thing is not to forget to lay all the sensors, fire safety system, hidden surveillance cameras, alarms, etc. This is the area of work of subcontractors, with whom it is necessary to agree initially. At the stage of construction work, it is important to make embedded parts for those products that will subsequently be installed in the common apartment. For example, with hanging doors, special beams must be installed in the ceiling, on which structures of the corresponding purpose will be attached in the future. Mito Melitonyan, architect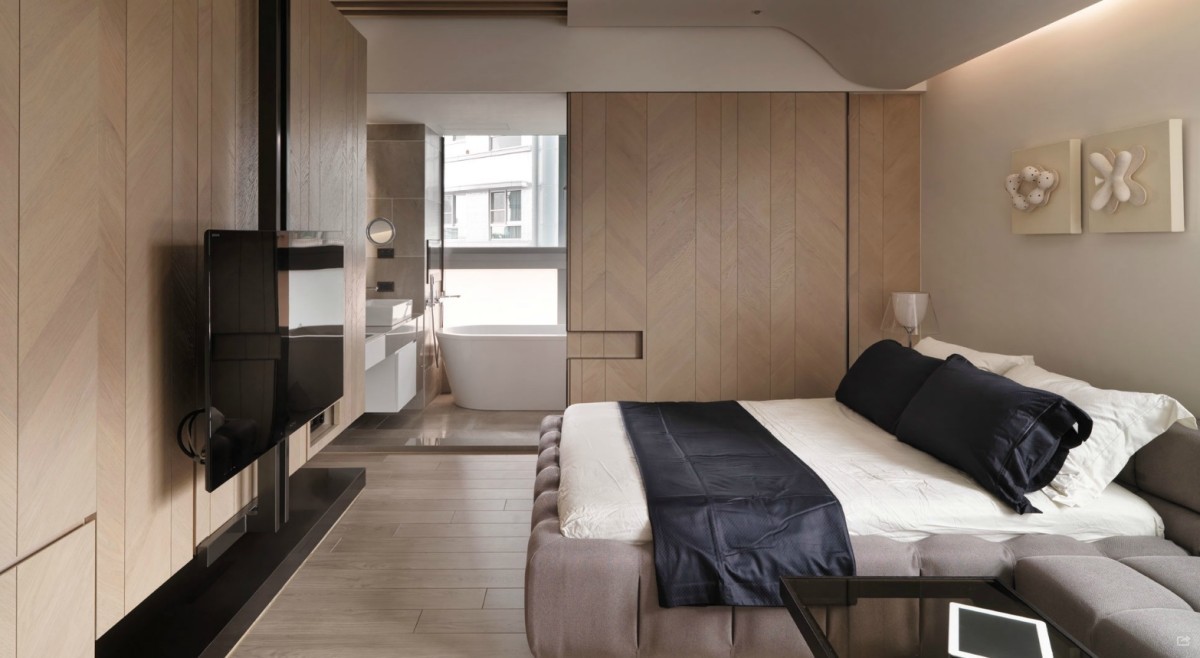 8. Final rough finishing
This stage includes puttying and otherfinishing. It is important to understand what kind of final finishing of the walls will be, because all the preparatory work will depend on it. If it was decided to cover the load-bearing walls with plasterboard, then in places of increased loads (fastening of upper kitchen cabinets or installation of doors) embedded parts should be installed. Mito Melitonyan, architect Often there are disputes about whether it is worth doing something behind the kitchen set, as well as at what point it is best to install it. It is good if the kitchen factory can offer wall panels created in the same design as the entire kitchen. For example, such panels are available from the German factory . Opinion of the editors of roomble.com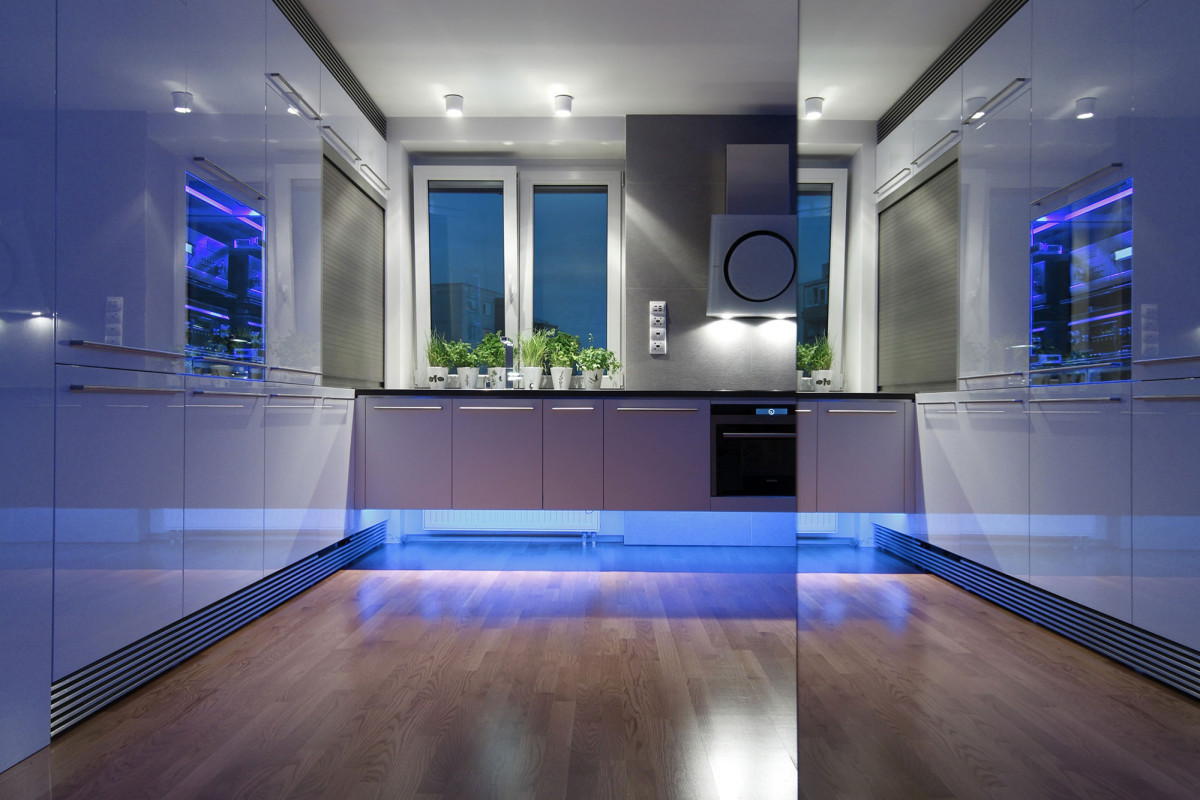 Larisa Baraeva, "Kitchen Interiors":— In the kitchen, only the visible parts of the walls should be “brought to mind”. And only if you do not use wall panels. For example, Leicht kitchen wall panels are laminated, glazed, quartz. You can also choose varnish or veneer — depending on the location of these panels (behind the hob or in the decorative part of the kitchen). And if you choose not wall panels, but tiles, then they should be laid only after installing the base cabinets and countertop. 9. Preparation for laying the floor
For example, if the plan is to lay parquet on the floor, then at this stage it is worth laying plywood. This stage is parallel to the previous one.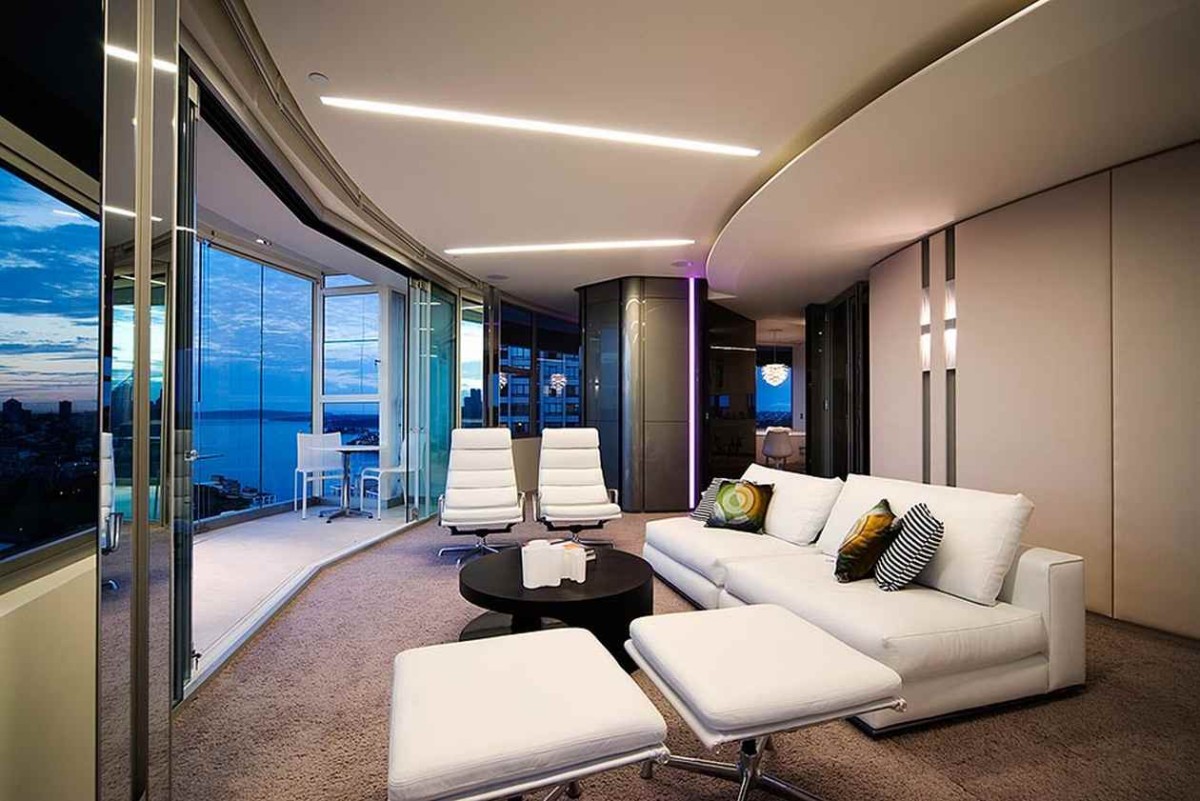 10. Fine finishing
At this stage, it is recommended to go from top to bottom - painting the ceiling, then finishing the walls and final laying of the floor covering. It is advisable to install the lamps immediately after painting the ceiling. 11. Installation of built-in furniture
This stage is not necessary before installing the skirting boards.accidentally. A fairly common mistake: installing baseboards around the entire apartment, and then frantically tearing off excess pieces before the master arrives to install the built-in furniture. 12. Installing skirting boards
The moment has come, now nothing should stop you. 13. Furniture, decor
The apartment is ready, all systems are connectedprovision, and the built-in kitchen already sparkles with its . You can proceed to the final stage: hang curtains, mirrors, blinds and bring in furniture. Having put everything in place and completed all the points of this plan in the specified order, you will get the ideal apartment that you were eager to see when you started the renovation.