Old and shabby chairs do not fit in eitherone interior. Guests are advised to offer them a shame, but it seems to be a waste, especially if they are still suitable for sitting. Of course, you can paint them again or tie beautiful cases for them, but there is a more interesting way - decoupage. With the help of simple and accessible materials, you can turn an unremarkable chair into an exclusive one, and this process will take quite a bit of time.  With the help of decoupage techniques, you can give the old chairs an updated look, as well as a unique design.
Decorating materials and tools
The basis of decoupage are color pictures,which are glued to the surface of the chair. Most often as pictures are paper napkins, but you can also use photos printed on the printer. It is very important to choose the right picture so that the chair is combined with the rest of the situation. In addition to napkins, you will need to work: 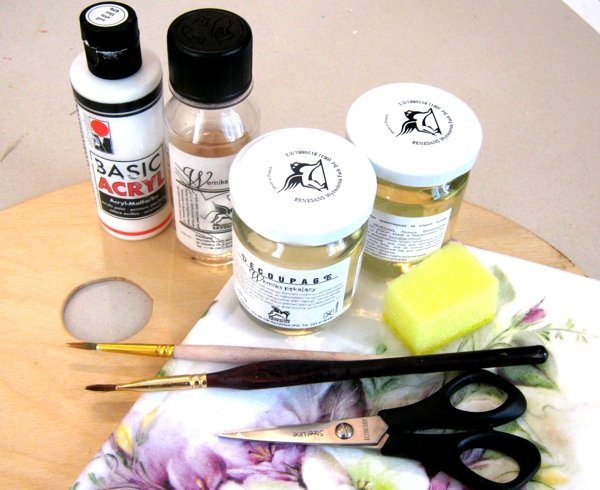 Decoupage will require brushes, paint, drawings, glue, napkins.
- sandpaper;
- putty;
- a primer for wood;
- acrylic paint;
- PVA glue;
- varnish.
From tools only brushes forapplication of paint and varnish, as well as a small spatula for sealing cracks. In addition, a clean rag and sponge can be used in the process. A chair or a stool must be inspected before work: fix the loosened parts, make sure it is strong. There is no sense in decorating a piece of furniture, if it can not be used. Back to contents</a>
Decoration process
begins with the preparation of the surface. To do this, take the sandpaper and process the entire chair, paying special attention to the areas where the picture will be. After grinding, small irregularities, roughness and other defects should not remain. If there are cracks or notches, they should be sealed with putty. After drying the putty, the stool is recommended to be primed so that the paint falls more smoothly. The next step is coloring. Sometimes it is necessary to apply 2-3 layers of paint, so that the base has an even color. In this case, you must always wait until each layer completely dry before applying a new one. It is desirable for the basis to choose a white color, then the picture looks clearer. When the surface is ready, proceed directly to decoupage. 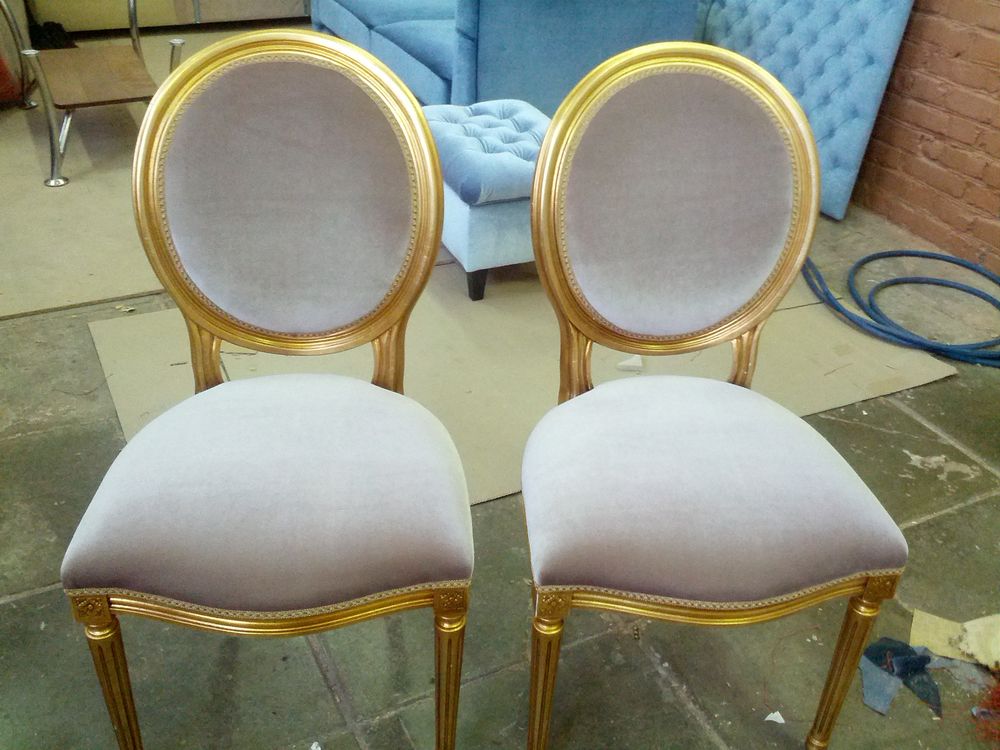 Picture 1. Decoupage can be done with the help of paints or bright stickers. Cut out the picture from the napkin, the lower layers are separated and laid aside, spread the glue with a glue and apply a pattern. After dipping the brush again in the glue, begin to gently smooth the picture. The brush should move from the center to the edges. When the surface dries, it needs to be covered with a layer of acrylic lacquer. Such treatment of chairs with their own hands does not require either special skills or skills, here fantasy and creative approach mean more. For example, it is possible to cover with pictures not only a seat, but also a back, legs of a chair. You can decorate the entire surface or paste individual fragments, as well as give the product a certain style. Back to contents</a>
Options for design of chairs
It is very easy to decorate a highchair for a child, because children love everything so unusual and bright. Such decoupage of the chair is performed in a few hours and requires such materials as:
- a large napkin with a picture of a toy or animal;
- paint;
- varnish;
- PVA glue;
- sandpaper and brush.
So, a step-by-step description of the process: the chair is sanded, cleaned of dust and painted white. While the paint dries, the napkin is separated from the top layer with a pattern and cut off any excess. A large image should be placed on the chair seat, and for decoration of the backrest and legs it is recommended to use small separate fragments: images of sweets, flowers or machines.  Figure 2. On the finished painted stool can be applied a layer of varnish, which protects the paint from external influences. The dried out seat is lightly smeared with glue and a picture is applied to it, and then it is leveled with a brush. Brush necessarily dipped in the glue. In the same way, glue the pictures on the back and legs of the chair, after which they let the product dry. The final stage is the application of lacquer. The updated chair will become a good gift for the kid and decorate the baby (Figure 1). Nice looking chair in the Viennese style. For decoration you will need to prepare:
- sandpaper;
- putty for wood;
- multicolored acrylic paint;
- Crackle lacquer.
This method of decorating a chair with your own hands a littleIt is more difficult than the others, since it requires drawing a background around the pictures. Surface sanded, shpaklyuyut all cracks and irregularities, again grind. Next, glue the individual areas on the seat, back and legs of the chair and apply the cut out images. The drawings are carefully smoothed, allowed to dry, and then a small sponge is applied to the background. After drying, the stool is covered with a layer of acrylic lacquer, then cerca lacquer. Formed cracks should be wiped with a paint of a dark shade, and the floral motifs in the figure can be emphasized by a golden outline. Finally, the product is covered with another layer of acrylic lacquer. When it dries, the chair can take an honorable place in the living room (Figure 2). Similarly, the decor of chairs and other furniture in a romantic or vintage style, turning ordinary things into masterpieces. It is not difficult to master the technique of decoupage, and all the necessary materials are now available for sale in a large assortment. The process itself is very exciting and gives a lot of positive emotions. </ ul>


