- a painstaking process.Today, there are several types of paper wallpaper. The main ones are ordinary paper wallpaper, wallpaper with a double paper layer of the "duplex" type, vinyl wallpaper on a paper base. Scheme for calculating the area of a room for wallpapering.All of the listed types can be glued to the wall using the same principle. But it will be necessary to properly prepare the surfaces, select auxiliary materials, and also take into account some subtleties during work.
Preparation of tools
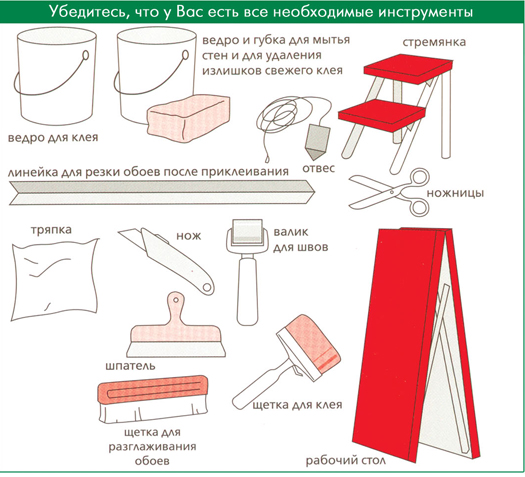
Before you start preparing surfaces andTo glue wallpaper, you need to buy and prepare all the tools and materials. If you have everything at hand, the work will be easy and interesting. Therefore, check out the approximate list of necessary tools, such as: Preparing walls for wallpapering.
- special adhesive for wallpaper;
- PVA glue;
- brush for applying glue;
- stationery knife;
- pencil and ruler;
- two removable soft rags;
- Roller made of foam rubber;
- scissors;
- stick for stirring the glue.
Particular attention should be paid to the acquisition andpreparing the glue. As a rule, each glue has instructions stating what types of wallpaper it can be used for. The simplest glue is suitable for ordinary thin paper wallpaper. But duplex and vinyl wallpaper with a paper base require adding PVA glue to the main paste. Then the mixture is stirred and infused. Only the glue should be diluted immediately before the main work. Return to the table of contents</a>
Surface preparation
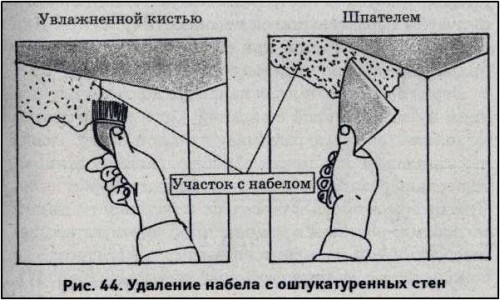
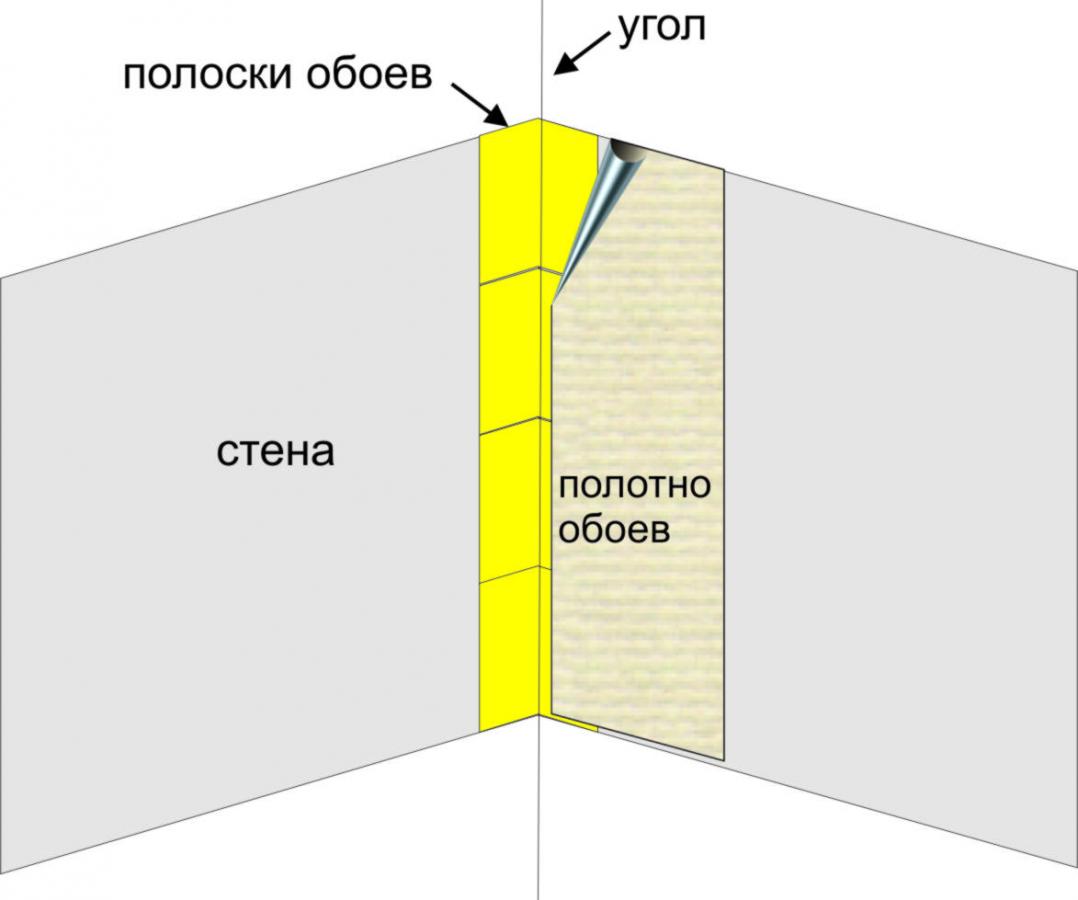
Now to work.First, you need to prepare the surfaces. The better you do it, the better the end result will be. Therefore, take this process seriously. First, completely remove the old coating and remove loose plaster. Next, you need to restore the wall. Whatever the coating, first apply a generous layer of primer. Try to make sure that it gets into all the pores. When the primer dries, fill in visible cracks and potholes with plaster. After drying, cover the wall with putty. Try to apply the putty in a thin, even layer, paying more attention to the holes. Scheme for gluing wallpaper in corners.After the putty has dried, treat the surface with a primer again. You need to cover the walls in a damp room especially carefully, using a special primer for damp walls. Now all that remains is to wait for the primer to dry. In the meantime, you can start preparing the wallpaper strips. Measure the height of the walls and the width of each wall. Add about 10 cm to the height for allowances (the more crooked the wall, the larger the allowances). And the width of the strips will be equal to the width of the roll. The width of all the walls, divided by the width of the roll, will show the number of strips for the room. In this case, you can subtract window and door openings - the consumption there will be much less. Next, use a ruler and pencil to measure the back of the wallpaper, cut out identical strips. Prepare the floor: wash it thoroughly, freeing it from unnecessary things and furniture, and wipe dry. If the floor has a good covering, it is advisable to protect it with a piece of polyethylene so as not to stain it with glue. Return to contents</a>
The process of wall wallpapering
Now let's get down to the main work.Close all windows and doors, prepare the paste, mix it thoroughly and let it sit for the required time. Decide immediately from which angle you will be pasting. Now let's consider in turn the intricacies of pasting thin paper wallpaper, as well as duplex and vinyl wallpaper. Return to the table of contents</a>
Thin paper wallpaper
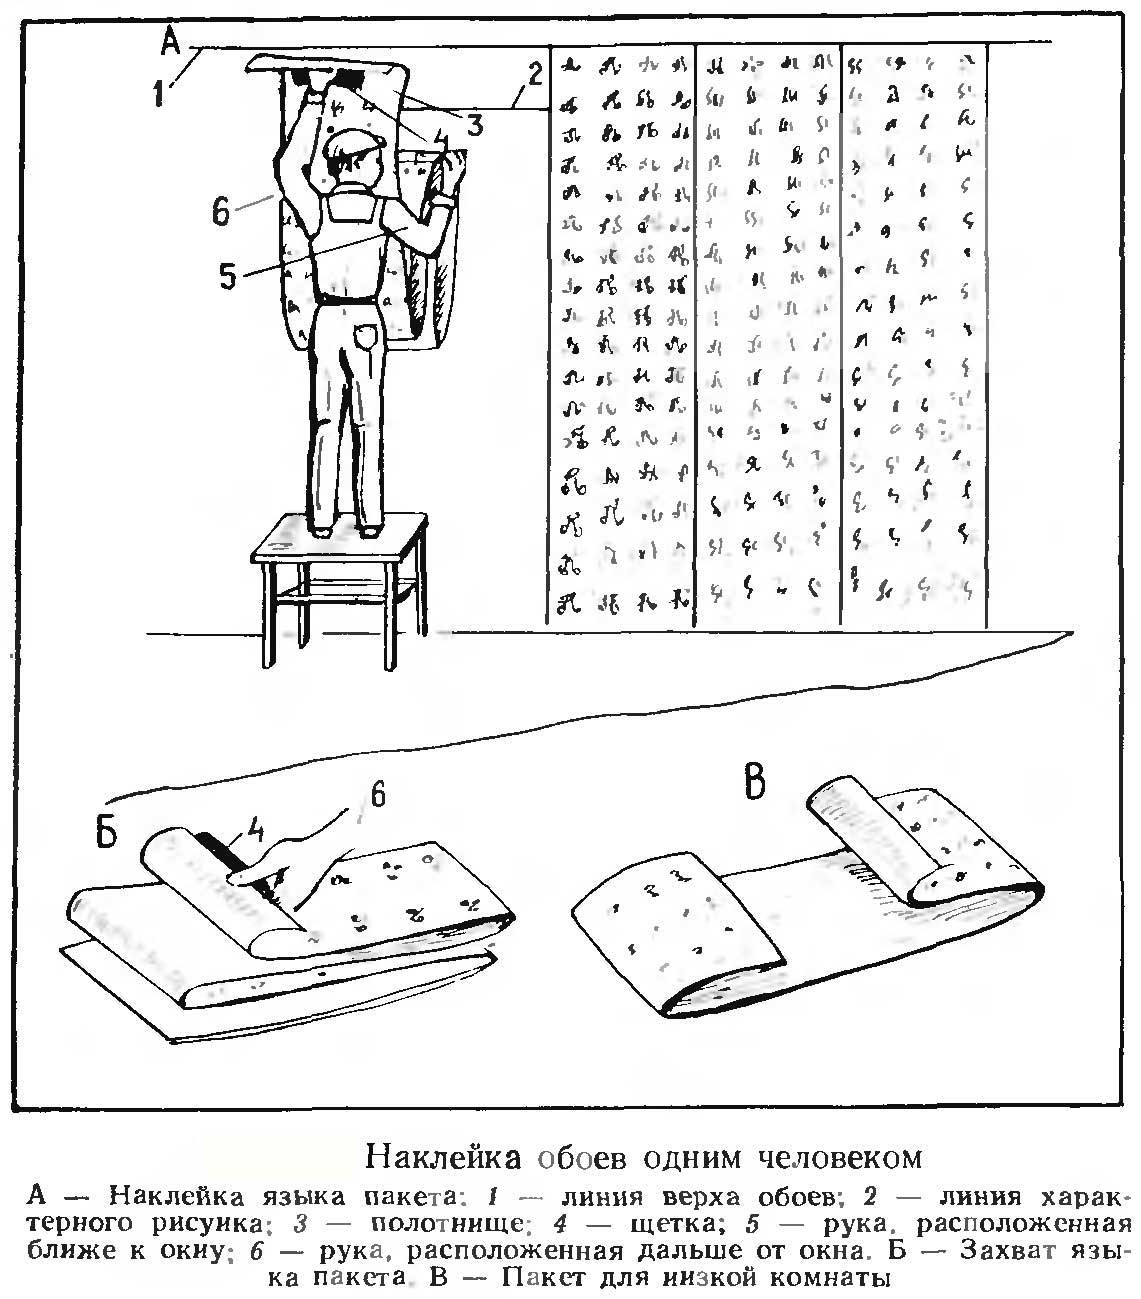
 Wallpaper pasting tools.Pasting paper wallpaper is very simple. First, apply a thin layer of glue to the wall, then quickly coat the sheet, paying special attention to the corners and edges. Apply the sheet to the wall from top to bottom. It is advisable to have an assistant support the sheet from below, preventing it from sticking while you align it along the top. When the entire sheet is attached to the wall, begin to smooth it out with a roller, driving air bubbles from the center to the edges. At the same time, coat the dried edges with glue and press them more tightly to the wall surface. When this is done, use a stationery knife to remove the excess residue at the bottom, which you left for allowances. All subsequent sheets are glued overlapping, capturing approximately 0.5-0.8 cm of the previous sheet. Pasting is complete! Do not open windows and doors for about a day until the sheets have set. Return to contents</a>
Duplex and vinyl sheets
Now let's move on to the intricacies of working with vinylpaper-based wallpaper and duplex sheets. The sheets are prepared in the same way. But then the work is a little different. The wall is generously covered with glue - this is an important condition. While one person coats the wall, the assistant coats the canvas. The canvas is coated and folded so that it can soak. The thicker the paper, the more time it takes to soak. But never more than 5-7 minutes. After that, the canvas is pasted in the usual way, leveled, cut from the bottom. The next sheets are glued end to end, since it will not be possible to make a reliable connection with an overlap, and the result will not be as beautiful. But only duplex wallpaper is allowed to be glued with an overlap, unlike vinyl, if they are not so thin. When pasting part of the walls around the openings, you need to cut out pieces of sheets of the required sizes. Pasting paper wallpaper is completely finished! Now you can see that everything is not as difficult as it seems, and in many ways it is even exciting.


