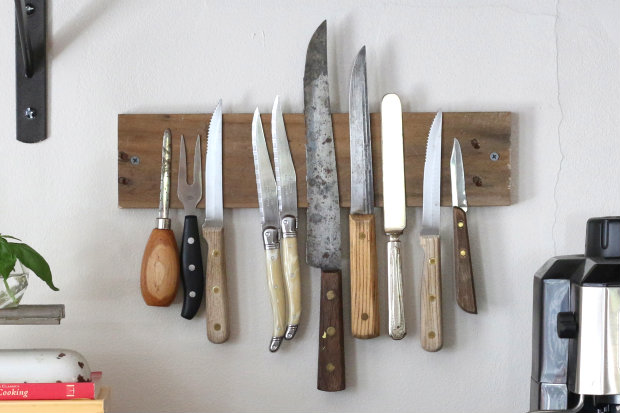
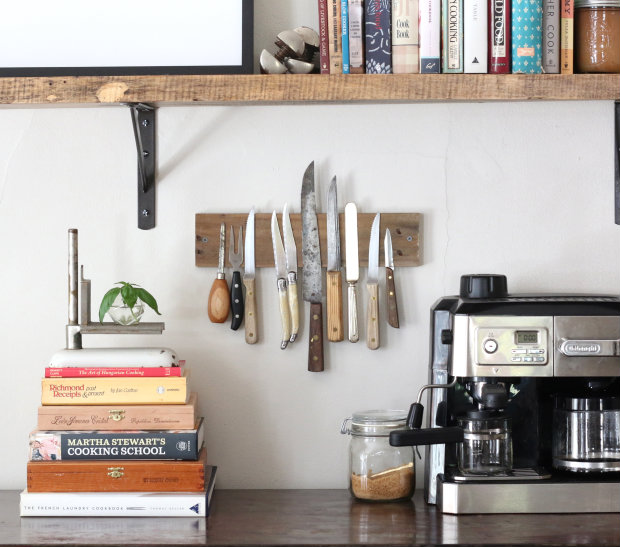
Many things that make life easier lookquite boring from a design point of view. For example, a standard magnetic knife holder. We will tell you how to make an original analogue of this item with your own hands. A magnetic knife holder is an item that is certainly functional and convenient. Here are just some of its advantages: space saving, safe placement of sharp objects, the most necessary things are always at hand. A standard magnetic holder looks like this (or almost like this).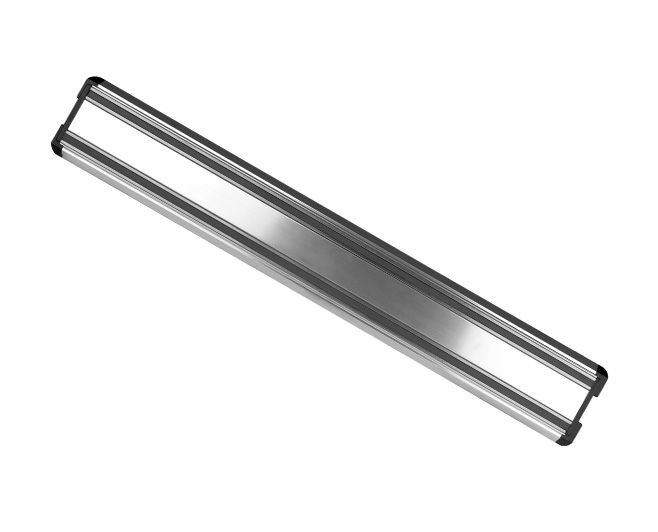 If you look at this photo and involuntarilyyawned, you will definitely like our master class. We will show you how to make a similar in functionality, but original in design kitchen accessory with your own hands. And it will look like this.
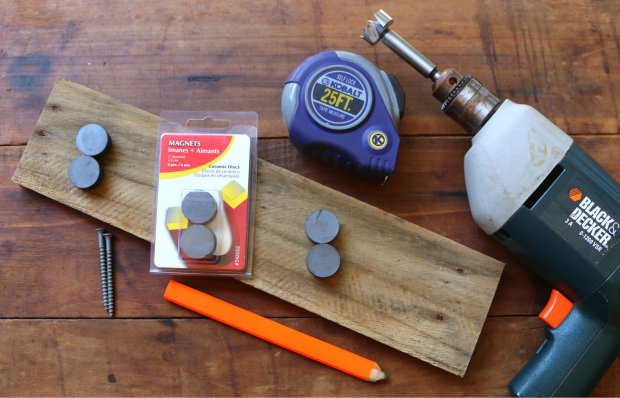
You will need:
- wooden board (40 x 10 centimeters);
- 54 round ceramic magnets with a diameter of 2.5 centimeters;
- sandpaper;
- roulette;
- drill;
- Trigger-clamps;
- A drill with a drill bit (a Forstner drill) corresponding to the diameter of the magnets;
- Reliable adhesive;
- Mounting screws.
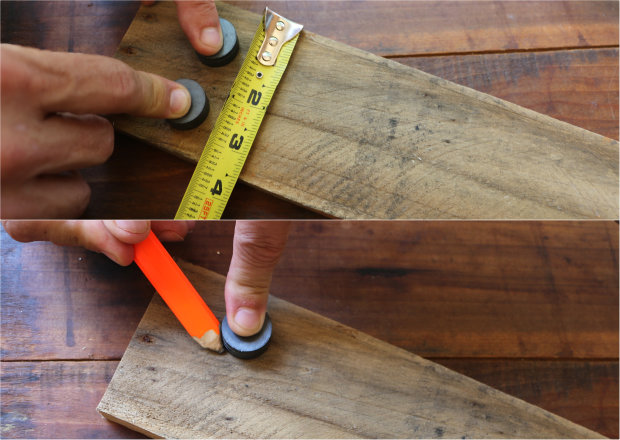
 First, sand the surface of the board down tothe desired condition using sandpaper. If you prefer a rustic style, you can limit yourself to conditional grinding, that is, simply remove the burrs. Decide which side of the board will be the front. On the back side of the board, apply markings along which you will drill "sockets" for the magnets. This can be done as follows: step back 2.5 centimeters from the edge of the board (mounting area) and draw a vertical line, and then another one at a distance of 2.5 centimeters. Between these two lines, place two magnets so that the distance between them and the distances from them to the edges of the board are approximately equal. Circle the magnets. In the resulting circles, mark the centers (by eye) and draw from them to the end of the board two lines perpendicular to the side edge, but parallel to each other. On each of these lines, mark eight points equidistant from each other (the distance between the points will be about 4 centimeters) - these will be the centers of the remaining magnetic "sockets".
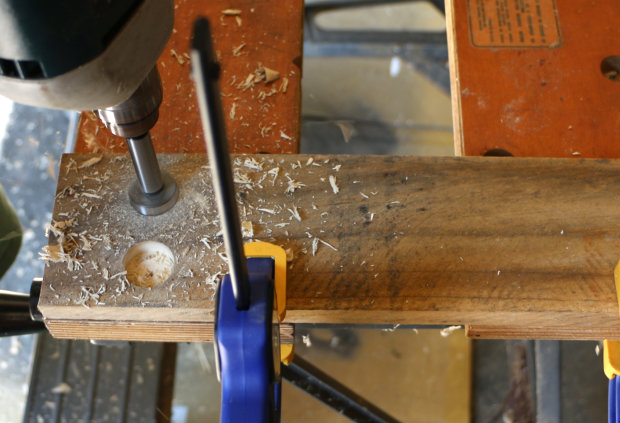
 Secure the board to the work surface withclamps and start drilling. It is best to use a Forstner drill for this job, as it allows you to make clean holes with smooth edges, as well as control the drilling depth. In order for the magnetic holder to be reliable and safe, it is necessary to drill holes of the maximum permissible depth. In order not to spoil the product, it is better to practice on another board of the same thickness. After determining the ideal drilling depth, make a mark on the drill itself (with masking tape, for example). This will help you stop in time at each stage.
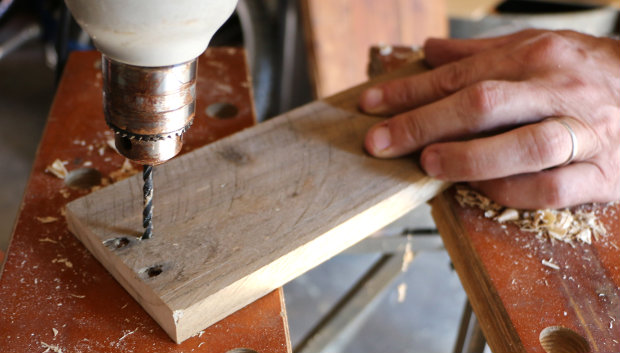
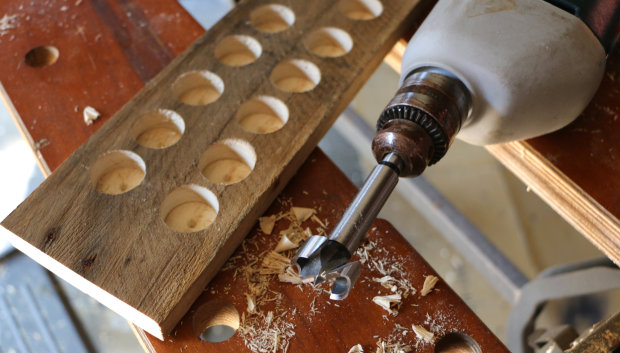 After the most important partthe work is finished and 18 even and deep notches have appeared in your board, you need to use the drill again. Use a regular drill to drill holes for the mounting screws.
 Now you need to glue the magnets.To ensure that the knives are securely held on the wooden surface of the product, several magnets must be secured in one "nest" (the more, the better). In our case, the depth of the recess was enough for three magnets. A layer of glue must be applied to the bottom of each recess. Also, do not forget to glue the magnets together.
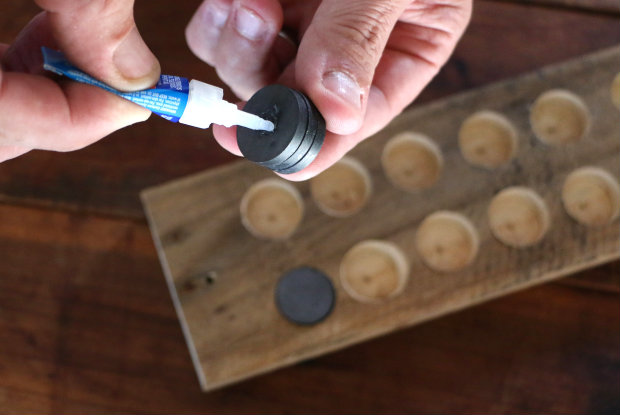
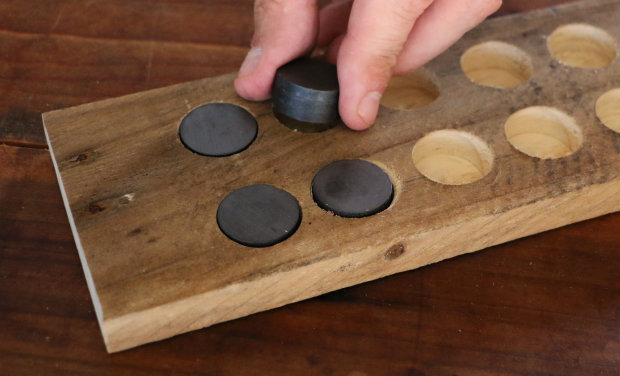 Once the glue has dried, all you have to do is attach the product to the wall using screws.
 And here is your original magnetic holder in a rustic style! A wonderful decorative solution for a kitchen in country, eco or Provence style.
 ehow.com
