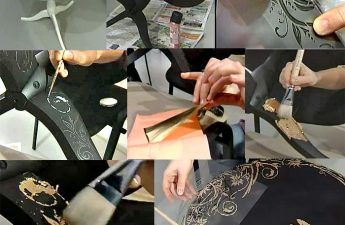
Sometimes the interior of the home begins to seem boringand pretty boring. You can solve this problem by starting a major renovation, buying new furniture or at least moving the old one from its usual place to a new one. But a little time passes, and you want something new again, but you don’t want to invest money in updating the furnishings. In such cases, you can slightly change the appearance of the old furniture: decorate the table yourself, repaint it, paint it or lay out a mosaic. Even such an insignificant alteration that does not require investment of money will bring a fresh note to the home decor and give positive emotions during and after the work.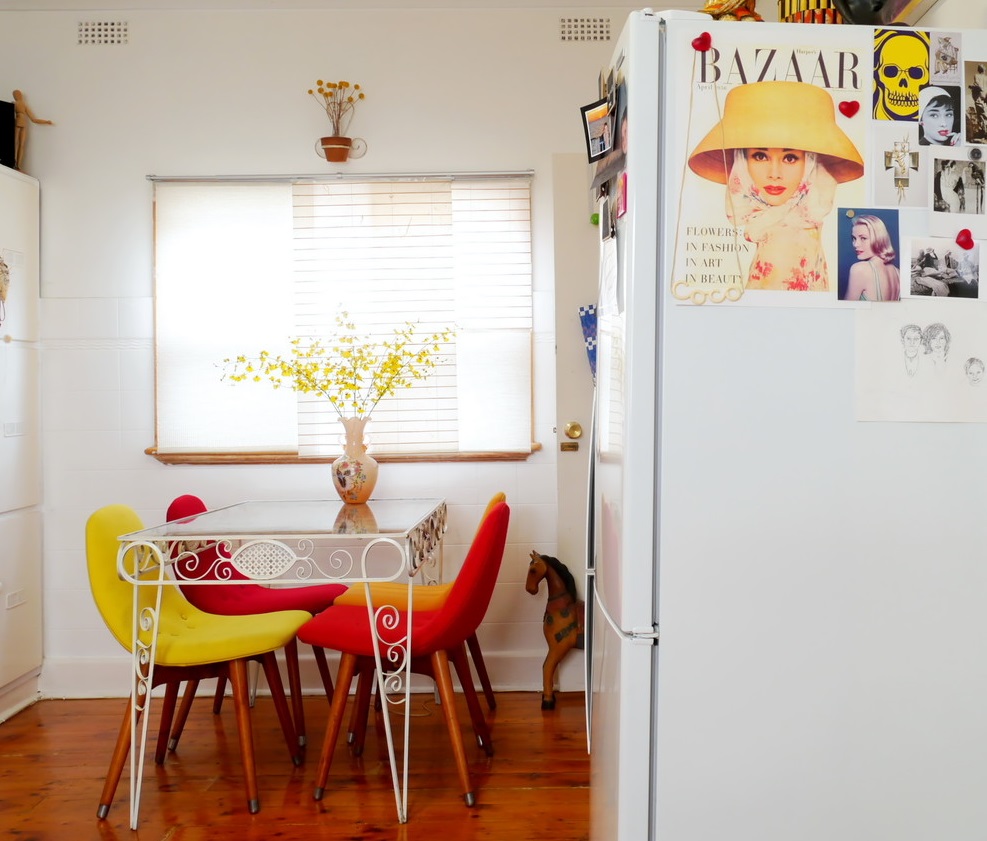 A coffee table with monochrome photos and drawings will stand out from the general background of the interior. The black and white color scheme with shades of silver will add mystery to it.
What will help to restore the old table?
No matter what method is used to decoratetable, before starting work, it is necessary to completely remove the old paint coating, which may have cracks, bubbles or chips. To apply a new decorative layer, the surface must be as smooth as possible. Therefore, among the tools, you will need different and slightly unexpected things: Stages of table decoration with mosaics.
- spatulas (metal and rubber);
- Economic sponge (from metal fibers and foam rubber with a hard layer);
- sandpaper;
- toothbrush, needle or toothpicks;
- gel for the removal of lacquer;
- glue on a tree;
- putty, glue for ceramic tiles;
- ruler, corner, pencil;
- paints and varnishes;
- brushes;
- gloves, respirator.
To remove varnish from the surface of the tablesome effort will be required. The easiest way is to apply a special gel and remove the softened layer. It is convenient to remove varnish from the joints of the parts with a hard toothbrush or a needle. After removing the varnish, the surfaces are carefully treated with sandpaper or a steel wool. To protect the lungs from inhaling dust, you need to take care of purchasing a respirator in advance. The prepared table can be re-decorated in a variety of ways. Return to contents</a>
Simple ways to finish the table
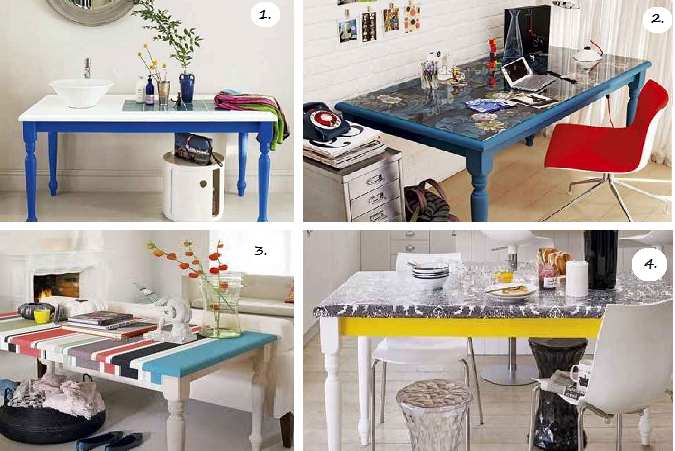 Figure 1.DIY table decor options: 1-vanity table with built-in faucet and sink; 2-writing desk covered with wallpaper; 3-striped coffee table; 4-table covered with oilcloth or self-adhesive film. Using paint, wallpaper, ceramic tiles and glass, you can make a completely new thing out of an old piece of furniture. Fig. 1 shows DIY table decor options:
Return to Contents</a>
Mosaic table top with your own hands
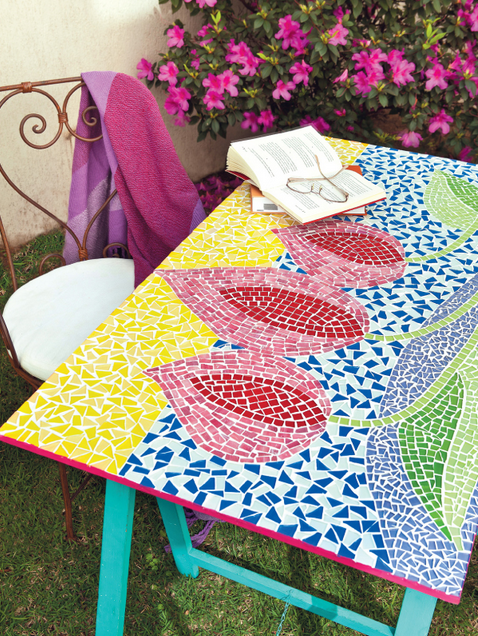 Figure 2.Table made of ceramic tile pieces, colored glass or dish shards. You can create a real work of art on the tabletop of a table intended for decoration from ceramic tile pieces, colored glass or dish shards. To do this, prepare the surface and paint it a light color. After drying, apply any pattern to the tabletop and use special glue to lay out a mosaic from the prepared multi-colored glass or ceramic pieces. Multi-colored pebbles and wood cuts can be used as a material for the mosaic. The choice depends on the purpose of the table and the interior in which it will be located (Fig. 2). After the pattern is completely assembled and the glue sets, cover the entire surface of the mosaic with grout for ceramic tiles, carefully rubbing it with a rubber spatula into the gaps between the mosaic elements. Wipe the pattern with a sponge or rag without waiting for the grout to dry. Dry the finished mosaic for 4-5 hours and finally clean it from grout residue with a damp sponge. To protect the mosaic tabletop from moisture, cover it with transparent varnish. In this case, the table frame can be painted in contrasting or matching colors, and decorated with mosaics. Return to contents</a>
Exquisite table with foam decor
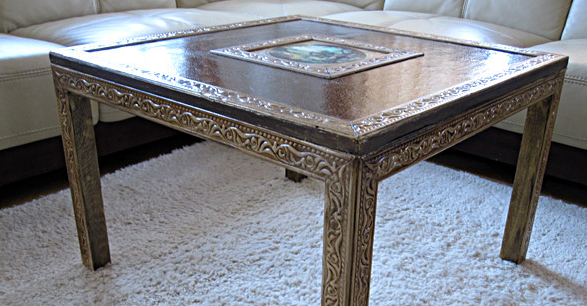 Figure 3. Picture in the middle of the table, framed with foam moldings. For this design you need to additionally buy:
- foam plastic baguette;
- acrylic and alkyd varnish;
- craquelure and gold paste;
- bituminous wax;
- a primer acrylic.
Prime the table prepared for work,Smooth out all the unevenness with sandpaper after the primer has dried. Mark the tabletop, finding the center. You can glue the printed picture in the middle, framing it with foam moldings. For this purpose, you can use PVA glue or another one suitable for working with wood. Cover the edge of the tabletop and the side surfaces of the legs with a molding. Cover all foam parts with acrylic primer only. After the primer has dried, paint the entire table with light-colored acrylic paint (beige, gray). Leave to dry and wipe the molding with bitumen varnish. By cleaning the convex parts, emphasize the pattern. Apply a craquelure composition to the surface of the tabletop free of moldings, dry and restore the cracks in the varnish with gold paste. After processing and drying, cover the table with varnish, not forgetting that the alkyd varnish should not get on the foam surfaces. Cover the baguettes with acrylic varnish (Fig. 3). Such relatively simple operations can change the appearance of an old table beyond recognition. Household members will be surprised by the unexpected appearance of a new piece of furniture, and guests and friends will be inspired by the table decor made with their own hands to get creative.</ ul>
