Today many home craftsmen create an unusualceiling decorations with their own hands, without involving expensive specialists in this process. Another 1,5-2 years ago, the only way to finish the ceilings in the living room was considered whitewash, then the fashion included ceiling wallpaper and tiles, which allow creating an uncomplicated ceiling design with small financial investments.  Decorative plaster allows you to create patternsa wide variety of forms. Nowadays, the methods of finishing the ceilings of the past years are rarely used for repairs. Stretch and hinged ceiling structures of various colors and configurations have replaced whitewash, tiles and wallpaper. However, not all owners of apartments and houses are satisfied with even the most expensive ones. There are many people who additionally decorate them using modern decor methods.
The application of stucco elements to the ceiling
 Picture 1. The ceiling with stucco elements looks extravagant and unrepeatable. One of the most popular methods of decorating the ceiling is stucco, that is, its decoration with the help of special relief pattern elements (skirting boards, sockets, moldings). Sockets are called the elements installed at the base of the chandelier and create with it a single stylistic ensemble. Moldings are used to zoning rooms, decorating the borders of arches, fireplaces, mirror surfaces. A variety of design moldings allows you to create a complex and unusual ceiling decor. Skirting (baguettes) belong to a variety of moldings, but they look stricter and laconic than the latter. Skirting clearly delineate the space between walls and ceiling, and also hide from prying eyes the top section of wallpaper, which often has an imperfect appearance. Elements stucco allow you to give refinement to even the most ordinary ceiling, making it an extravagant and unique detail of the interior of the room. All embossed patterns can be purchased ready-made in stores of finishing materials and independently decorate their working surface. Most of these templates are made from light materials (polystyrene or polyurethane) and attached to the ceiling surface by means of liquid nails. They can be used separately (for example, decorating the ceiling with skirting boards only), and create a complex ensemble with their help, carefully considering the design (photo 1).
  Tools for decorating the ceiling. Often people have a question, how to decorate the ceiling correctly, using relief elements. To implement this process, the home-based craftsman will need to stock up on all the necessary tools and familiarize himself with the main stages of the installation of the stucco. To decorate the ceiling you need the following tools and accessories:
- elements of stucco molding;
- a simple pencil;
- sharp knife;
- liquid Nails;
- ladder.
The ceiling on which the reliefelements of decor, should be perfectly even. Previously, it must be cleaned of dust and cobwebs. After preparing the working surface, proceed to install the stucco. 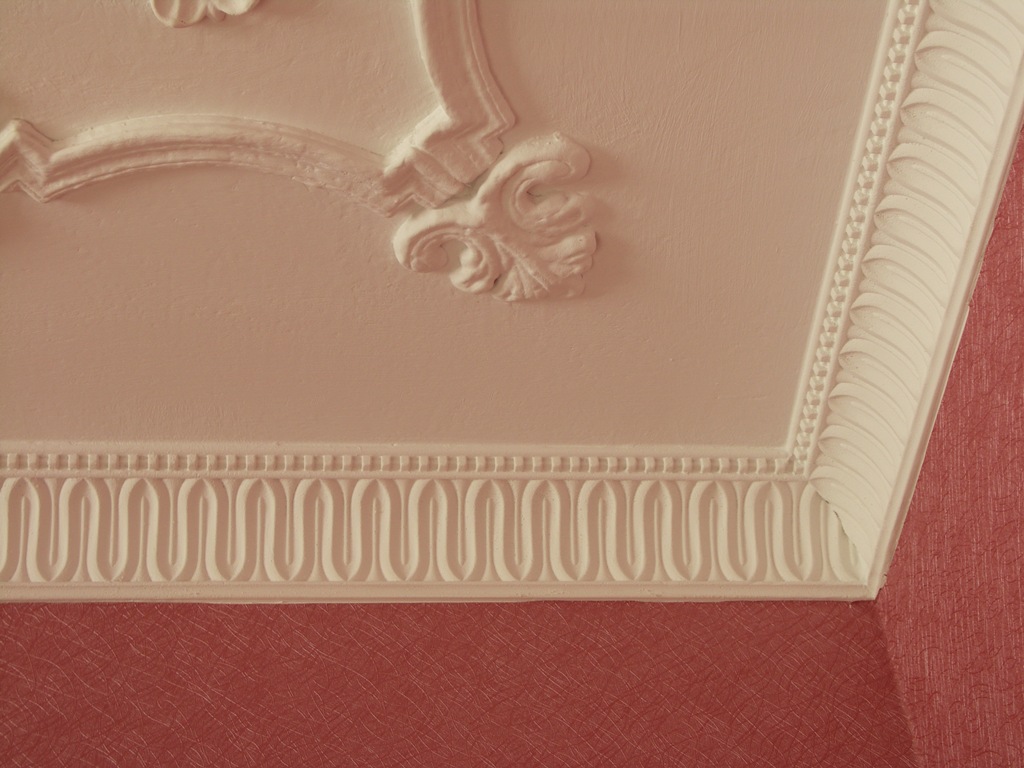 When the stucco on the ceiling completely dries, you can paint it in any shade.
When the stucco on the ceiling is completely dry, whendesire it can be painted in any shade. Particularly well look relief elements, covered with golden or silvery color. When choosing a paint, it should be borne in mind that polyurethane designs can be coated with any paint, and for polystyrene parts, only water-based paint should be purchased. During cleaning, stucco can be wiped with a damp cloth. Back to contents</a>
Decorating surfaces with stickers
For you can use special vinylstickers with original patterns or designs. This method of decor came into fashion relatively recently and immediately fell in love with the population, because stickers are inexpensive, and they can transform even the simplest interior beyond recognition. If you decorate the old ceiling with them, then they will reliably mask defects, cracks and streaks on its surface. Colorful stickers are intended for pasting all types of surfaces, except those covered with whitewash. 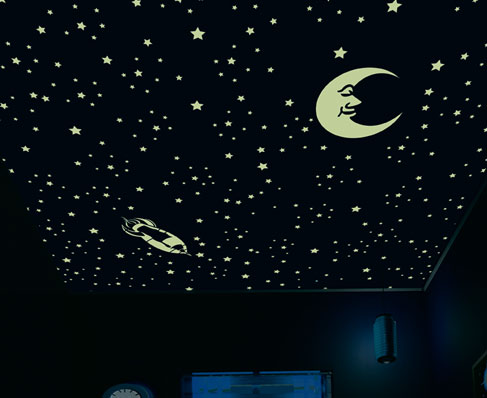 Picture 2. With the help of ceiling stickers in the bedroom, you can easily create a starry sky. Vinyl stickers come in a variety of sizes: there are large applications designed to be applied to the entire ceiling, but there are also some that adorn only a small area. They do not burn out under the influence of sunlight and can survive on the surface for several years. Ceiling stickers are designed for any room. With their help in the bedroom, you can easily create a starry sky (photo 2), ornate patterns or an incredible beauty flower arrangement. In the children's room it will be appropriate to look at the images of popular heroes of fairy tales and cartoons, and in the kitchen - compositions of fruits and vegetables. Successfully selected stickers will replace a socket for a chandelier or moldings, will help to divide the room into separate zones. To decorate the ceiling you need the following tools:
- vinyl stickers;
- a simple pencil;
- plastic spatula;
- ladder.
Before the beginning of the decoration, the ceiling is cleaned of dust, and then starts to work.
Back to contents</a>
Decoration with stencil patterns
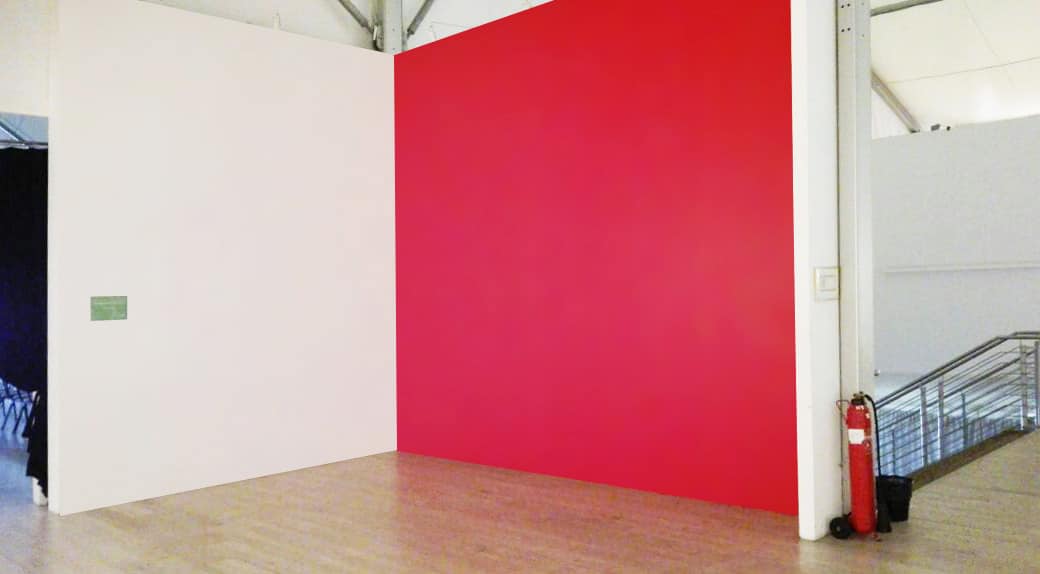
 A photo 3. With the help of the stencil painting, it is possible to create ornaments, patterns and patterns of varying complexity on the surface of the ceiling. For the design of the ceiling, you can apply a stencil painting, creating on its surface ornaments, patterns and drawings of varying degrees of complexity (photo 3). For this method of decoration you will need:
- ready templates (they are sold in art stores);
- Painting tape;
- acrylic paints required shades;
- Stencil brush with short bristles;
- ladder.
If the drawing consists of repetitiveelements, then there should be several identical stencil sheets, because during the work they will quickly get dirty with paint and they will have to be replaced with clean ones.
To decorate the ceiling of the room yourself,special creative abilities are optional. Most modern decor techniques allow you to turn the ceiling into a real work of art, spending a minimum of effort and time. </ ul>


