Many people dream of opening a cafe or restaurant.But the financial side of such a desire does not allow everyone to realize it. But creating a comfortable closed bar at home for family and guests is quite a feasible task. The bar counter adds a stylish design to the interior andis used for zoning the premises. Every owner understands the benefits of such an acquisition, because it will help not only to get an ergonomic work surface and decorate the interior, but also to designate the kitchen and dining room areas. However, not everyone comes up with a completely feasible idea to build a counter at home with their own hands.
Variety of bar counters
Before you start the process of creating a bar counter for your home, you need to decide on its final appearance. After all, the appearance and location largely influence the purpose of the new interior attribute.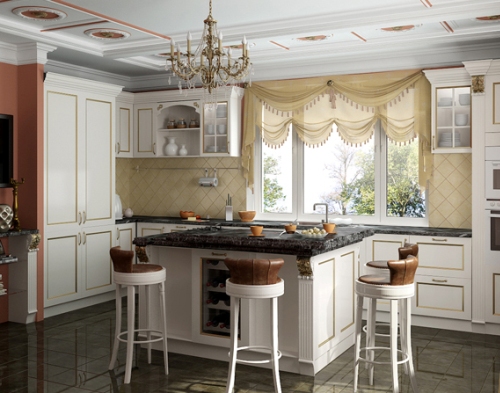 The "Island" bar counter is located in the center of the room. The bar counter can be placed in the following way:
The types of bar counters are distinguished not only by design solutions, but also by the materials used. A bar counter can be made from the following basic materials:
- tree;
- metal;
- glass;
- plastic;
- a rock.
But the classification of design solutions in the house looks like this:
Once the type determination stage is completed, you can proceed to recommendations on how to make a bar counter yourself. Return to contents</a>Master class on creating a bar counter with your own hands To make a bar counter at home, you will need the following materials: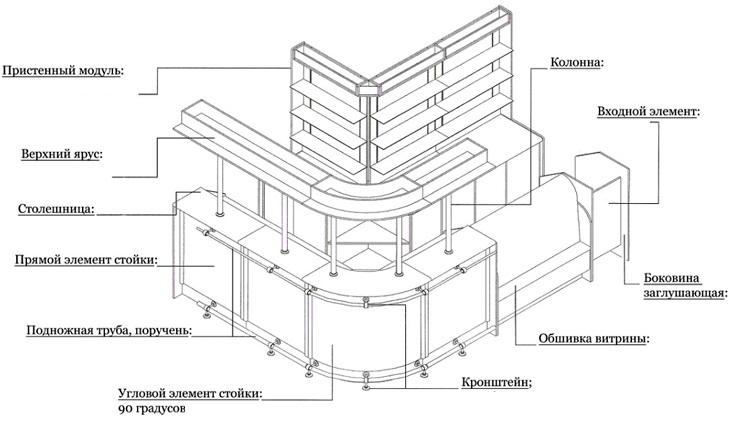 Corner bar counter design.
- wooden beams - 0.5x10 cm;
- board - 2x30 cm;
- Fiberboard;
- ceiling molding;
- plinth;
- screws - 9 cm;
- nails - 5 cm and 7.5 cm;
- putty for wooden surfaces;
- sealant for painting;
- thin bars;
- paint;
- nazhdachka;
- Saw disk;
- machine for cutting;
- saw saw hatching;
- a hammer;
- drill.
The stand must be made according to previously calculated parameters.dimensions in accordance with other interior elements in your home. From the prepared beams, you need to make 2 beams measuring 0.5 x 10 cm, as well as posts 95 cm high. It should be taken into account that one end of the frame will subsequently be attached to the wall, which is why the posts on this edge can be less frequent. Since the end of the bar counter will be loaded more, it is recommended to place the last 2 elements at a small distance. Using 7.5 cm nails, connect the beams and posts.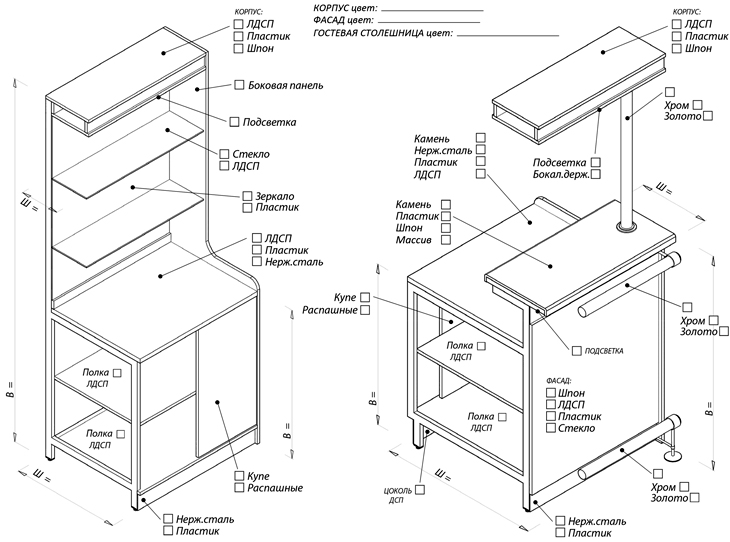 Scheme for selecting materials for a bar counter.To ensure a secure position of the frame, it is necessary to push it close to the wall, then mark 160 cm from the wall on the lower beam, and 90 cm in height on the wall. If the frame is made correctly, the distance between the marked points will be 250 cm. When you set the frame, you will need to attach the frame to the wall using 9 cm screws. Then, a 5x10 cm piece of timber should be laid on top of the installation, monitoring the position with a level. If there are no problems with the level, the timber can be nailed. From a fiberboard sheet (1.8 cm), you need to create the facades of the bar counter. If you want or need to lay wiring for the manufacture of facades, it is better to use drywall. Having attached the sheathing with 5 cm nails, sheathe the end of the counter with 7.5 cm nails. Any bar counter must have a tabletop. To do this, you will need to put a 2.5 x 30 cm board on top. The length of this element is calculated by adding the width of the ceiling molding to the length of the base. Secure the finished element with 5 cm nails. The ceiling molding must be attached between the countertop and the facades, and the baseboard, in turn, should be cut along the edges with a miter saw (angle 45°). Seal the resulting cracks with sealant. The final stage is to process all the joints with sandpaper, seal with putty and paint. Now the bar counter is ready!


