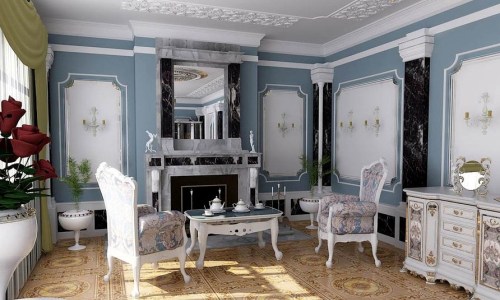
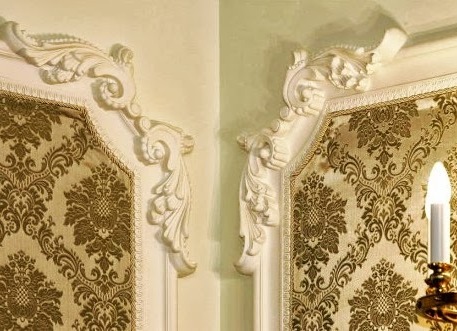
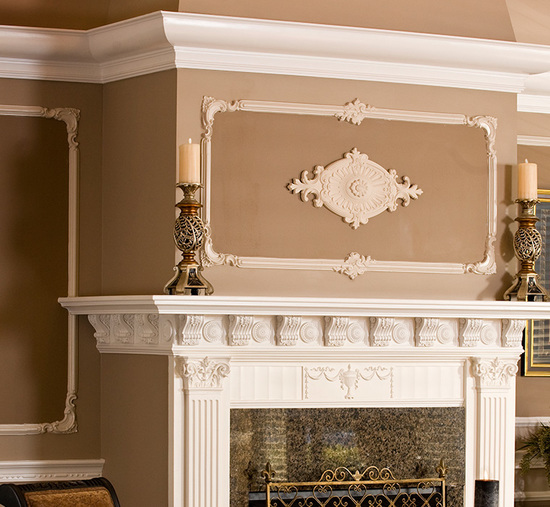
Finishing walls with moldings allows you to makeoriginality in the interior. Most often, polyurethane baguette is used for this purpose. Although this material is not the most expensive, but when finishing a large area, it can require large financial costs, so many are interested in how to make moldings for . With the help of molding, you can achieve a wall interior in the form of large frames in a classic style, imitation of an artistic baguette, wallpaper decoration in a different color or picturesque elements.
How to make moldings for gypsum walls
You will need:
- gypsum;
- silicone sealant;
- wide brush (flutes);
- polyurethane molding for sample;
- bandage or plastic mesh.
Wall decoration plays an important role in creatingcozy and original interior. Using moldings, you can achieve an interesting, unusual effect. These can be large frames in a classic style, imitation of an artistic baguette or window opening, wallpaper decoration of a different color or picturesque fragments. Everything depends only on your imagination and capabilities. To make a plaster molding, you need topour gypsum into a special mold. In order to make a molding with your own hands, you need to buy one strip for the sample, and also make a casting mold from silicone sealant. Making a mold is a fairly simple matter that will not take you much time. Place the finished polyurethane molding on a flat surface, grease it with vegetable oil, dilute a little plain soap in warm water, squeeze the silicone sealant onto the sample, wet the brush in soapy water, smooth the silicone. This is done in order to remove air bubbles and ensure a tight fit of the silicone. After the sealant hardens, you will get a mold for casting, but this is not enough, you need to give it stability. To do this, make a long box from corrugated cardboard or plywood, pour gypsum mortar into it, lay the silicone mold with the molding inside. After the plaster hardens, the sample is removed, the mold is ready for use. In order to make moldings, it is necessary to dilute the plaster. It is important to pour the plaster into the already poured water, and not vice versa, otherwise you will not be able to achieve homogeneity of the solution. You should get a mass that resembles not very thick sour cream or pancake batter in consistency. Pour the solution into the mold, shake it well, if you do not do this, then voids may form, which is extremely undesirable. Place a reinforcing material (bandage or plastic mesh) on top of the plaster, press it down a little, leave until the material is completely dry. If you notice water accumulating on the surface when the plaster dries, it means that the solution was made incorrectly, such a product will turn out fragile. The next time you mix, you will need to reduce the amount of liquid. The finished baguette is removed from the mold, all other parts are made in the same way. You can start finishing the walls with moldings. Return to the table of contents</a>
Wall decoration with molding
You will need: To finish with molding, you need to use polymer glue, a miter box, a long ruler, and acrylic putty.
- moldings;
- polymer glue (liquid nails);
- stool;
- long ruler;
- acrylic putty;
Decorating walls with molding is quite simple,if you follow the technology and learn how to cut the material neatly and evenly. First of all, you need to mark the wall with a ruler, measure the corners with a protractor. Important: moldings are glued before the final finishing of the walls, with the exception of special self-adhesive panels that are attached over wallpaper and decorative plaster. The glue is selected depending on the material the moldings are made of. Liquid nails and self-tapping screws are suitable for wood, polyurethane is mounted using polymer glue, gypsum is placed on alabaster mortar. When decorating walls with moldings, you cannot avoid cutting corners. This is one of the most important points on which the appearance of the entire decor will depend. It is best to purchase a miter box (a special tool for cutting corners) for this purpose. If you were unable to find it on sale, you can do it differently: take a sheet of paper in a box, draw a square, draw 2 diagonals from corner to corner, attach the molding, focusing on the drawn lines, mark the bottom and top of the cut. It is very important to cut the moldings exactly at an angle of 45º, since even a small deviation will affect the result. The glue is applied directly to the molding, while you need to step back a little from the edges, otherwise, when gluing, the mass can be forced out and stain the molding. The molding is carefully applied to the wall (along the markings), pressed a little, held for a while, then released. If your corner joints turned out to have gaps, then this oversight can be easily corrected using acrylic putty, it is applied with a rubber spatula or finger, after drying, sanded with fine-grained sandpaper. If desired, the moldings can be painted with acrylic paint in any color you like. Using the advice of the masters outlined above, you can easily make moldings and finish the walls yourself.


