In most cases, renovations in an apartment orprivate house includes updating the ceiling covering. Among the huge number of different finishing materials, the most accessible and easy to perform is whitewashing the ceiling with your own hands. This is due to the fact that this procedure does not require significant monetary and physical costs. At the same time, whitewashing allows you to update the interior of the house, give it freshness and novelty. Therefore, below we will consider how to whitewash the ceiling yourself.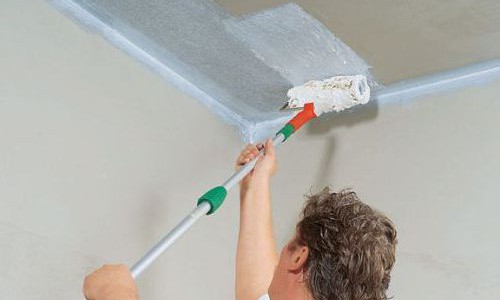 Whitewashing the ceiling is the fastest, cheapest and easiest way to update the ceiling.
Preparatory work
So that after some time after whitewashingceiling through the white color of the yellow stains from grease or rust do not appear, and the color is applied evenly, it is necessary to properly prepare the finishing surface. Preparatory work includes several stages: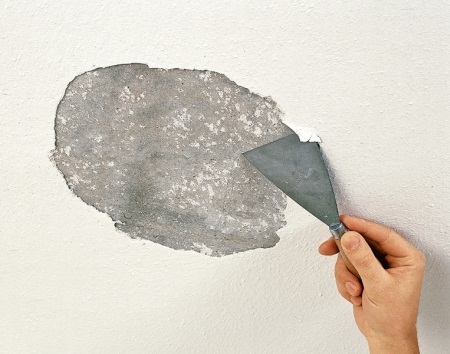 Figure 1. Removing old whitewash is done using a spatula and warm water.
- dismantling of the old coating;
- Removal of rust and dirt;
- alignment of the base.
To remove the old coating you canuse warm water and a scraper (Fig. 1). The complexity of dismantling work will directly depend on what the previous whitewash was done with: it is quite difficult to remove lime mixture and paint, but chalk solution can be removed without any problems. To understand what the ceiling is finished with, you can run your finger over it: if you clearly see a white mark on your finger, then you can conclude that the base was whitewashed with a chalk mixture. After removing the old coating, you need to carefully inspect the ceiling surface for any traces of dirt (fungus, rust, etc.). Rust can be removed with ordinary water and a scraper, after which this place should be treated with a solution of copper sulfate. To prepare it, you need to dissolve 50-100 g of copper sulfate in 1 liter of water. Grease stains can be easily removed with a rag soaked in a solution of soda ash, and to clean the surface from mold and mildew, you can use a scraper and an antiseptic solution. The last stage of preparatory activities is leveling the base. If any defects are visible on the ceiling (cracks, chips and other irregularities), then you can use putty and primer to eliminate them. In this case, it is recommended to use adhesive putty, as it has good adhesion, it is easy to prepare and apply. To prepare such a solution, you need to take chalk, gypsum and wood glue in a ratio of 1:2:2 and thoroughly mix all the ingredients. To obtain a more liquid solution, the glue can be diluted with water. Putty should be applied with a spatula.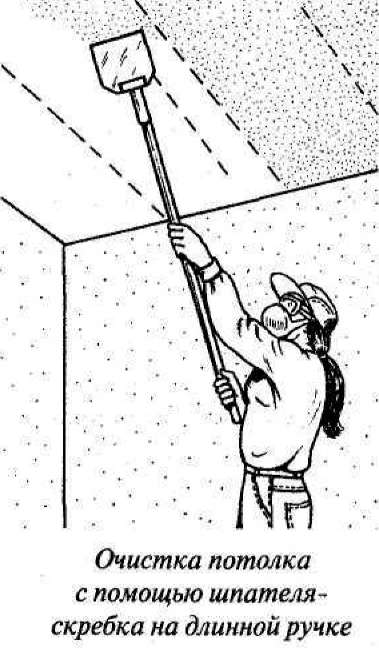 Leveling the ceiling with putty is done according toscheme. After the putty has dried, the base must be sanded and treated with a primer. This will allow you to achieve a smoother base and reduce the absorption of the finishing coat, which will significantly reduce its consumption per unit area. First, hard-to-reach places are primed with a brush, after which the rest of the surface is treated with a roller or spray gun. After the primer has dried, you can proceed directly to whitewashing the ceiling. Return to the table of contents</a>
Choosing the materials for whitewashing the ceiling
Whitewashing the ceiling can be done using: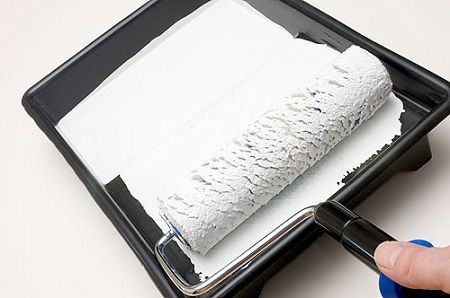 The ceiling is painted with water-based paint, chalk or lime.
- water-based paint;
- chalk;
- lime.
In the first case, paints are used thatconsist of non-aqueous substances (oil, resin, varnish), emulsion and water. Unlike other paint and varnish solutions, water-based emulsion is an environmentally friendly product that is completely safe for the human body. Therefore, such paint is perfect for finishing ceilings in residential premises. A cheaper option for whitewashing is to use chalk and lime. To prepare a chalk solution for whitewashing a base of 10 m2, you need to add 30 g of wood or PVA glue to warm water. After this, chalk (about 3 kg) is slowly poured into the water, while the solution must be constantly stirred. To enhance the whiteness and to eliminate the yellow tint, you can add about 15-25 g of blueing to the mixture. If you choose a lime solution, then to create it you need to dilute lime (1.7 kg) in warm water, and then add 15-25 g of blueing, after which the solution is thoroughly mixed.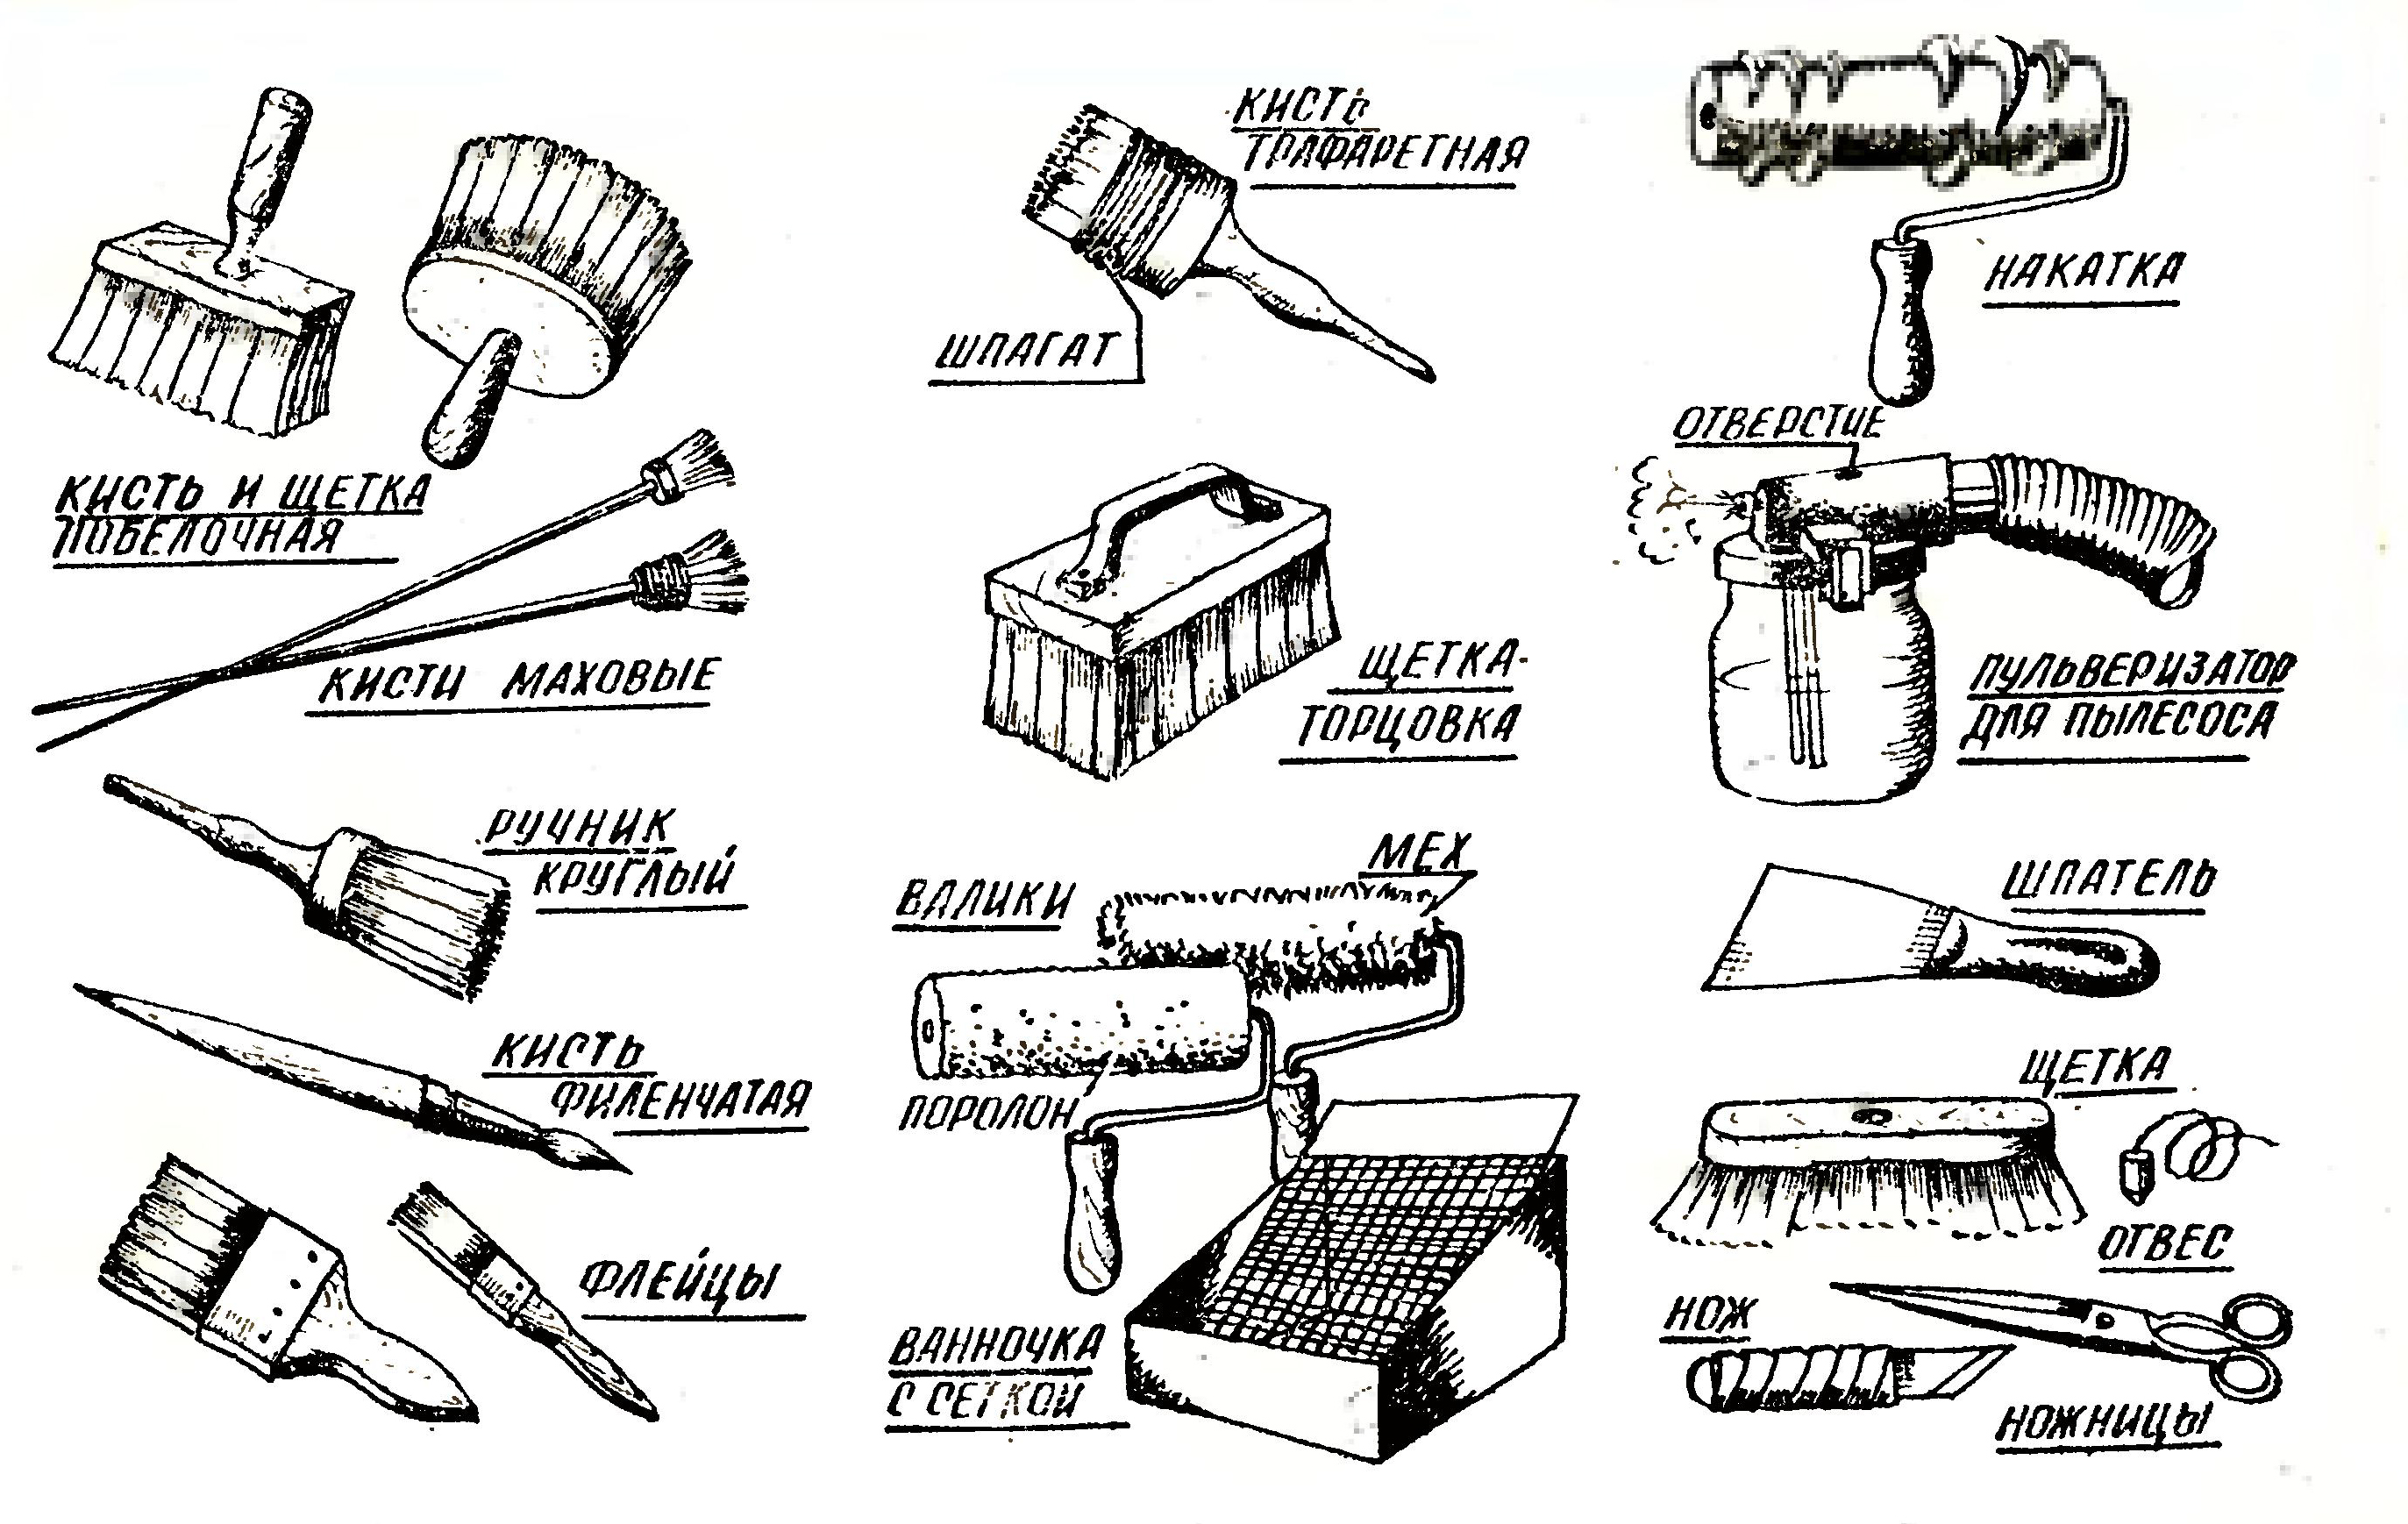 Tools for whitewashing the ceiling:spatulas, scrapers, rollers, sprayer or brushes, bucket for the solution, putty and primer. In order for the whitewash with lime or chalk to lay correctly, you need to achieve the optimal consistency of the solution. To do this, you need to lower a metal object into a container with the mixture for a few seconds and see how the solution behaves: if it flows off the object without a trace, this means that the solution is too liquid. In this case, you need to add a little more dry substance. In addition to the whitewash solution, you will also need the following tools and materials:
- putty knife;
- scraper;
- roller or nebulizer;
- brush width of about 15-20 cm;
- solution tank;
- rags;
- putty;
- primer.
Return to Contents</a>
Beating the ceiling with your own hands
Whitewashing with water-based paint.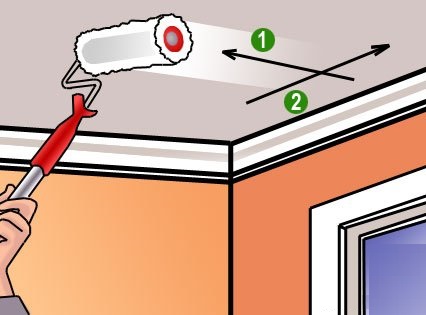 Figure 2.The paint is applied in two layers, along and across the ceiling. Before applying the paint, you should carefully study the instructions for its use. Some paints must be diluted with water in a certain ratio before use. After that, the paint must be mixed well and poured into a tray or paint tray. Then, using a brush, the ceiling is painted along the entire perimeter in 2 layers. This will allow you to treat hard-to-reach places and smear the walls less than when working with a roller or pneumatic sprayer. The remaining finishing area can be painted with a roller also in 2 layers. The second layer is applied only after the first has completely dried. In this case, the first layer must be applied perpendicular to the window, and the second - along the window to the doorway (Fig. 2). This will allow you to hide possible ceiling defects as much as possible. If poorly painted areas of the ceiling are visible after the second painting, they must be treated with paint again. To obtain an ideal surface when applying paint to the roller, you must always press with the same force. Whitewashing the ceiling with chalk and lime. The technology of whitewashing the ceiling with these materials is practically no different from treating the base with water-based paint. Here, too, you need to whitewash in 2 layers (first across the natural light source, and then along it). As a tool, you can use a roller, a pneumatic sprayer or a special brush called a "maklovitsa". If the solution for whitewashing the ceiling was prepared correctly, and the process of its application was carried out without violating the instructions, then such a ceiling will retain its whiteness and attractiveness for 3-5 years.</ ul>


