If you have not tried hiking in the summer, you canpractice in the "marching" craft. Use our tips that will teach you how to build a cute Indian wigwam for a children's room Do-it-yourself wigwam master class Today's master class will teach parents how to build a cute Indian wigwam with their own hands, which will decorate the nursery and serve as a wonderful decoration for games. After spending a little time and effort to make this wonderful tent, you will certainly be rewarded with a happy smile on a child's face. You will need:
- 6 strong wooden branches about 2 m long (they can be replaced by wooden slats purchased in the building materials store);
- A piece of linen cloth about 2.7 x 3.7 m in size (it is advisable to use artistic canvas);
- Through metal rivets of large diameter (not less than 12 pieces);
- twine;
- Leather rope;
- Tools: scissors handle, measuring tape, straight ruler, drill, hammer, iron, textile hot glue.
We proceed. Measure from one end of each branch about 30 centimeters. Make a note and drill a through hole with a drill. Pass the twine through all the holes and tie the knot. Initially, the fixation will be weak. Do not worry, it should be so. 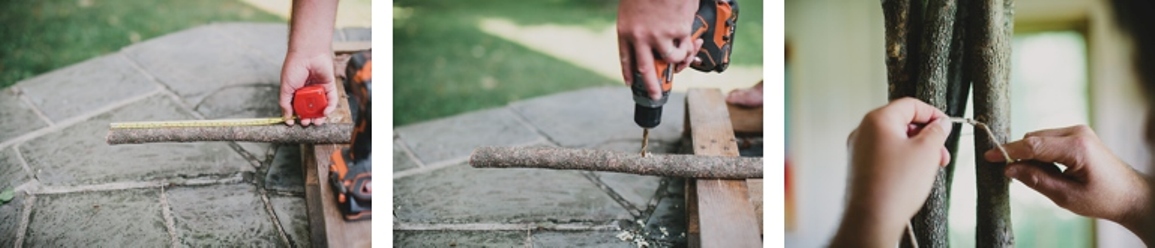 Arrange the branches so that you haveFrame, corresponding in form to the Indian wigwam. Wrap the remainder of the twine around their intersection to cover the holes and securely fix the structure.
 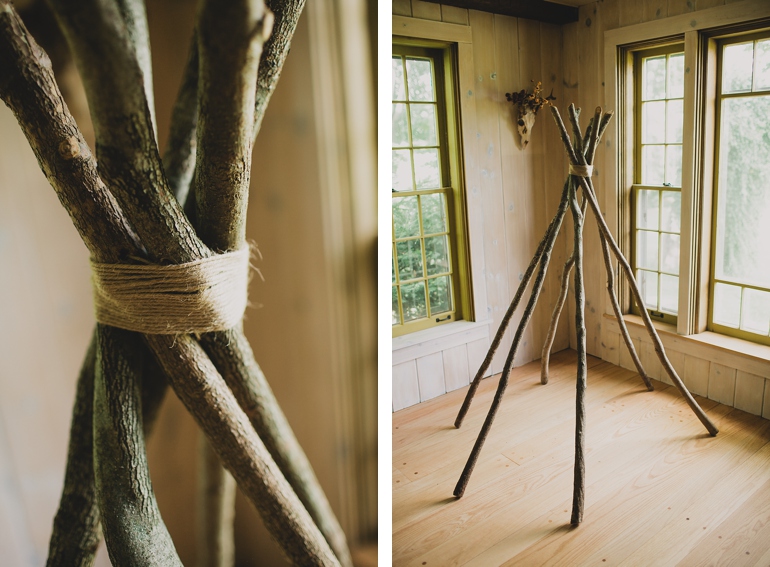 Fold the fabric in half.Measure 15 centimeters from the folded corner, draw a smooth arc as shown in the photo, and cut. Wrap the fabric around the frame so that the cut out semicircle is at the top of the structure. Stretch the fabric and near the base of each branch, make a mark where you would like to fix the length. Remove the fabric and connect all marks with a pen and ruler. You will get a broken line along which you will trim the fabric.
 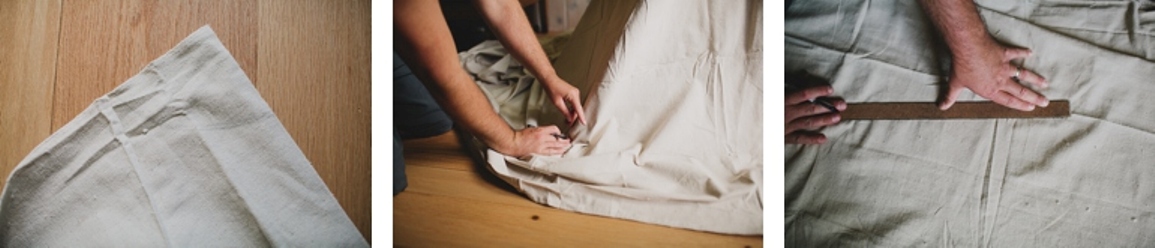 Use scissors to trim off excess fabric.Fold the edges of the fabric from the side of the future entrance to the wigwam and use textile hot melt glue and an iron to “hem” the fabric. Throw the fabric over the frame again. Make sure the length is correct and mark where you plan to use the through rivets. To make the wigwam look attractive, there must be at least 6 of them on each side. The distance between the rivets should be approximately the same both vertically and horizontally.
 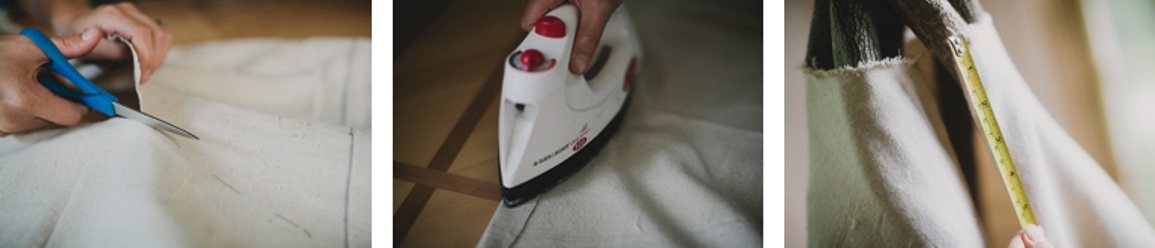 Install rivets with a hammer orPliers. Then pass the prepared leather rope through the holes crosswise - as shown in the photo. Lace up from the bottom (thus the end of the rope will not be visible). Tighten the lacing so that the fabric fits tightly around the frame.
 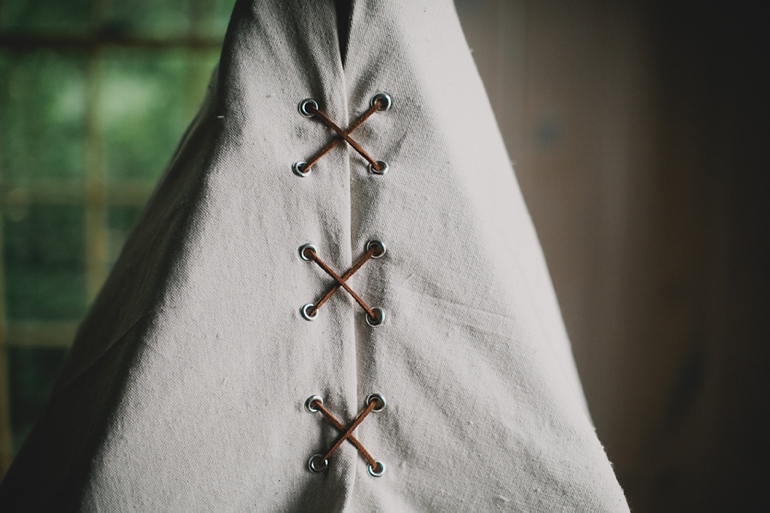 Now you only need to call the child and enjoy his genuine joy at the sight of his own room wigwam.
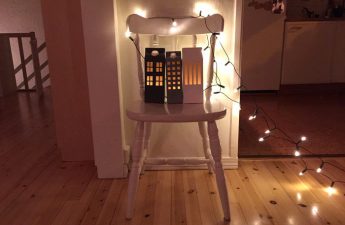
  http://themerrythought.com