In the design of a room in an apartment or onwant to be different from others in the country. This can be done by combining incompatible things. For example, as in Fig. 1. For this lamp, some parts from an old chandelier were used, supplemented with ordinary disposable plastic spoons. Such spoons can be used to make lamps of different designs. Several of them are worth considering in more detail. Figure 1. Don't rush to throw away used plastic spoons, because you can make a beautiful and interesting lamp out of them.
Required Details
To work, you need to prepare the following tools and parts: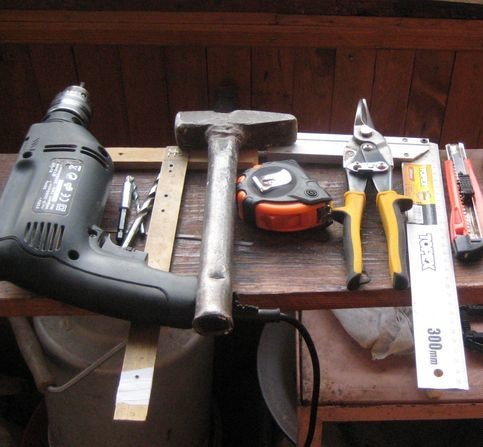 Figure 2. To make a lamp from spoons you will need: plastic spoons, cord, lamp, plastic bottles, glue gun, stationery knife, screwdriver, chuck, side cutters and an awl.
Powersave lamp. It is practically not heated during combustion. For a plafond made of plastic parts, it is very suitable, because it does not pose a fire hazard.
Electric stuffing. You should dig in your workshop and find a piece of electric cord, a bulb holder for screwing a light bulb and an electric plug. The cartridge must necessarily correspond to the lamp cap type, which can have a diameter of 27 and 14 mm. You can also use a switch of any type that is installed in the cord break. If these parts are not found in the household, they can be bought at any electrical store.
Plastic container from liquid products. It is better to use a bottle of 3-5 liters.
Plastic disposable spoons. Their color may not necessarily be white. You can buy them in any quantity in many food stores, shopping tents, cafes. They cost cheap, so you can buy a whole package, because after manufacturing a trial product, most people play a fantasy and have a desire to do something else like that.
Adhesive electric gun. It may be needed to glue some parts when assembling the luminaire.
Stationery knife. It will be necessary for cutting some parts of a plastic bottle and spoons, for cutting out various holes in the details of the chandelier.
You may need an awl, thin wire, side cutters. Everything depends on the planned design of the lamp.
Return to Contents</a>
Making a lamp
All the parts are prepared (Fig. 2), you can start making: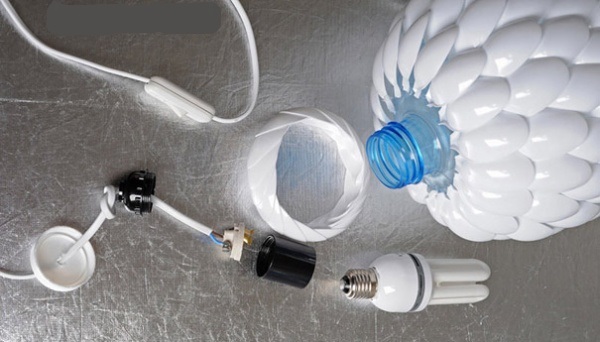 Figure 3. The electrical part of the lamp is assembled from a socket, a plug and a cord.
First you need to prepare a special way for plastic spoons. They need to carefully cut off with a clerical knife or side cutters handles, leaving about 5 mm, which may be needed.
A plastic bottle with a capacity of 3-5 liters cuts the bottom. Preliminarily it is recommended to apply a marker or a marker to the cut line.
Using a glue gun, gluetrimmed spoons to the sides of the bottle. Work begins at the bottom of it. Spoons are glued closely to each other along the circumference of the bottle. The next row is stitched in staggered order. Peculiar flakes of spoons of the next row should be located between the scales of the previous one. The last top row can be glued separately as a circle and close this bottle neck, attaching it with a few drops of glue.
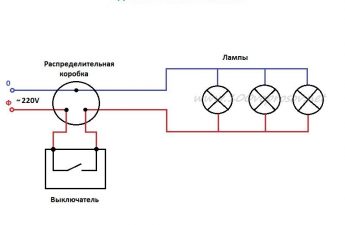
There is an electrical part consisting ofcord, chuck and fork. An energy-saving light bulb is screwed in, all this is placed inside the bottle. The electric wire is pulled through the bottle cap through a specially drilled hole. The cover is screwed onto the neck (Figure 3). You can turn on the lamp-chandelier and admire its soft light. Options for additional decorative design will tell your imagination. You can use for this purpose different beads, rhinestones and other items that you need to look for among household things. Try sponges yourself with phosphorescent or ordinary acrylic paints.
Return to Contents</a>
Lamp-tulip
To make a table lamp you will needdisposable plastic spoons. Their quantity depends on the quantity of tulips. Each tulip requires 6 spoons. Sequence of work: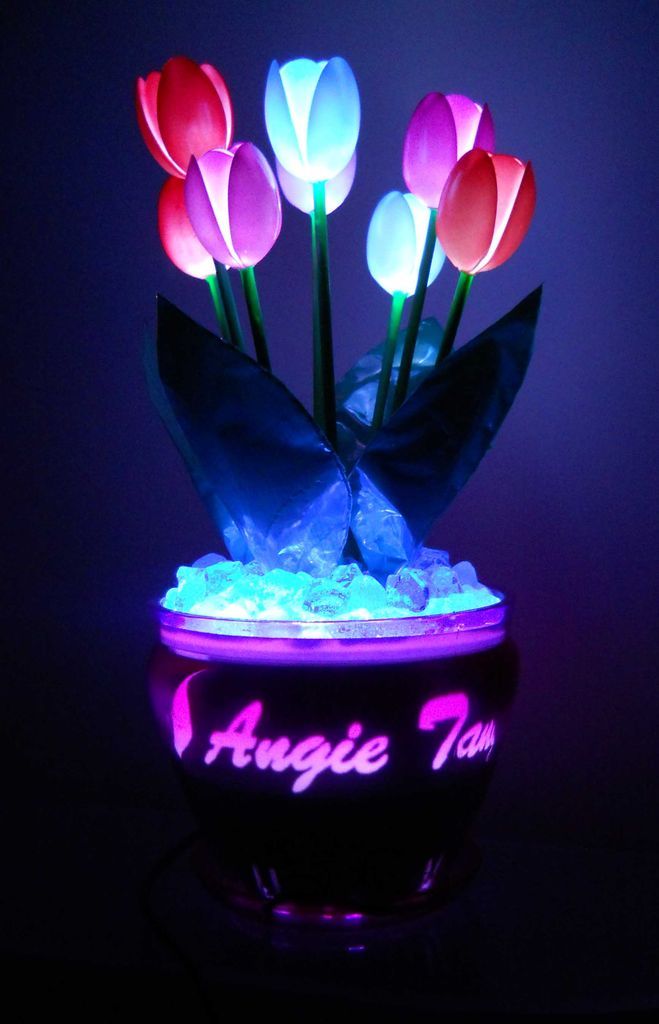 Figure 4. For each tulip of such a lamp you will need 6 plastic spoons, which are glued together in the shape of a bud.
Spoons are cut off from the spoons. For the manufacture of such a lamp, they are not needed, but may be needed for other crafts. 3 spoons are glued together, forming bud buds. Above them are pasted the remaining 3 petals.
Bottled buds of buds are painted with aerosol paints from a can. Color can be selected at will master.
At the junction of the petals of the bud,a hole for the stem. It can be drilled or burned with a soldering iron, an electric burner, a red-hot metal rod. Functions of the stem are made by a plastic tube for the cocktail. It is inserted into the prepared hole and glued with a glue gun. To the stem, you can glue the leaves cut from a plastic bottle of green color.
Inside each tulip is inserted LED. If the buds of tulips are painted, then its color can be any. It is connected to the network via a resistor. If this is not done, it will warm up, which can lead to a fire.
Ready-made flowers are collected in a bouquet andare installed in a suitable dish. It can serve as a transparent container, which can be filled with multi-colored spheres of aqua-gas. They will add extra beauty to the product created from spoons with their own hands. The luminaire is ready (Fig. 4).
Creating unique designer crafts fromthings that have served their time are called the DIY movement. From plastic utensils in the form of bottles, spoons, forks, you can make many different things that will please the residents of apartments and country houses for a long time with their unique appearance and newly acquired functions. This is especially true for various types of lamps that can create unique beauty and comfort in the room. Try to build a simple chandelier in your spare time. Good luck!
Comments
comments
 Figure 1. Don't rush to throw away used plastic spoons, because you can make a beautiful and interesting lamp out of them.
 Figure 2. To make a lamp from spoons you will need: plastic spoons, cord, lamp, plastic bottles, glue gun, stationery knife, screwdriver, chuck, side cutters and an awl.
 Figure 3. The electrical part of the lamp is assembled from a socket, a plug and a cord.
 Figure 4. For each tulip of such a lamp you will need 6 plastic spoons, which are glued together in the shape of a bud.