Light in the house is a very important componentwhen creating coziness and beauty in the room. In addition, human health also depends on lighting. The level of vision and eye health are directly related to the type of lighting we have at work and at home. Although many do not pay attention to this, the psychological state of a person also depends on the quality of lighting. A very good option would be to make a ceiling lamp with your own hands.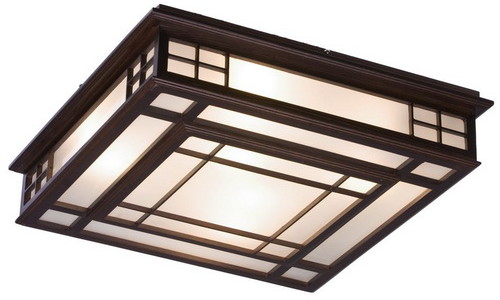 Figure 1. A lampshade with lamps inside will keep the ceiling clean.
Kinds of lighting devices
When a house is being renovated, new things are a musta decorative element is a lighting fixture. The modern market for such products is quite diverse. The range of lighting fixtures differs in design, shape, operating principle and design features. What should you choose? What parameters should you use to choose a chandelier? A very important and relevant point today is the purchase of such a device in which you can install an energy-saving light bulb. Saving money in the future depends on this. It is best to choose a design in which the lamps are located inside the lampshade, and not outside. Thanks to this, the ceiling will always remain clean and beautiful (Fig. 1).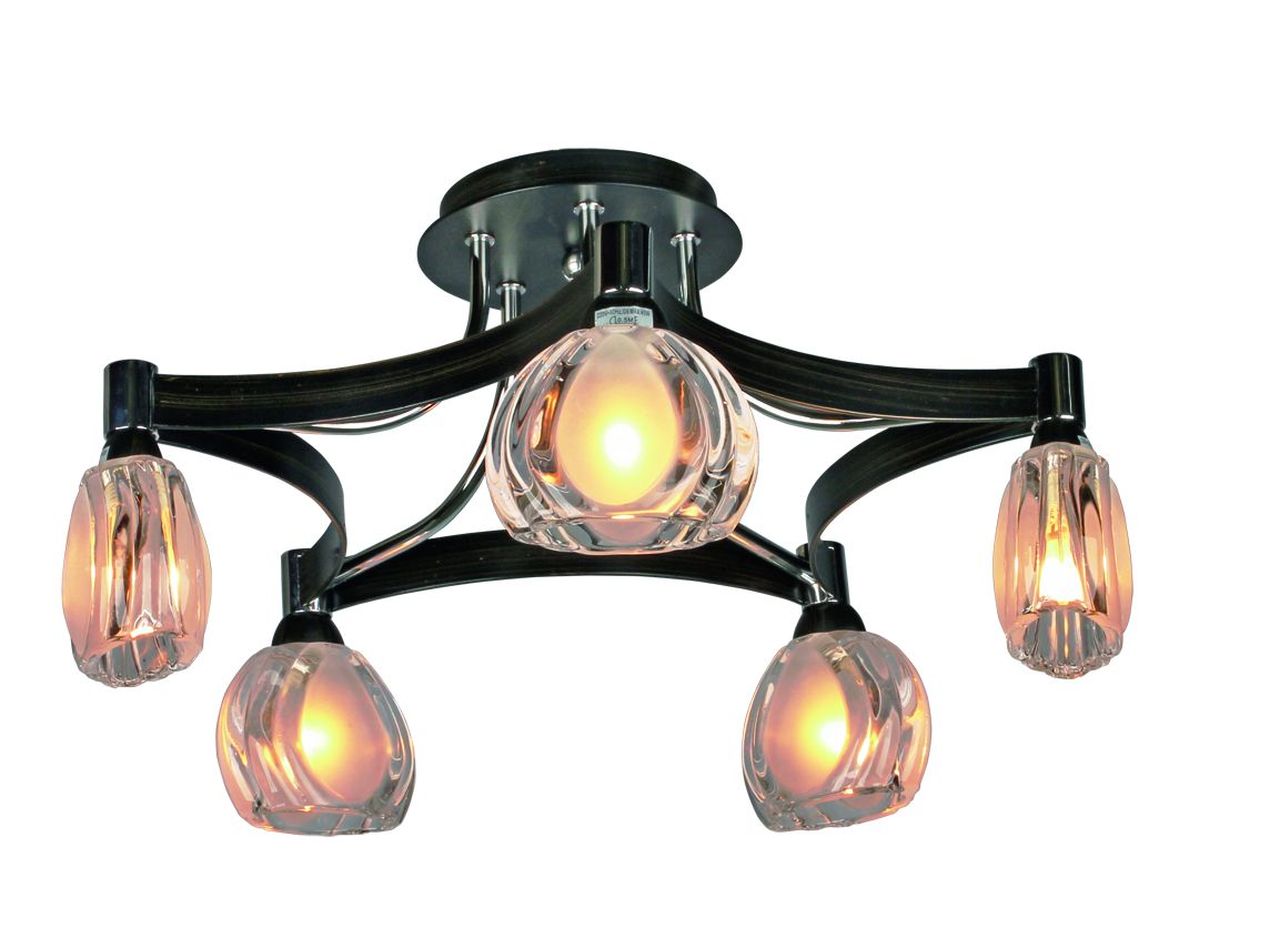 Figure 2.A ceiling light with bulbs pointing downwards is suitable for small rooms. If you really like a ceiling chandelier with exposed bulbs, make sure that the light stream is directed downwards. It is also very important to remember that the simpler the design, the easier it will be to install ceiling lights (Fig. 2). When choosing a ceiling light, it is important to consider the features of the room for which it is intended. A spacious hall with a high ceiling suggests hanging voluminous chandeliers. And in a small apartment, it is best to buy a flat version of a ceiling light. All ceiling lighting fixtures are divided into traditional hanging and flat, the installation of which involves fastening as close to the surface as possible (Fig. 3). Flat devices, in turn, are divided into built-in and surface-mounted. Surface-mounted lampshades are an ideal solution for a bathroom, kitchen, hallway or entrance hall. They cool quickly due to a special dividing platform, so they are absolutely safe.
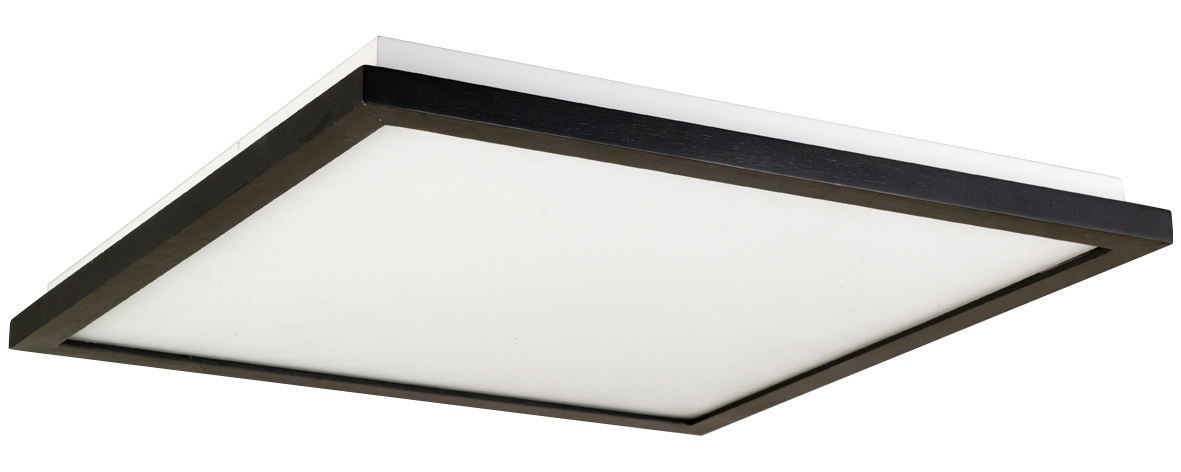 Figure 3.A flat light is attached to the ceiling as close as possible. Built-in or spotlights are most often installed in furniture cornices, suspended structures and arched openings. Currently, there are flat lighting fixtures of all kinds, shapes, colors and configurations. In addition to the varieties of lamp designs, there are also light sources themselves:
Return to Contents</a>
Materials for installation
Installation of ceiling lights requires the following materials and tools: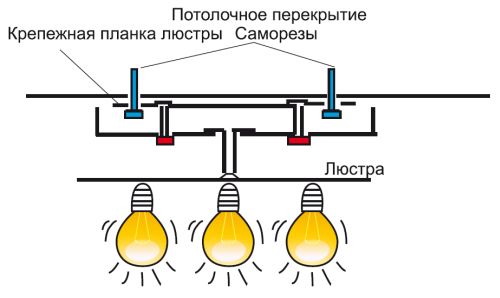 Scheme for attaching a chandelier to a concrete ceiling.
- lighting device;
- junction boxes;
- screwdriver;
- dimmers or switches;
- wires;
- Insulating tape or polymer caps;
- a feeler gauge or voltage tester;
- pliers;
- screw terminal clamps (connecting blocks).
It is best when installing ceilinglamps independently connect the wires using connecting blocks. However, if for some reason you do not have such a product, then you can simply twist the bare conductors with pliers, then tightly wrap them with electrical tape, or place them inside polymer caps. When twisting, it is important to ensure that the wires tightly wrap around each other. The material of the wires should also be taken into account during installation. It is preferable that it be identical: aluminum - aluminum; copper - copper. If you twist wires made of different materials, they will burn over time and the contact will be broken. Return to contents</a>
Algorithm of work
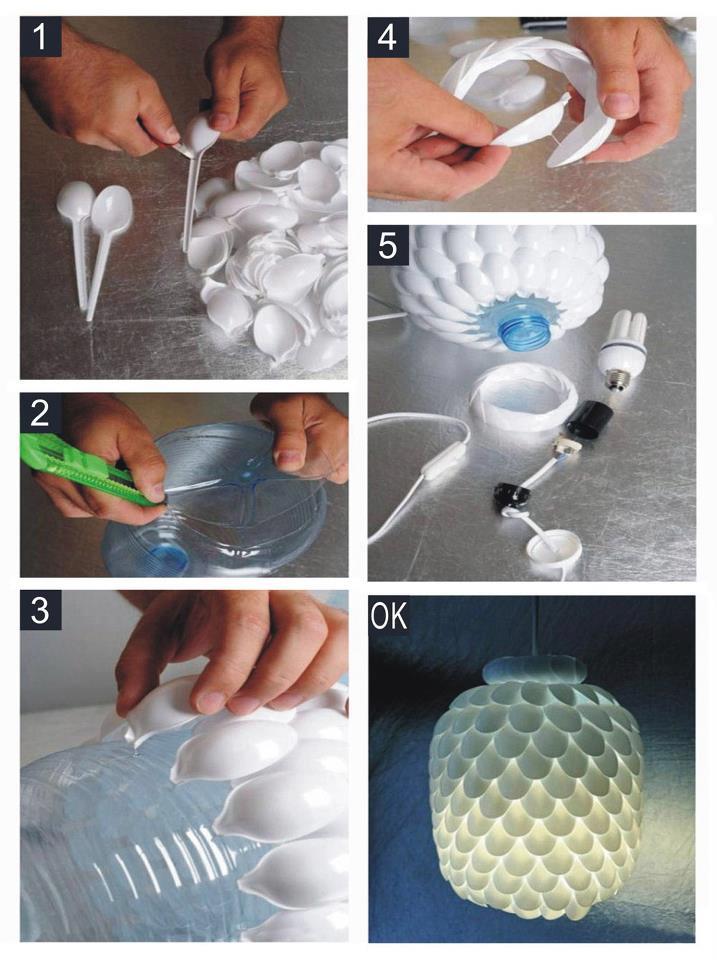 Stages of making a ceiling lamp fromplastic bottle and spoons. Initially, it is necessary to determine the phases of the wires on the ceiling to install ceiling lights with your own hands. To do this, use a probe. When connected to the phase wires, it will light up, and when connected to the zero phase, it will not light up. The second step is to determine the phases on the lighting fixture. To do this, plug two wires into the socket, without touching the third. If the chandelier has several bulbs, then, as a rule, half of them should light up. Then you need to leave one wire in the socket, and replace the second, the second half of the bulbs should light up. It is important to achieve such an effect that two wires, when turned on alternately, turn on the lamps, and the third, which is in the socket all the time, will be zero. Then the ceiling lamp is attached to the ceiling. The installation of many modern products is carried out not with a hook sticking out of the ceiling, but with a special mounting strip, which comes with the lighting fixture. If there is a hook left from the old chandelier, it must be removed. Return to contents</a>
Connection of fixtures
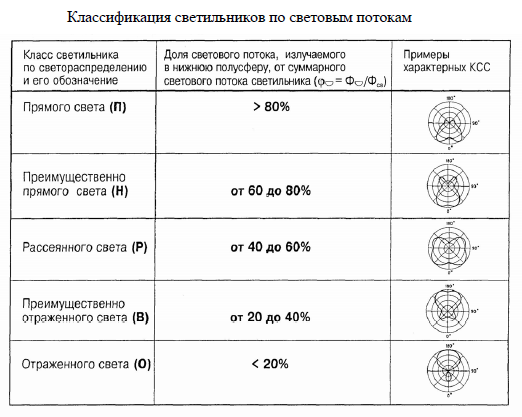 Classification of lamps by luminous flux.If you need to connect a floor lamp or light fixture to a two-wire cable and the chandelier also has two taps, then you have come across the simplest option for installing lighting. It is enough to connect one tap to one core, and the second to the other. When there are several components of the lamps, it is important to twist them in pairs into two groups and connect each separate group to a specific cable core. When the cable has three cores, this means that two cores carry 2 phases, and the third core is neutral. It is important to carefully determine with a probe-indicator on which core there is no voltage, and only then turn off the power and install the lamp. Let's consider the wires coming out of the lighting fixture itself. Twist the ends with blue insulation together. Next, connect the taps with brown insulation in pairs. Both brown groups should be connected to the two wires in which there was voltage during the test, but the blue wires are connected to the wire where there was no phase voltage. Sometimes the cable in the ceiling has another 4 ground wire. Most often it is yellow-green. It must be screwed to the body of the lamps with a screw. All connected wires should be insulated. The installation is ready. Return to the table of contents</a>
Creativity on the ceiling
Sometimes the owner of a house or apartment wantsorganize unusual lighting in your room. In this case, you will have to make a lighting fixture with your own hands. A country residence or a summer house may require lamps made from natural or improvised materials. The most unusual things can be used to make a chandelier: thick tree branches, leaves pre-varnished, thick twine of any color and diameter, wicker baskets and even old vinyl records. Chandeliers made with your own hands will cost almost nothing. You will only have to buy electrical components. It is important to observe safety precautions and understand that the selected materials will come into contact with a hot bulb to one degree or another.
