Glowing garland - traditional New Year'saccessory. However, these multi-colored lights can serve as an interior decoration all year round. You will learn how to use them to create stylish decor from our article Outside the window is the height of summer, the New Year holidays are far behind, which means that festive decorations, such as glowing garlands, are likely to gather dust in one of your wardrobes. We propose to get everyone's favorite multi-colored lights from the shelf and use them to “light up” the interior. After all, you can always find an alternative use for a garland, turning a traditionally festive attribute into a stylish decor element, for example, into a luminous volumetric inscription. The letters will add individuality to the interior, a unique mood. And to attach the inscriptions to the wall, or to put them on the furniture is your choice. You will need:
- Letters from papier-mâché, which can be found in the departments offering goods for decoupage, or ordered on the Internet;
- Garland (you can use any garland with LED lights);
- Carpet knife;
- Spray-paint;
- Fabric roulette;
- Punchbox (I mean not the usual clericalAccessory, and the device used primarily in the garment sector; If you do not have it, do not get upset: you can make the necessary holes with scissors or a knife);
- awl.
Step one Place the letters on a flat surface andusing a knife, carefully cut off the top layer from them (this process does not require significant effort from you, since papier-mâché is a rather malleable material). Then, set aside the cut pieces and the zigzag filler you find inside. 
 Step two Now is the time to inject the lettersdesired color. The spray will allow you to evenly apply paint to the workpieces, without overmoistening them. It is better to perform this procedure on the street, so as not to harm your own health and not spoil the situation.
  Step Three Now on the back of each letterit is necessary to make markings for the holes into which the bulbs will be threaded. To do this, count the number of bulbs themselves and measure the length of the supposed glowing line. Remember that you also need to consider the transitions between letters. If the chosen composition does not allow you to build a continuous line, repeated turns can be easily hidden inside the volumetric body of your letters. Having calculated the distance between the lights, put marks in the appropriate places, marking them, say, with a cross.
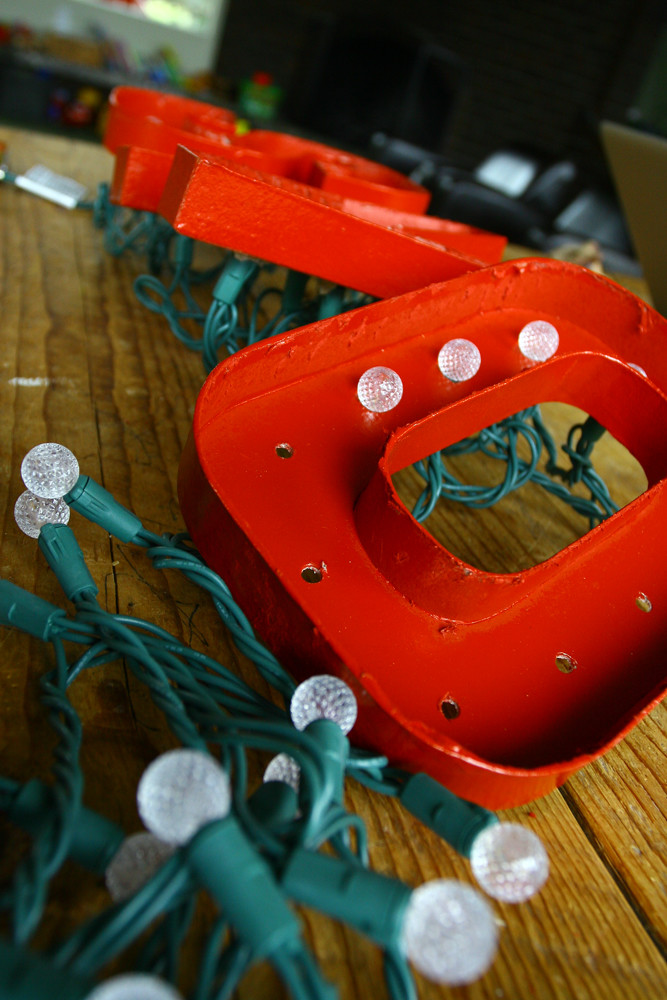
 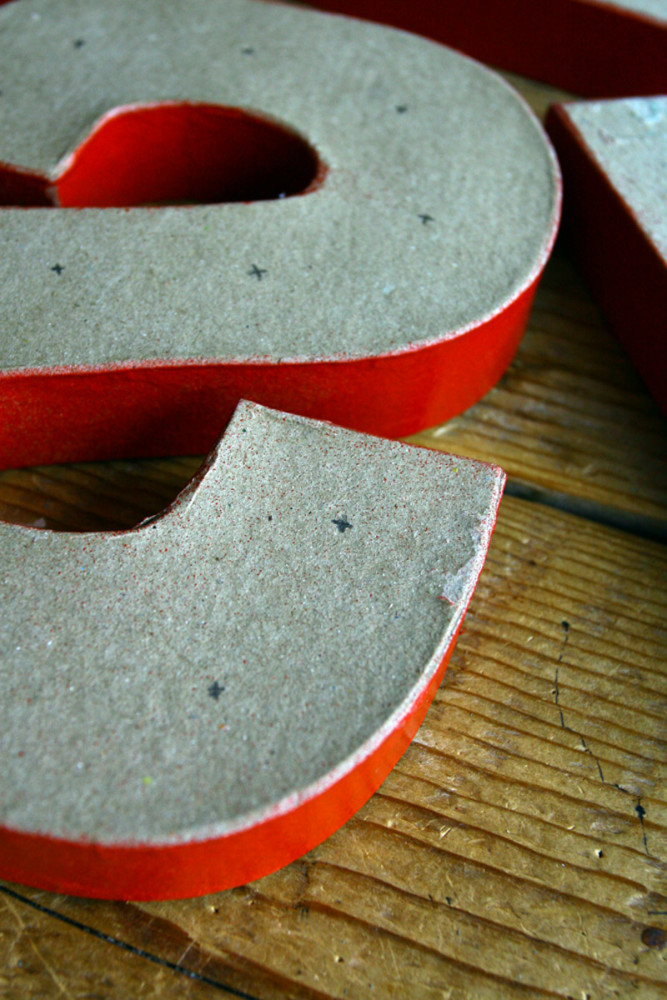 Step Four Use an awl to make a throughholes in the places marked with a cross. Then turn the letter over and punch holes into which you will insert into the bulbs a little later. In our case, the shades on the bulbs are removable, so the diameter of the holes corresponds to the diameter of the cartridges.
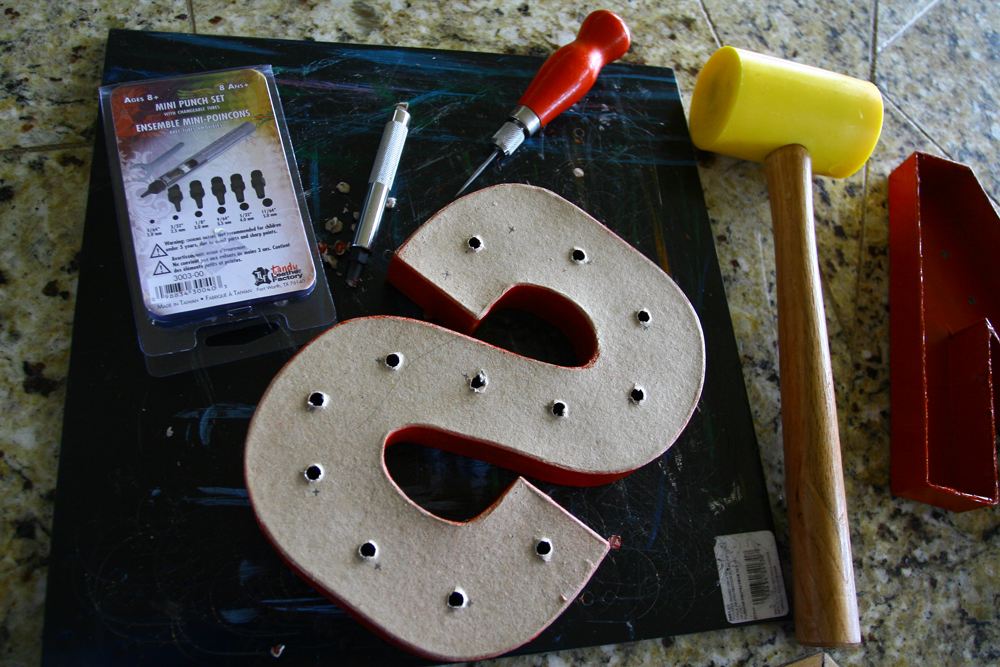
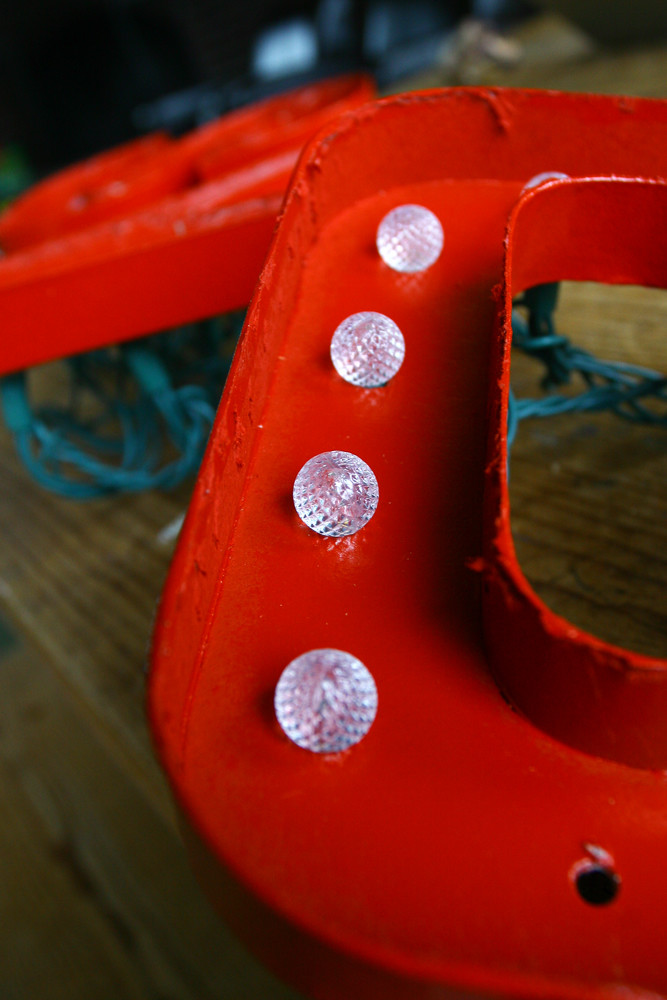
 Step Five Insert the bulbs into the holes. Remember that the garland must not be plugged in during this process!
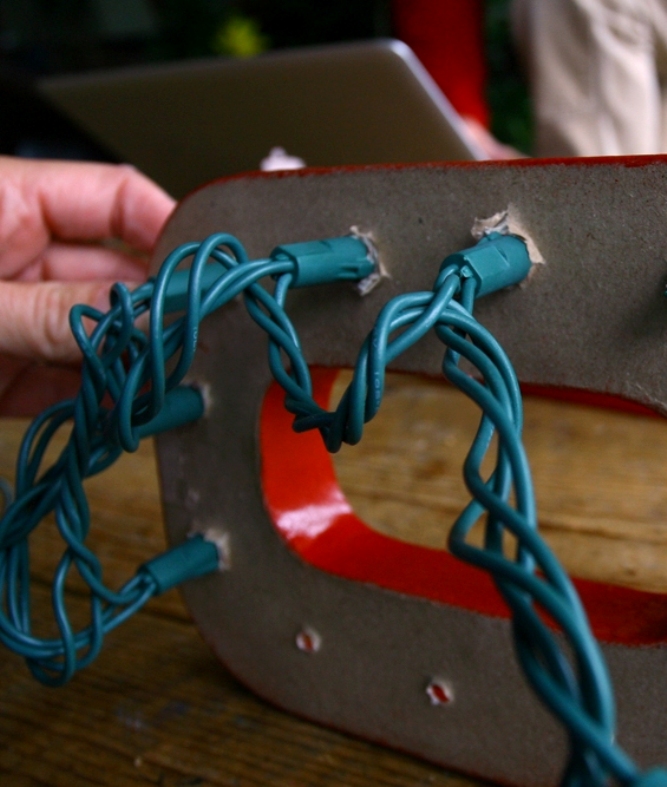
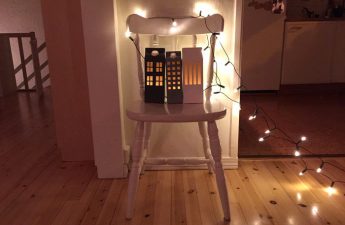
 Now all that remains is to turn on the garland inan outlet - and the glowing inscription is ready! To secure the structure, a plywood strip can be glued to the bases of the letters. Now the festive mood will not leave you all year round!
 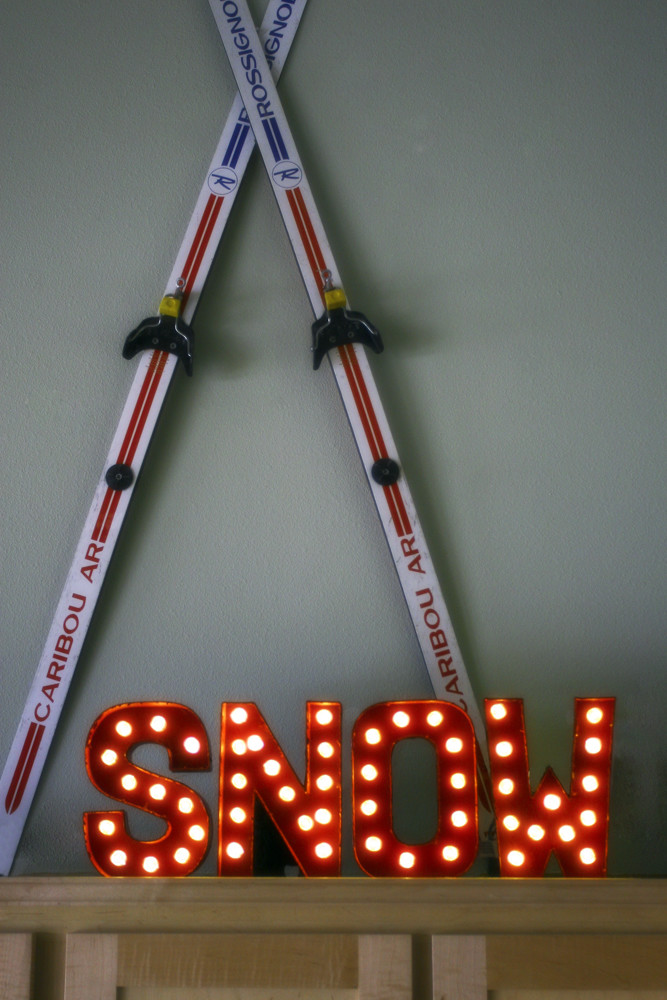 lexiloujewels.com