Today we have prepared a special lesson for you.decoration from the art director of the popular TV program "Fazenda". The beauty of this fascinating master class is also in the fact that you can connect both adults and children to the creative process.If you are a creative person and periodically do needlework, then in your boxes there will certainly be scraps of fabric, threads, ropes. All these leftover materials can also be used effectively. Exactly how - Ekaterina Savkina, a professional designer and art director of the popular TV program "Fazenda", told and showed us. Ekaterina Savkina, designer Graduated from the "Details" school of design. He is the head of the Designdirection design bureau and is the art director of the Fazenda TV program. A special direction in the creative activity of Catherine is conducting master classes for children and adults. So, if you decide to dress up your interior for spring on your own and at no extra cost, then this master class will interest you. Indeed, in order to make such charming decorative rugs-coasters from improvised materials, you just need to allocate half an hour of time. We recommend that you involve the younger family members in the creative process, so there will be work for them too. Read about what other decorative accessories you can make with your children. 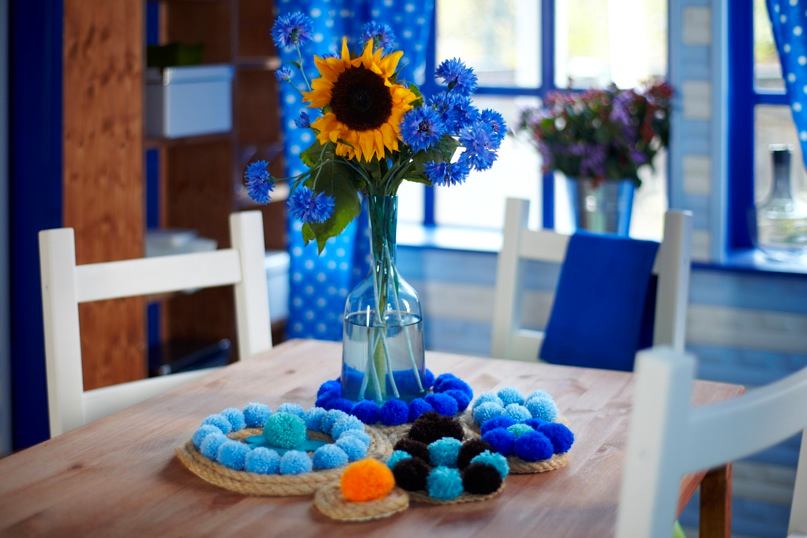 For work you will need:
- remnants of yarn,
- trimming of thick rope (harness),
- fragments of tissue,
- needle,
- thread,
- device for making pompoms (can be purchased at the stores "All for Needlework".
Depending on how many remnants of materials are at your disposal, you can make one or more rug mats. 
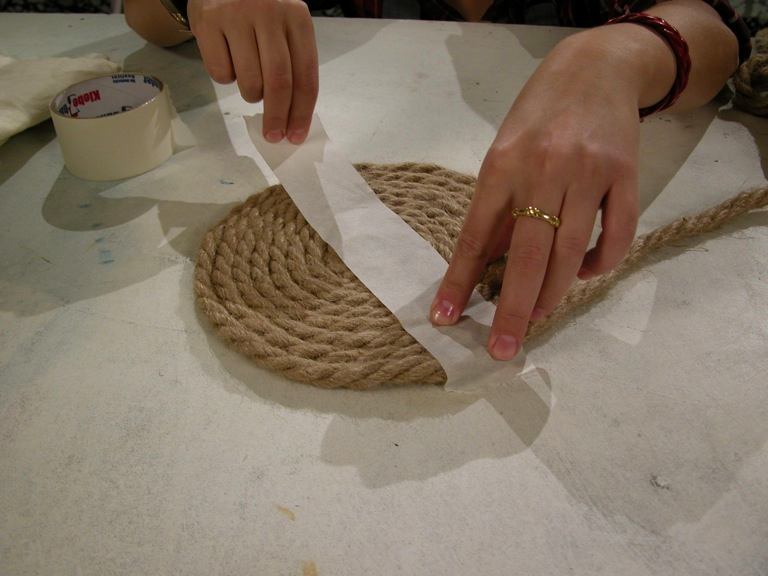
Step one
We turn the rope into a snail. If you use a long piece of harness, your snail will turn out big, if short - small. This will be the basis of our rug. So that she does not unwind, we fix her with a paint tape. 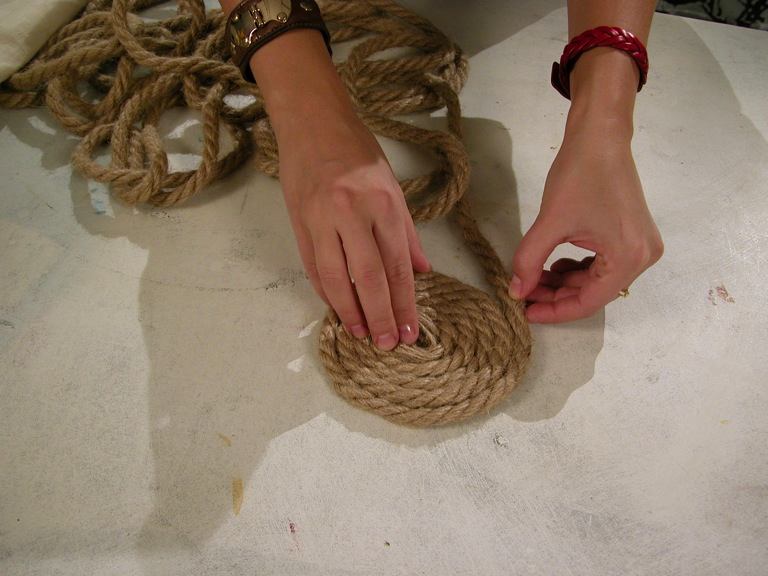
Step Two
Straight through the tape fix the base of the rope. You can sew with your hands or with a sewing machine. You need to make at least four stitches passing through the center. 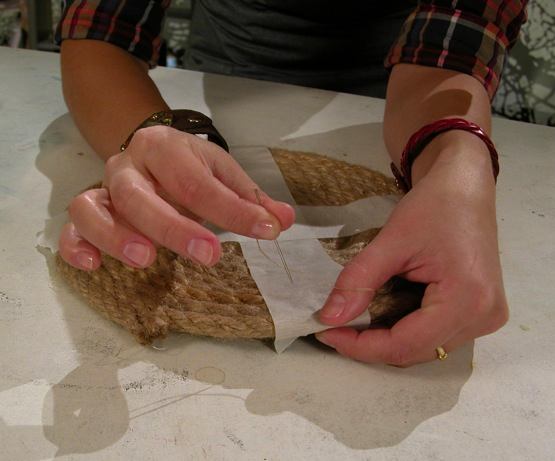
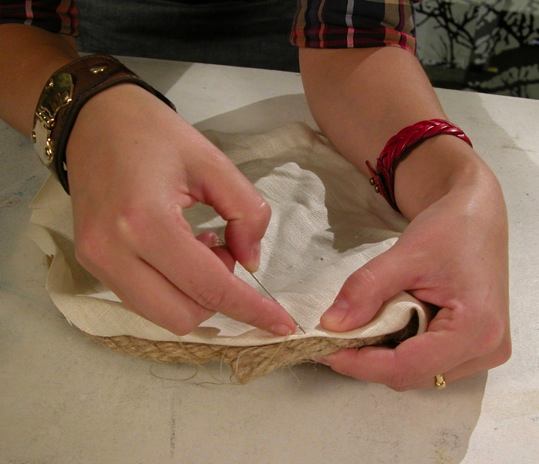
Step Three
We take a cut of fabric and cut out a fragment along the diameter of the disk, not forgetting the allowances for seams. Now gently sew a lining fabric to the base with a seam "over the edge". 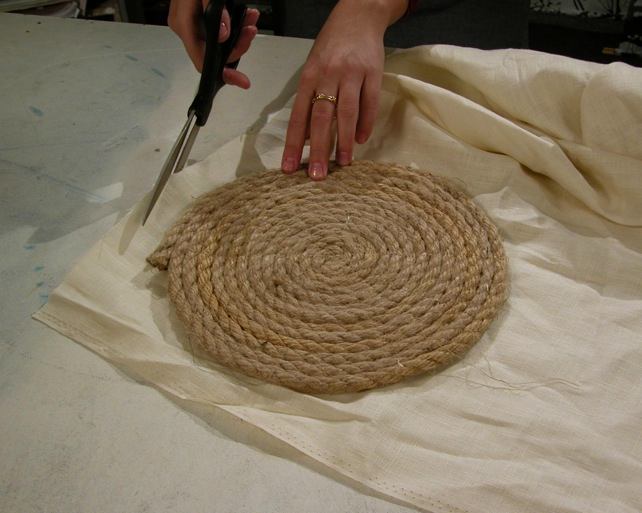
Step Four
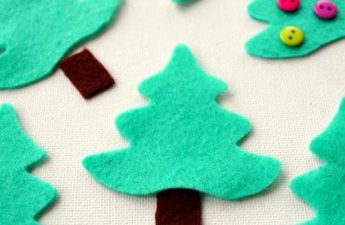
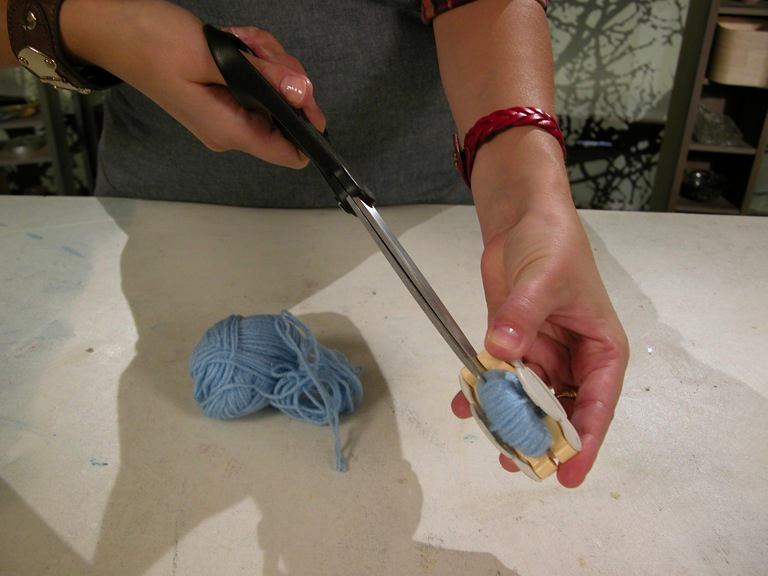
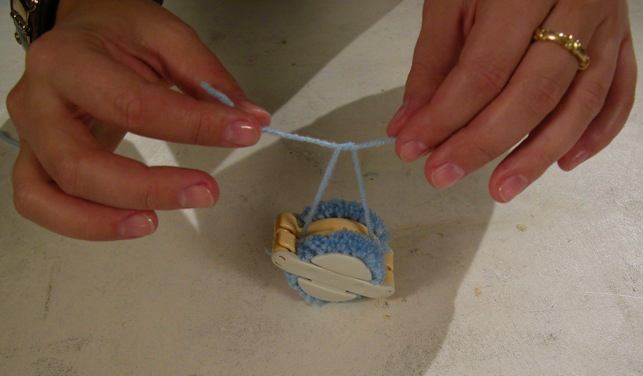
If you have little helpers, then the fourththe stage of the master class can be combined with the first three. That is, while you are preparing the base for the rugs, children can make decorative pom-poms from the leftover yarn. This process will be much easier and more fun if you use the special pom-pom-making tool that is sold with the instructions. We have already talked about how to make pom-poms without additional tools in one of our previous ones. 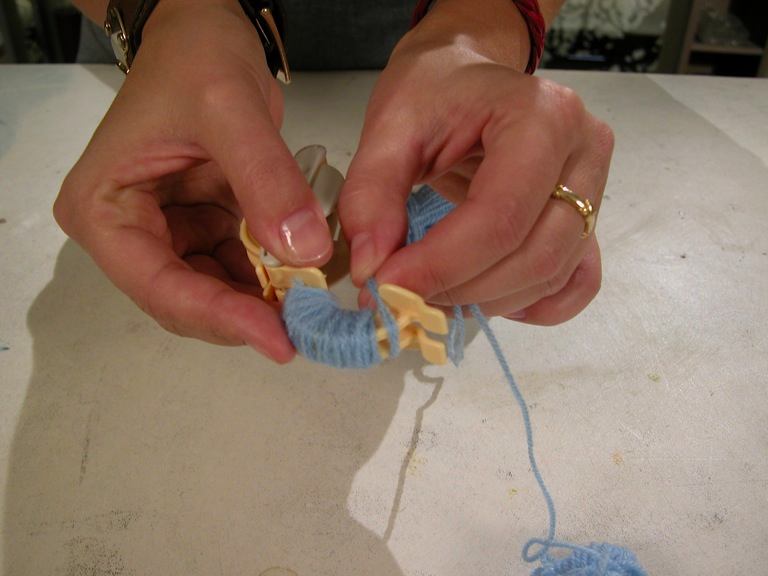

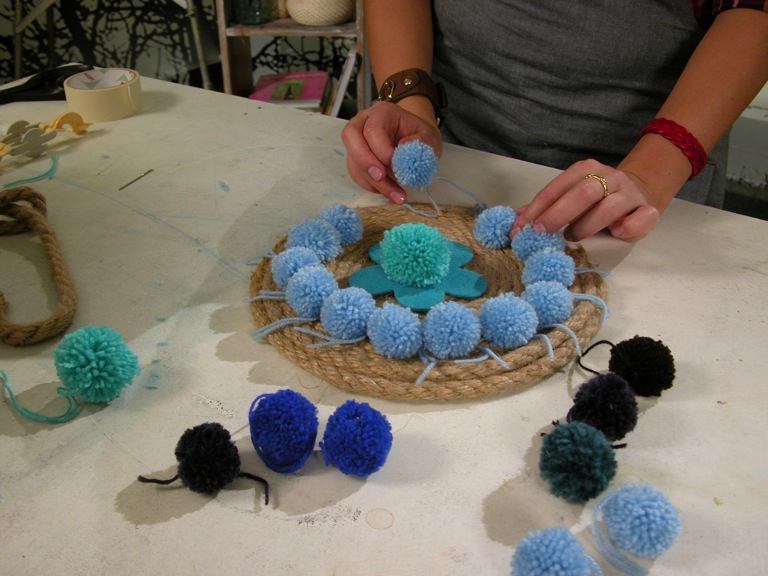
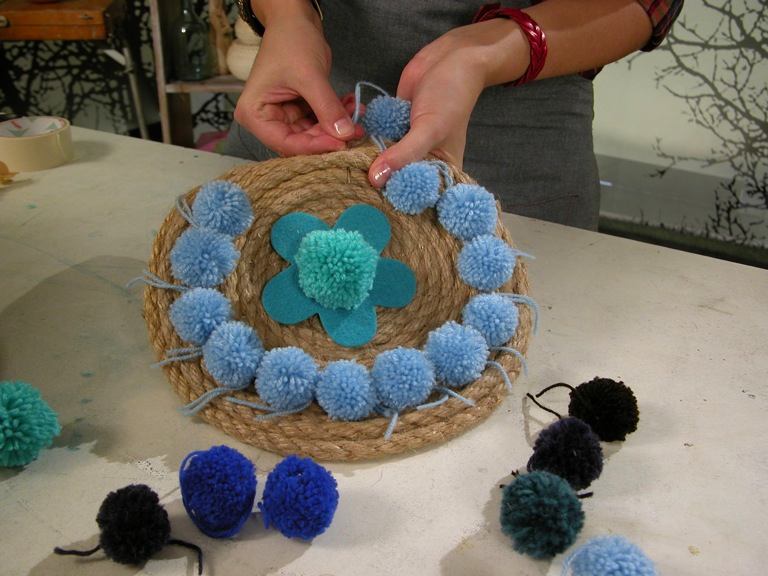
Step Five
Place the finished pom-poms on the rope circle andsew them on. Make the rest of the circles in the same way. They can be completely different in size, number and volume of pompons. The main thing is to stick to a certain color scheme. Ready-made base rugs can be used individually or as a single decorative composition (by stitching them together). 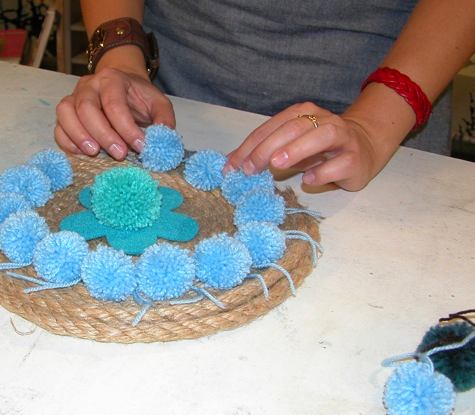
 Your product is ready. But what is most interesting, you can always increase and increase it, up to the size of the carpet, as soon as you will again have leftovers of ropes, yarn and free time.
  Find more ideas for spring decor. Photos courtesy of Ekaterina Savkina