How to make a New Year's composition from gingerbreadhouses without using baked goods? It turns out that even ordinary cardboard milk cartons can be made to look appetizing with texture paints and multi-colored buttons. Even children can do it! Adorable gingerbread houses are some of the most touching and touching New Year's decorations. Children especially love them, sometimes so much that they eat them even before the onset of the holiday. Therefore, if you want to make a decorative composition that will delight you for a long time, go for a little trick: do not use baked goods. Our workshop will teach you how to make a gingerbread village out of used cardboard milk bags. We warn you: if you do everything right, cardboard houses will look no less appetizing than real gingerbread houses. Therefore, it is better to immediately involve children in the process of creating a festive decor so that they are convinced of its inedibility! So, to make such charming houses with your own hands, you will need:
- cartons of milk or juice;
- cigarette paper;
- rectangular pieces of cardboard (can be cut from any food boxes);
- multi-colored buttons;
- adhesive for decoupage;
- brown and white acrylic paints for creativity;
- white textured paste;
- white and black marker;
- decor (beads, pebbles and so on);
- yellow colored paper;
- tools: brush, scissors, glue gun, sandpaper, scapula for plasticine.
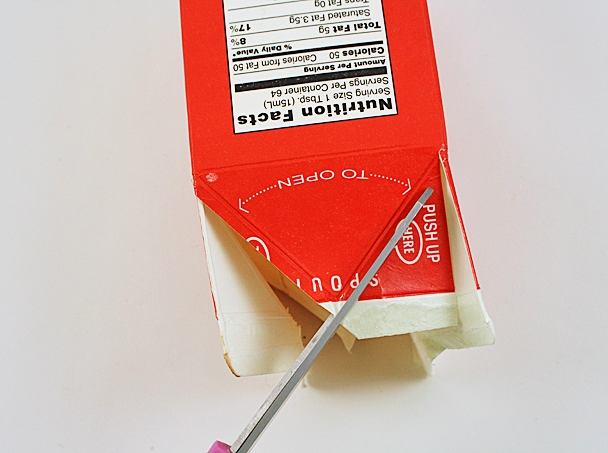
 Wash and dry the cardboard bags well. Then cut the plastic neck. Carefully open the tops of the bags. Trim the sides of each top so that triangles are formed (point to the fold lines).
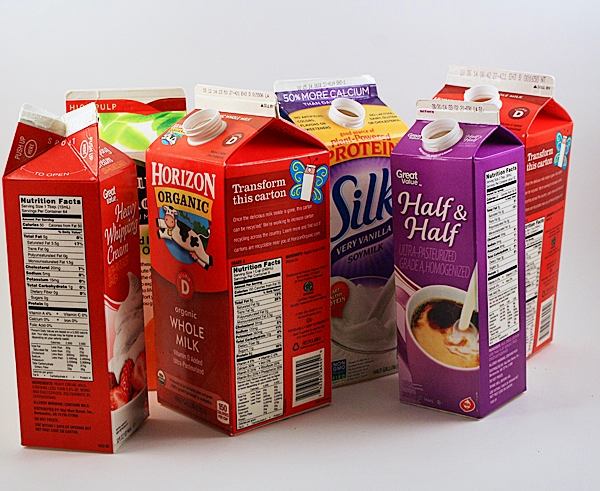
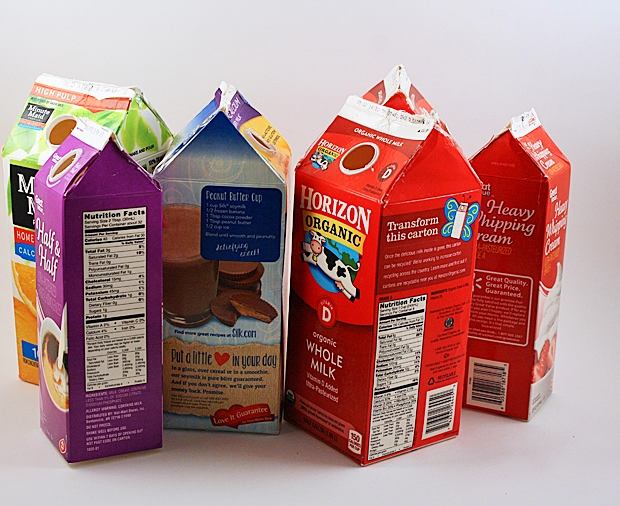
 Fold all sides of the top and glue them with a glue gun. The base of the house is ready.
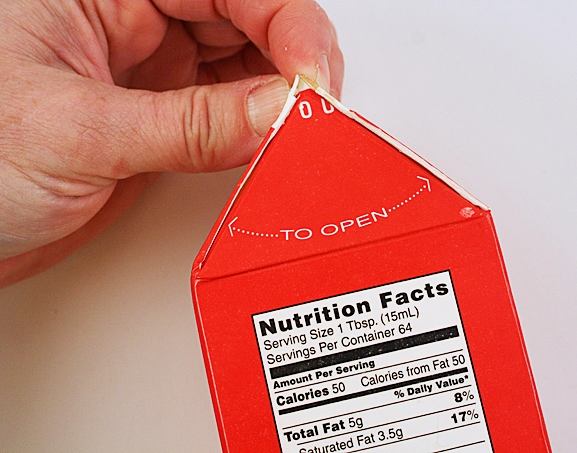
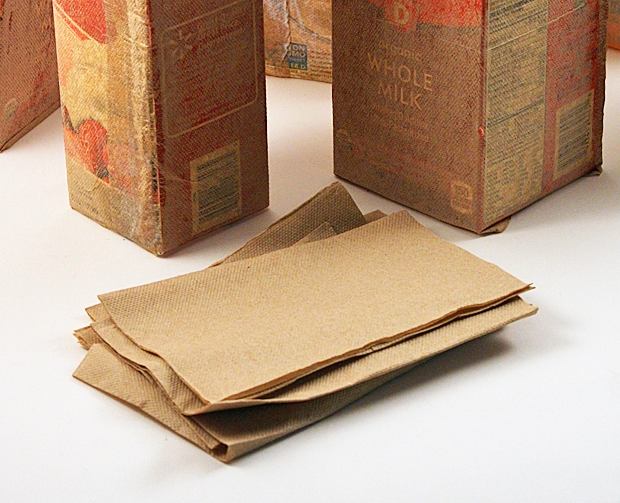
 Apply glue for decoupage on one sidebox and press to it a piece of tissue paper or napkin. Gently smooth the surface of the paper and repeat the procedure with the other side. When the surface of each box is completely covered, the stage can be considered complete.
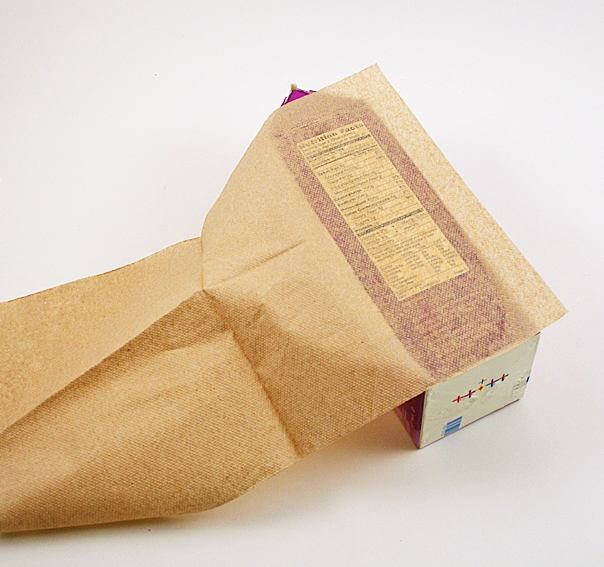
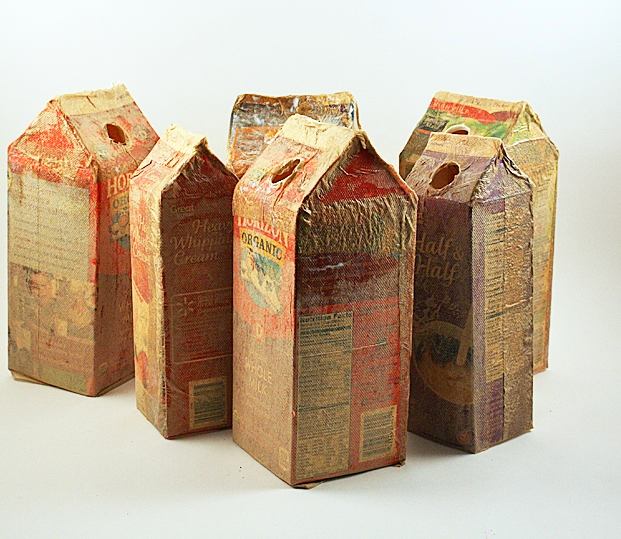 Now that you have given the surface of the boxes a relief texture, paint them in a chocolate brown color. To enhance the effect, you can use a special texture paint.
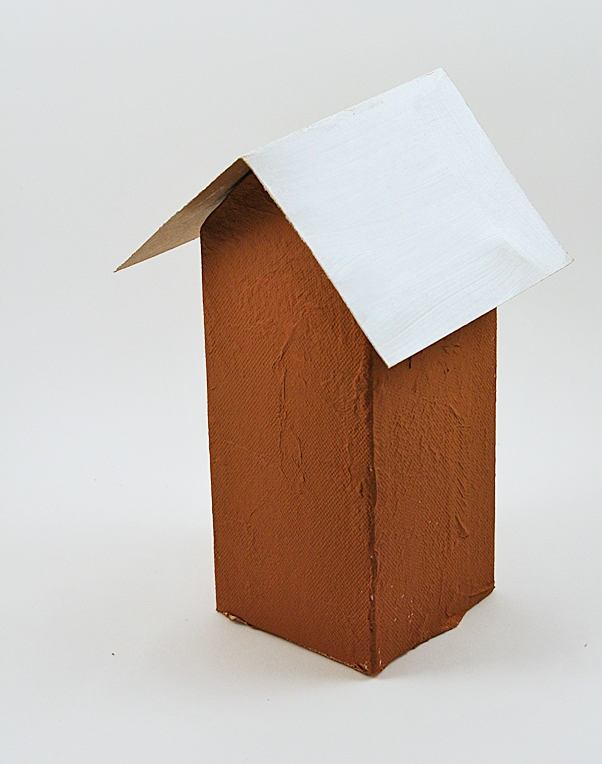
 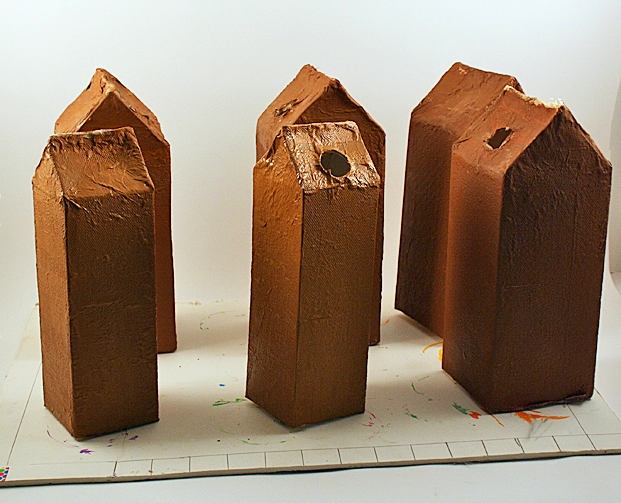 While the boxes dry, make the roof. You just need to cut out the commensurable rectangles from the cardboard and bend them in half. Try them on the boxes. Before gluing roofs, sand their cardboard surfaces with sandpaper. Their texture will become more rough, which means that it will be easier to put texture paste on it.
 Apply a texture white paste on the roof of the housesShould be a spatula for plasticine or a confectionery shovel. With their help, you can create a wavy relief surface, reminiscent of cream on the cake.
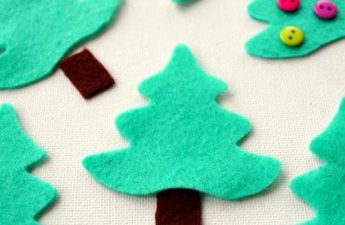
  While the roofs are not dry, you need to have time to decorate them with buttons. Just gently squeeze them into the surface covered with paste.
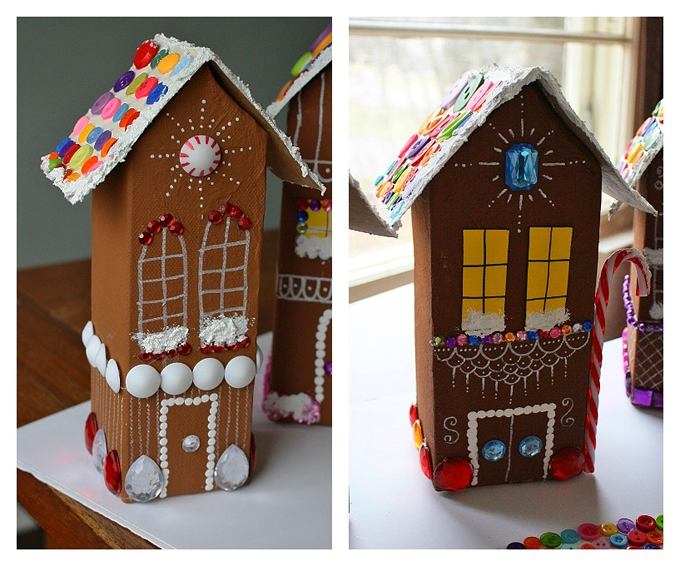
 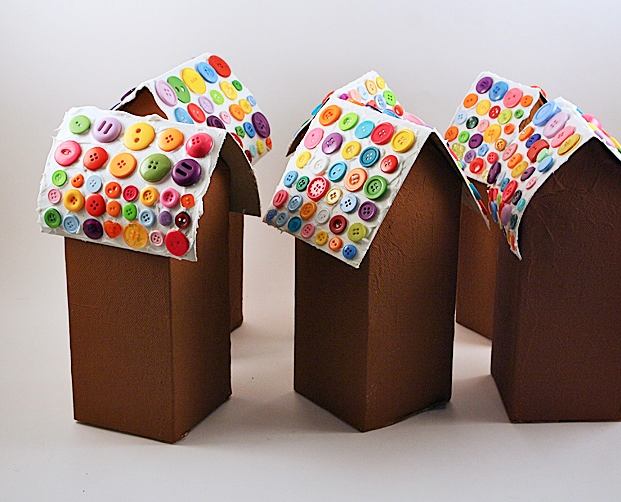 Now you just have to decorate the houses themselves.Here you will need imagination and additional decor in the form of buttons, pebbles and pieces of colored paper. How and where to glue them - decide for yourself. Don't forget to also use markers to draw windows and doors. For the best results, we recommend that you first draw a plan for decorating your craft on a piece of paper. And as an example, we suggest you admire these charming houses.
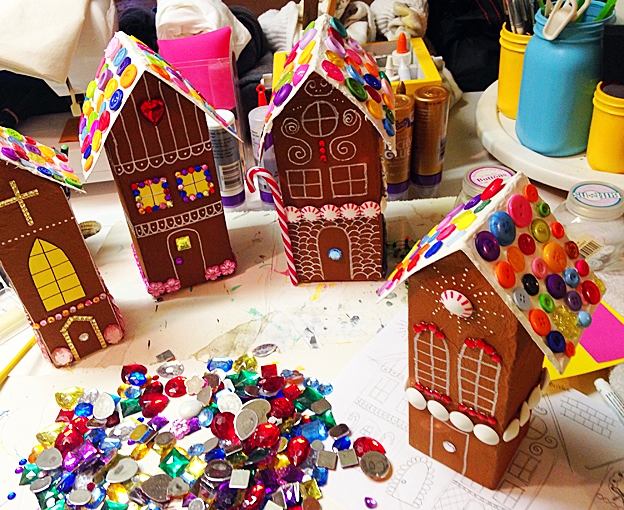


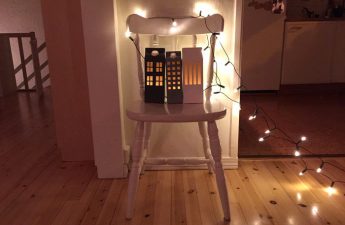
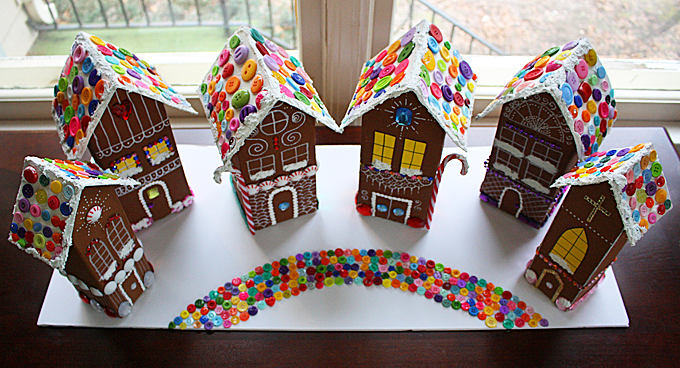
 After all the houses are decorated, you canglue them on a stand of wood, polystyrene or thick cardboard and add additional decorative touches, for example, a path of colorful buttons. Such a decorative composition will be able to claim the role of the main Christmas decoration.
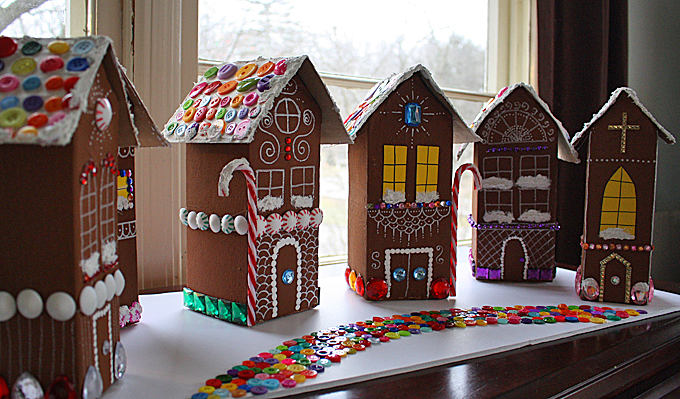
 craftsbyamanda.com