Laying vinyl laminate flooring is a newa way to make the floor covering not only reliable, but also beautiful. This finishing material appeared on the domestic market quite recently, but it quickly won a huge audience. Figure 1. Schematic diagram of the vinyl laminate structure. This is due to the fact that vinyl products have excellent performance properties, among which it is worth highlighting:
- strength;
- resistance to mechanical damage;
- ecological compatibility;
- moisture resistance;
- availability;
- aesthetics;
- simplicity of installation.
Many people turn to floor coverings when laying them.for help from specialists who charge a lot of money for such work. However, it is quite possible to lay laminate flooring yourself. This will not only save your family budget, but also improve your professional skills.
Varieties of vinyl laminate
Vinyl covering consists of several layers (Fig. 1):
- cork substrate;
- HDF-boards;
- vinyl;
- Decorating layer with digital printing;
- transparent coating.
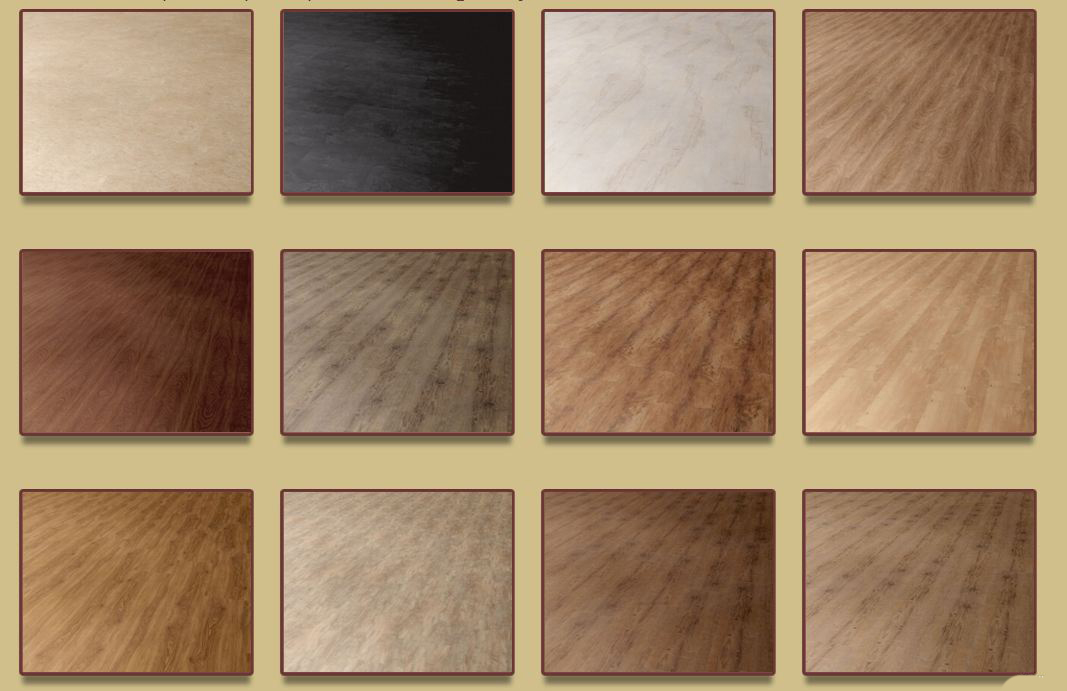 Types of vinyl laminate.Thanks to this design, the material is of high quality, which allows it to be laid in various rooms: in the kitchen, hallway, bedroom, etc. The outer layer is made of aluminum oxide and polyurethane. It can imitate a certain natural material or be decorated with a pattern. The middle layer is made of high-quality vinyl, which gives the material increased strength and significantly increases its service life. The layers are placed in such a way that there are protrusions along the edges, each of which is treated with glue. This makes it easier. Today, you can find quite a lot of varieties of vinyl laminate, which are divided into the following groups:
- ordinary vinyl;
- self-adhesive material;
- Contesse laminate;
- quartzvinyl.
The first group includes laminate, which isis a dense vinyl with texture. Its installation is carried out by gluing adjacent elements together. Self-adhesive laminate is a unique finishing material. It can be laid even in rooms with high humidity (basement, bathroom, etc.). Vinyl laminate size chart.Contesse flooring, in addition to the standard set of useful characteristics, has increased resistance to aggressive chemicals, so it can be cleaned with any detergents. Quartzvinyl consists of vinyl and porcelain sand, which allows you to get a super-strong material. NanoSilver technology is used in its production, as a result of which the coating acquires antibacterial properties. Very often, such floor finishing is used in medical institutions. Return to contents</a>
What you need to consider before starting the installation work
Before you start laying vinyllaminate, you need to know that depending on the design features of this material (flexible laminate on an adhesive base or with smart tape, with locks or in the form of tiles), its installation technology also changes. However, knowing the general rules of installation, you will be able to lay any type of flooring. Before starting installation work, the finishing material needs time to acclimatize. To do this, bring the boxes with the laminate into the house and, without opening them, leave them alone for 1-2 days. It is recommended at a room temperature of at least + 14 ° C and no more than + 27 ° C and a relative humidity of no more than 58-62%. The same temperature should be after installation for 24 hours. If vinyl is planned to be laid on a floor with an electric or water heating system, then it should be turned off a few days before the start of repair work and not turned on for 5-7 days after their completion. Return to the table of contents</a>
Preparatory work
To lay laminate flooring you may need the following tools: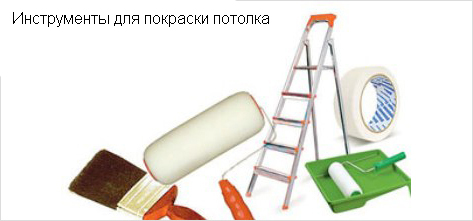 Tools for laying laminate flooring.
- face saw;
- gon;
- hammer, mallet;
- roulette;
- scissors, knife.
Floor preparation is the most important stage inthe entire finishing process. This is due to the fact that with an uneven base, after some time, unpleasant creaks may appear, the laminate begins to deform, sound insulation may decrease, etc. Even before purchasing laminate, you need to assess the condition of the floor and, if necessary, carry out certain repairs. Vinyl laminate can be installed on any level and solid base. The best option is a strictly horizontal floor with height differences of no more than 2 mm per 1 running meter. If you plan to finish an old wooden base, then it must be checked for the presence of "playing" boards. If any are found, they should be repaired or replaced with new ones. Minor irregularities can be eliminated with a plane, grinder or wood putty. A concrete subfloor should not have potholes, cracks or crumbled areas. If it is not possible to eliminate such defects locally or there are too many of them, then it is necessary to make a screed with a cement-sand mortar or a self-leveling mixture. You can start facing only after the screed has completely dried. If possible, it is recommended to cover the floor with oriented strand boards (OSB) 1.0-1.2 cm thick before laying, having previously placed a polyethylene film underneath for waterproofing. Return to contents</a>
Installation of vinyl laminate with their own hands
Laminate flooring is laid using the following technology:
After the installation work is completed, the floor can betreat with a moisture-proof urethane solution, which will protect the laminate from moisture, scratches and abrasions. The use of a protective coating together with regular cleaning will allow the finish to retain its attractive appearance for many years.</ ul>


