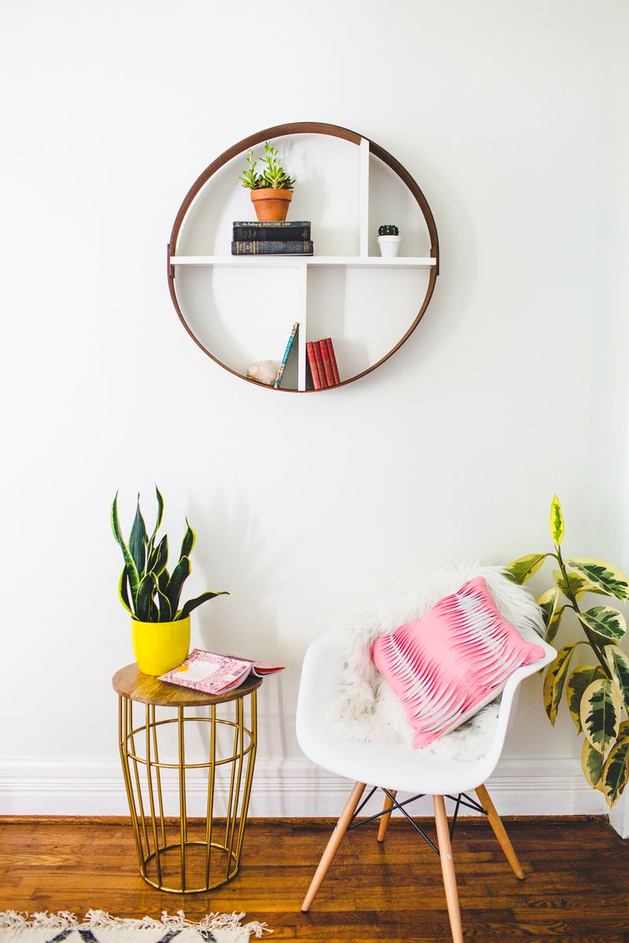
New Year holidays are a time for gifts,feasts and guest visits. We will tell you how to complement the interior with an original decorative accessory in just one hour, which you can show off to your guests. Details - in the article New Year's holidays are just around the corner, which means it's time to prepare for receiving guests. One of the surest ways to impress friends and family is to show them a new decorative highlight in the form of an original piece of furniture that you made, for example, such a stylish shelf. With the help of our master class, you can make a similar accessory in just one hour.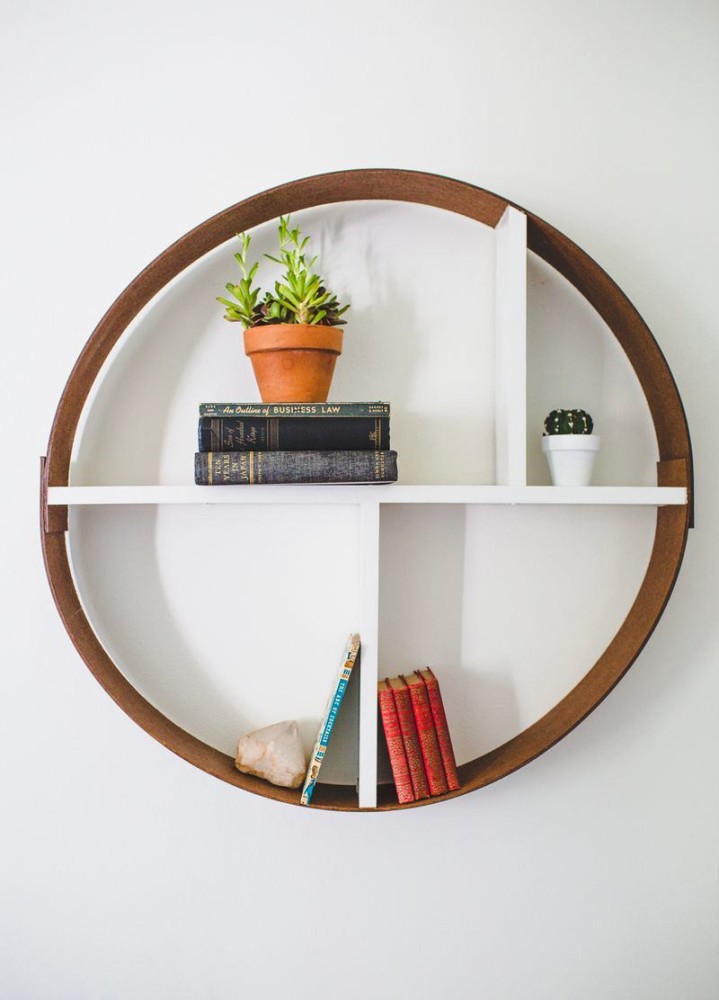 To make this happen, you will need:
- 1 sheet of hardboard,
- wooden board with dimensions of 2.5 x 15 x 200 centimeters (length is selected with a margin),
- screws,
- paint for wood,
- glue for wood,
- hand saw,
- drill,
- ruler,
- clamps,
- mounts for photo frames.
Step 1
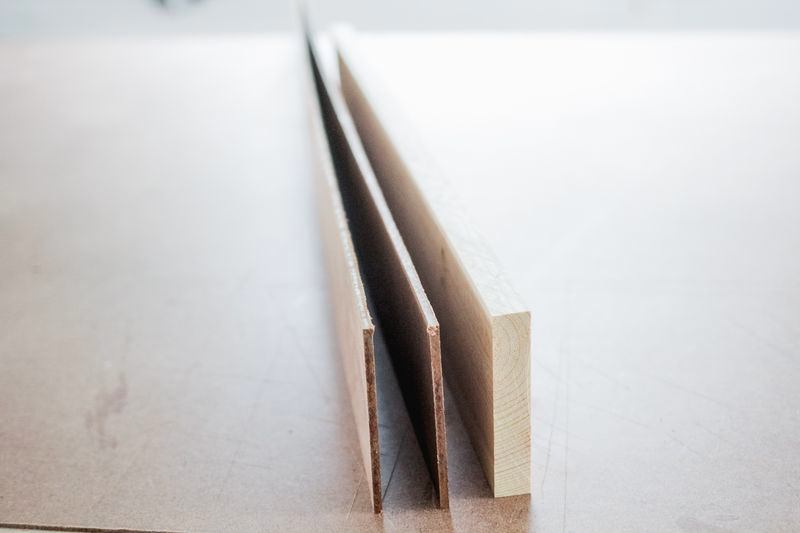
Cut two strips of the same size from a sheet of hardboard.15 x 122 centimeters. Measure 7.5 centimeters (the overlap length) from each edge of the strips and make marks. Calculate the circumference of your future shelf: 122 x 2 - 15 = 229 centimeters. Now you need to determine the diameter of the frame to calculate the length of the shelf. Remember the math: the diameter is equal to the circumference divided by the number "pi" (3.14). Accordingly, the diameter of our frame is 73 centimeters. This is the length of the piece of board that acts as the central shelf. Use a saw and a ruler to get it. We provide the most accurate calculations here, but there is still a chance that you will still have to saw off the ends of the shelf a little due to rounding errors.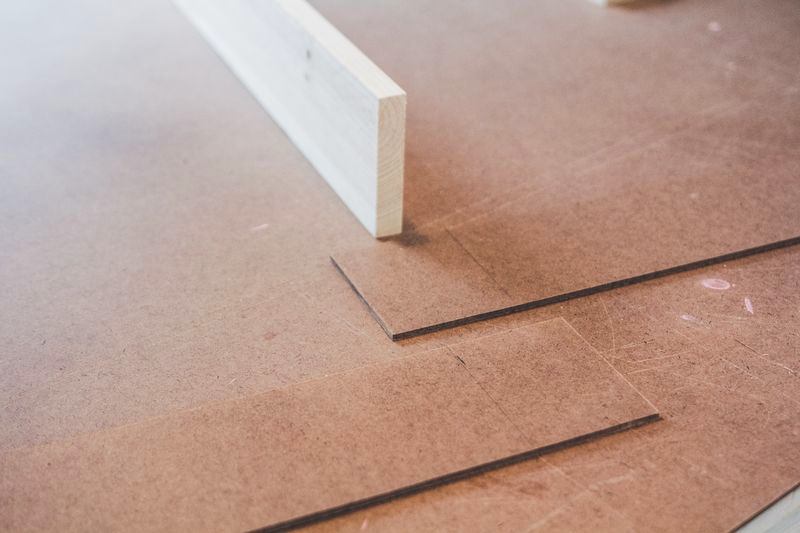
Step 2
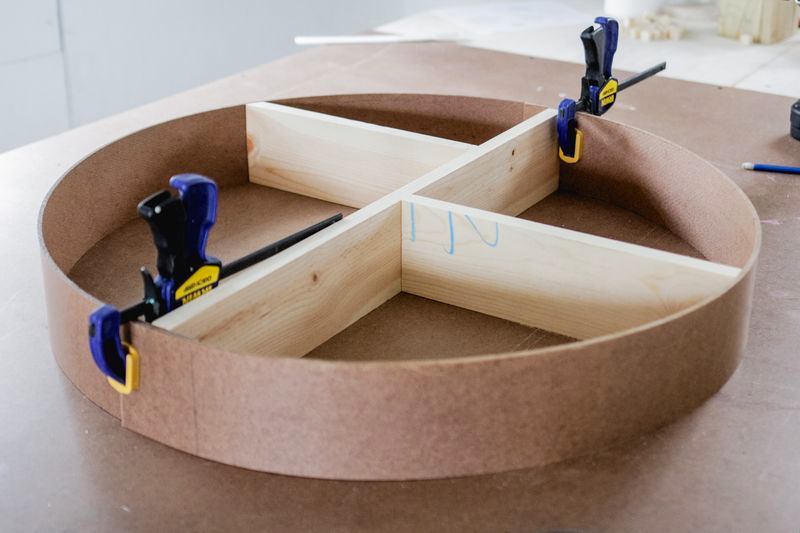
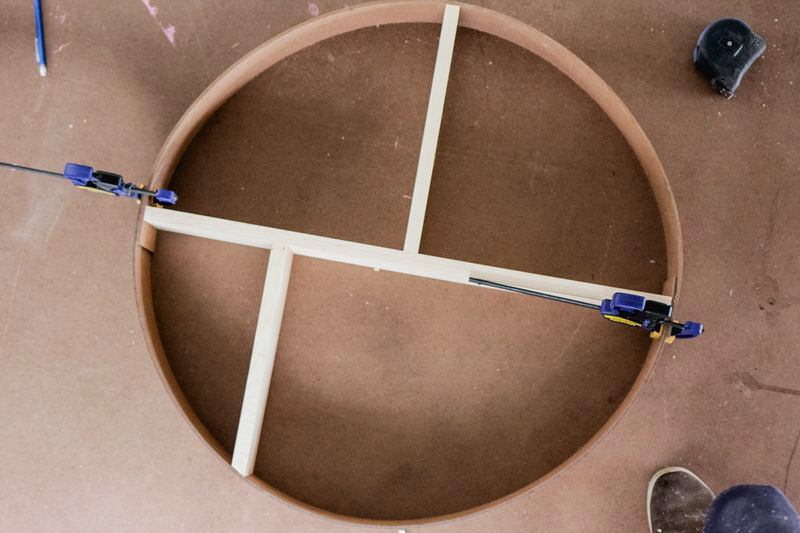
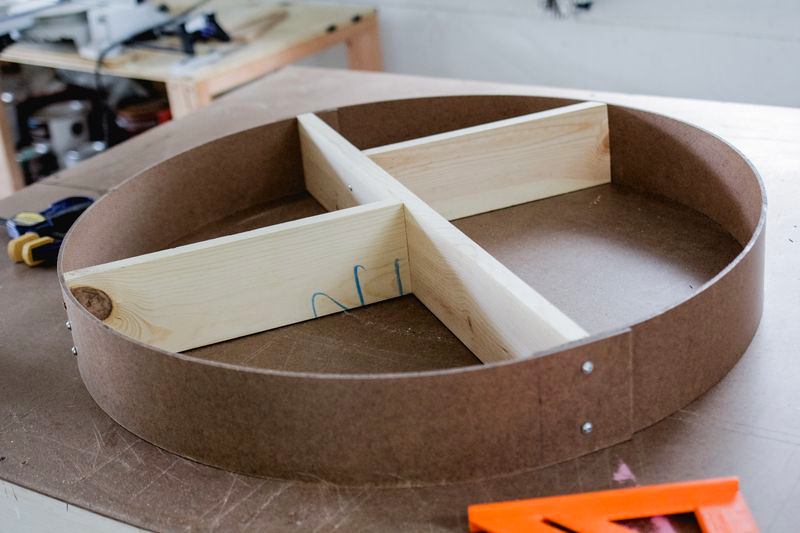
Let's start assembling the structure.It is necessary not only to glue the strips of hardboard, but also to give them a round shape. To do this, first glue the two edges overlapping (7.5 centimeters) and fix them with a clamp. Then bend the strips in an arc and glue the other two edges, also not forgetting about the clamp.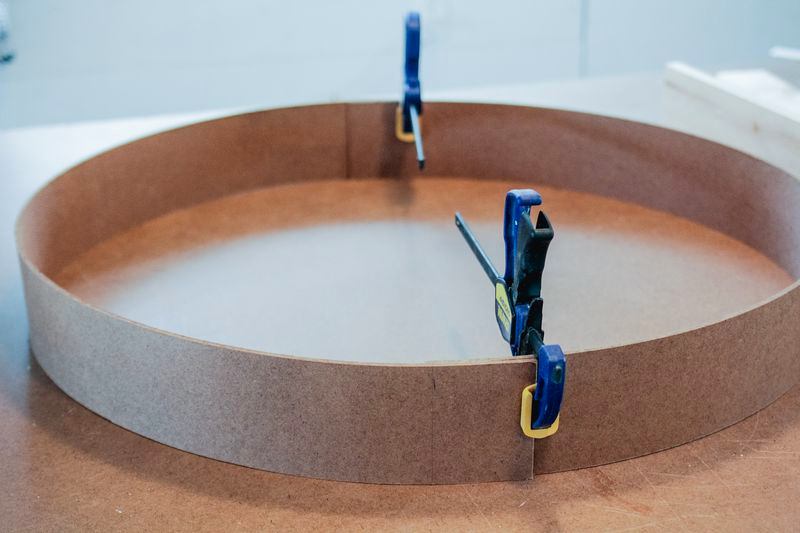
Step 3
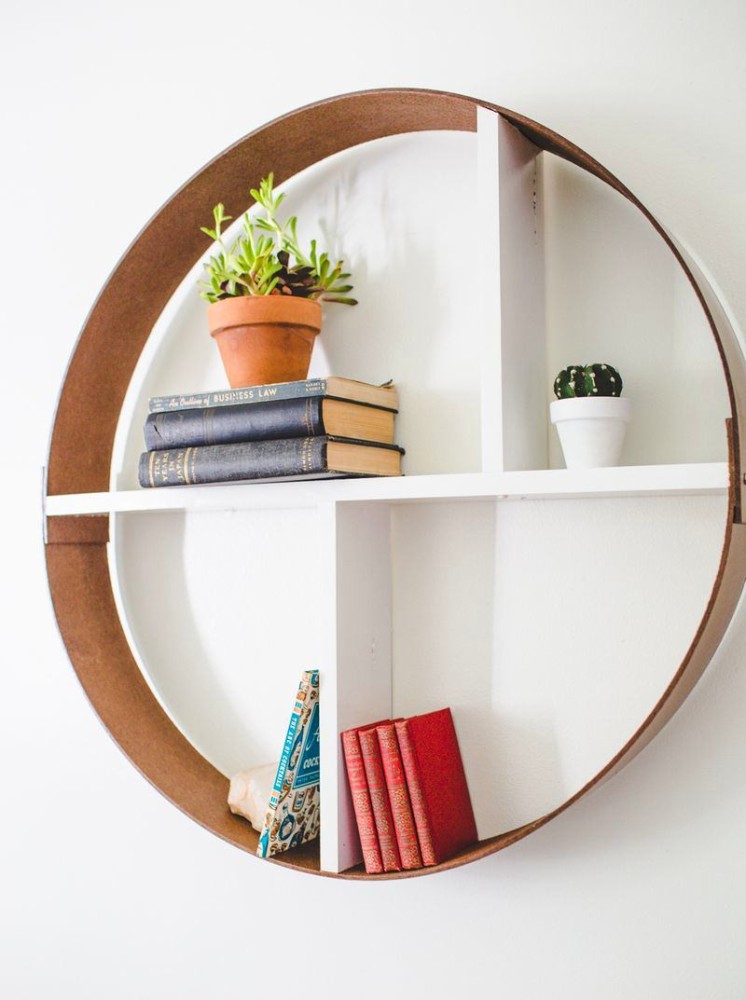
Now all that remains is to make the sectorial onespartitions. The central part is already ready. And if you measured seven times and cut once, all that remains is to insert it into the center of the frame and fix it with screws. You can vary the length and location of the vertical partitions. Think about where you want to install them and use a ruler to determine the height. Then cut the remaining part of the board into the required fragments and fix them inside the structure with the same screws.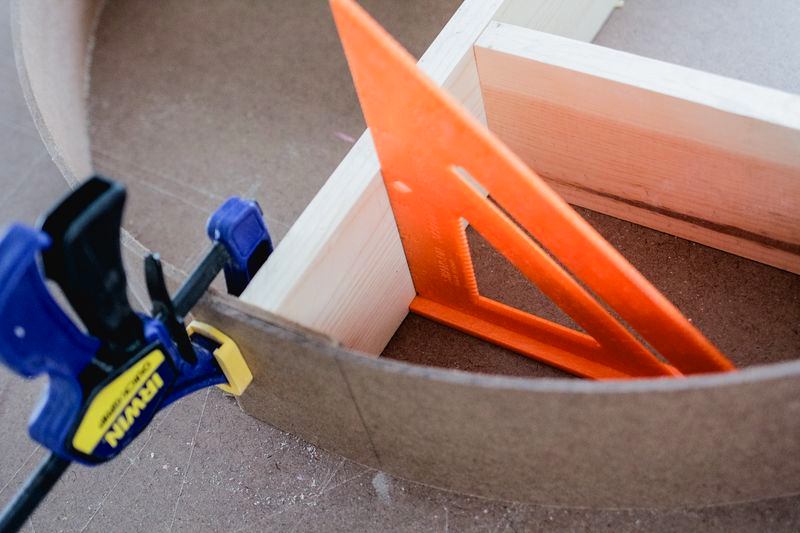
Step 4
There are only a few things left. We need to hang the shelf on the wall. To do this, take the available fasteners and install them on the central partition as shown in the photo.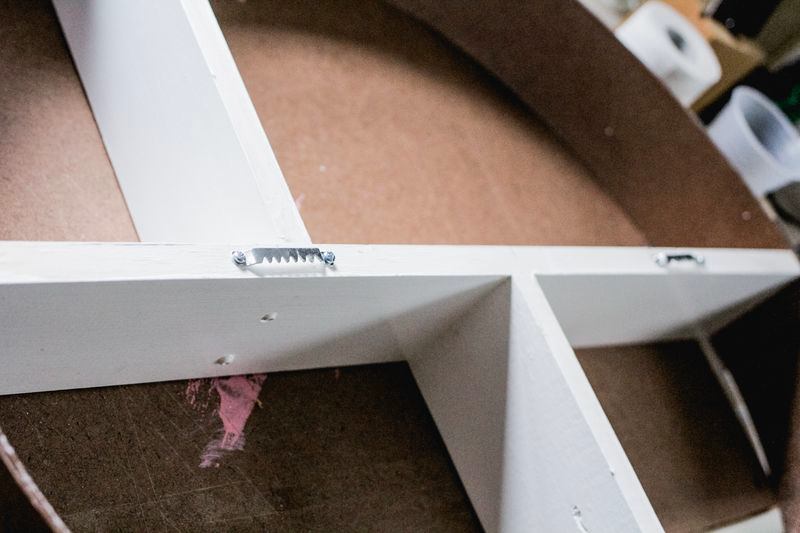 A few more final decorative touchesin the form of books or house plants, and we can consider that the project has been successfully implemented. Such an original interior element will certainly not go unnoticed and will demonstrate to guests that the owner (or hostess) of the house is not only a creative person, but also a jack of all trades.
 abeautifulmess.com
