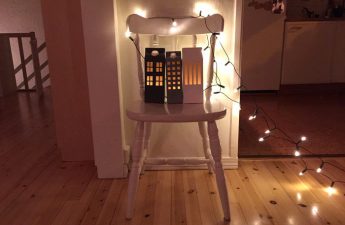
There is not enough space in your apartment for a large onetrees? Or just want to decorate your interior for the New Year in an unusual way without extra costs? Use pine cones! Our master class will help you create an amazing mini-Christmas tree with your own hands. We have already shared interesting ones, the implementation of which requires a minimum of effort and financial costs. And today we will go further and show a simple master class on creating an original mini-Christmas tree from this natural material. We are sure that children will also like this craft and they will definitely start helping you. What you will need:
- Cones,
- glue for wood,
- cardboard or thick paper,
- scissors,
- brush,
- a thread,
- gold paint (optional).
Step 1 Collect all the cones together and instructa very important mission to your child, turning it into an exciting game: let him divide them into several groups - small and large. And then divide each of them into two more, one with dense, closed cones, and the other with open ones. Take the largest and closed ones for the base. In general, try to use those cones that are less open, it will be easier to work with them. But leave a few fully open ones for the top part, after all, they will give your "tree" a finished look and provide more opportunities for decoration.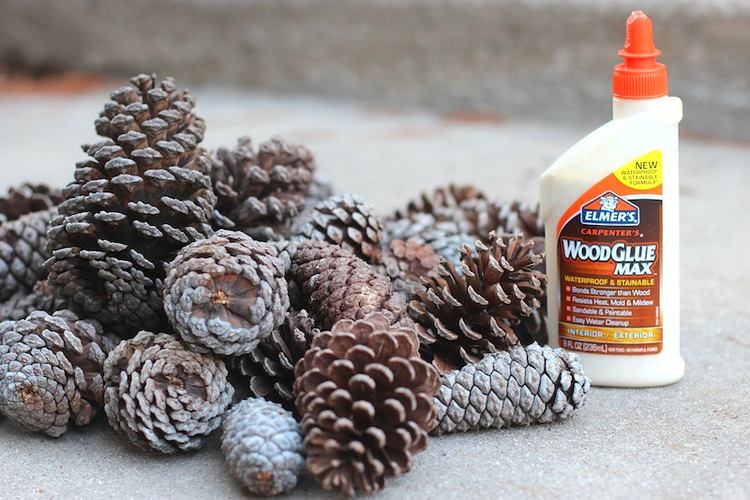 Step 2 Take the cardboard and cut it outcircle, which will become the base of your mini-tree. If desired, you can paint the surface with gold paint to make it look more festive. By the way, as a base you can use not only cardboard, but also any materials at hand, for example, an old record or just thick paper from a box of chocolates.
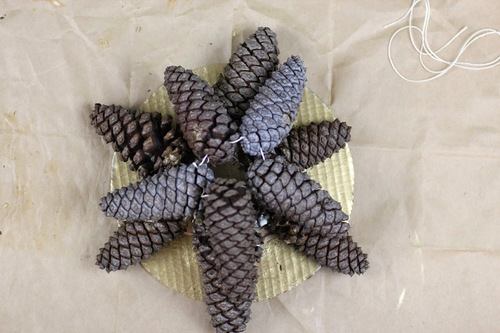
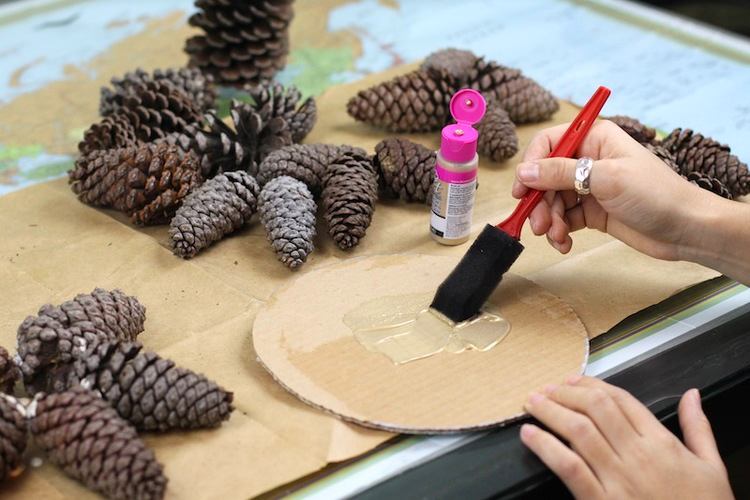 Step 3 Once the base is ready,you need to place the first layer of cones, gluing them to the base and also gluing them together. In our master class, six cones were used for the base, but you can take any other number, depending on what size tree you want to get in the end. At this stage, it is better to do everything yourself, so that you do not have to redo it later. While you are busy working with glue, ask your child to prepare the cones for the next layer.
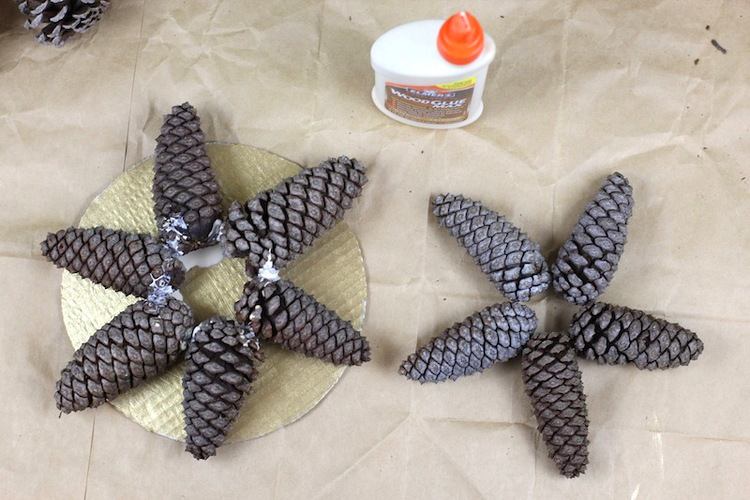 Step 4 Create another layer of pine cones,now out of five. It is at this stage that the thread can be useful so that nothing falls apart. Before applying the glue, tie the cones together and apply glue as needed. Only then do we glue them to the top of the previous layer.
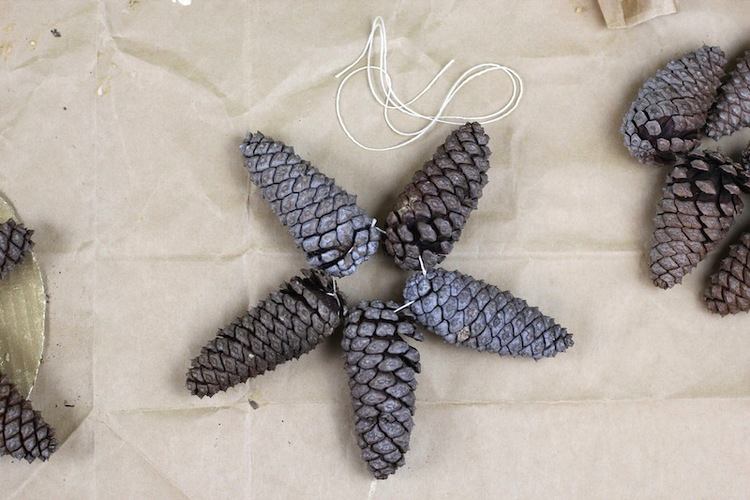
 Step 5: Gradually reduce the number of conesand do this procedure as many times as necessary to achieve the desired height of the tree. At the very top we make the crown, where would we be without it, for this we place one of the most open cones vertically, adding glue to the base. Your kid will cope with this responsible, but at the same time simple task perfectly. And he will be incredibly proud of himself.
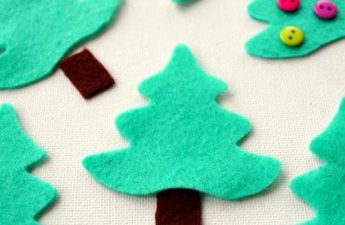
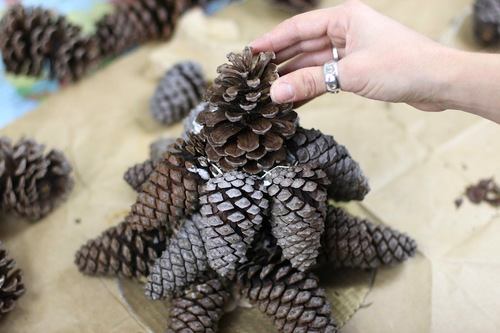 Step 6 That's it, our Christmas tree made of pine cones is ready.When the glue is completely dry, decorate your beauty with miniature homemade decorations. How about a garland of colored paper stars stitched on a sewing machine? Quick, easy and beautiful! And, of course, don't forget about the most important star, which will decorate the top of the tree made of cones. Prepare the decorations in advance and let your child make the final touches at the final stage of decoration. This will be remembered for a long time and he will feel his significant contribution to the common cause.
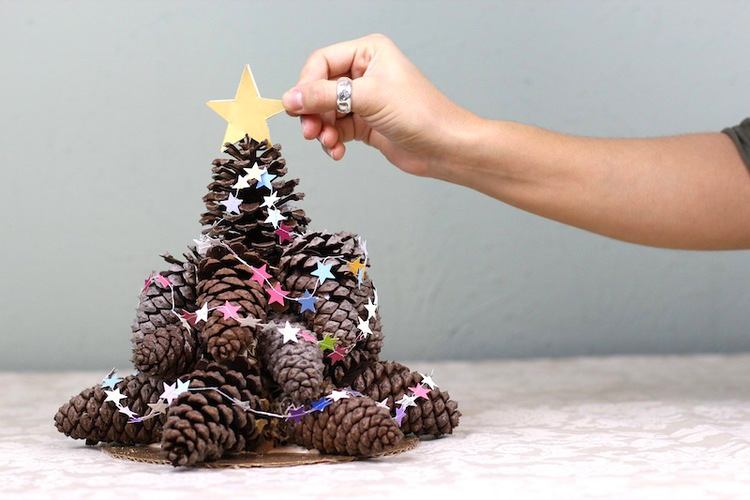 luriandwilma.com