The globe in the interior creates an atmosphere of adventure,intrigue and new discoveries. And a vintage globe is also a stylish touch that will make the room interesting. Especially if you paint it white and mark the places of future travels on it. To make the globe look special, expressive and fit into a light interior, you can easily change its appearance to vintage. How can this be done? See our master class.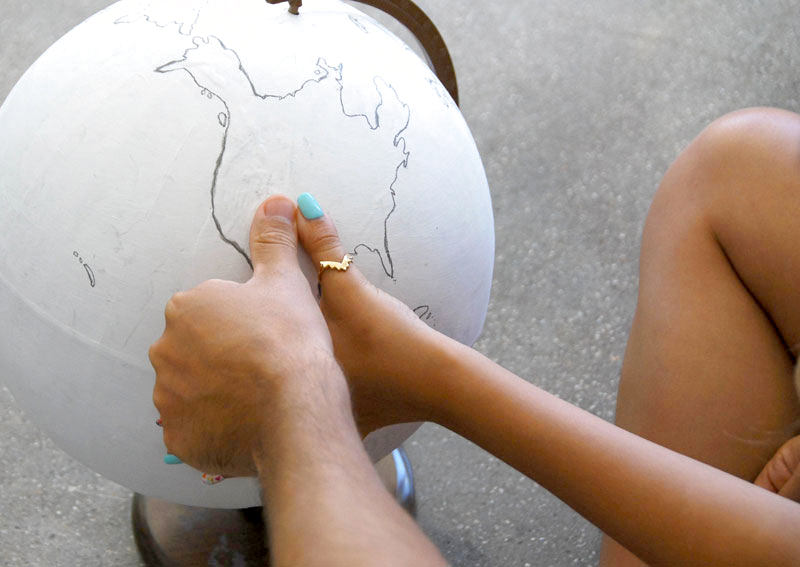
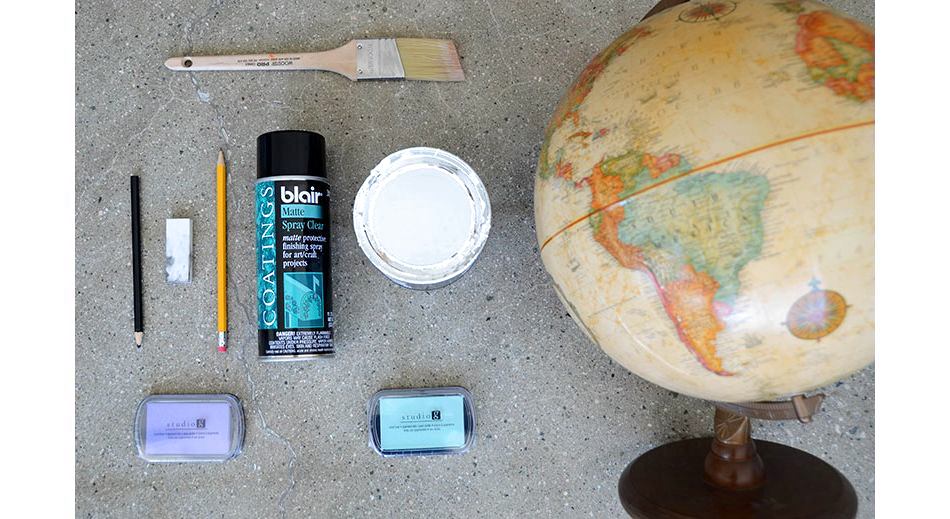
What you will need:
- globe;
- white paint;
- simple pencil;
- brush;
- charcoal pencil;
- spray sealant;
- ink sponges;
- eraser.
1.
First, you need to separate the globe from the base. If you can't disassemble it, then you'll need some tape to keep the base and frame from getting dirty with paint.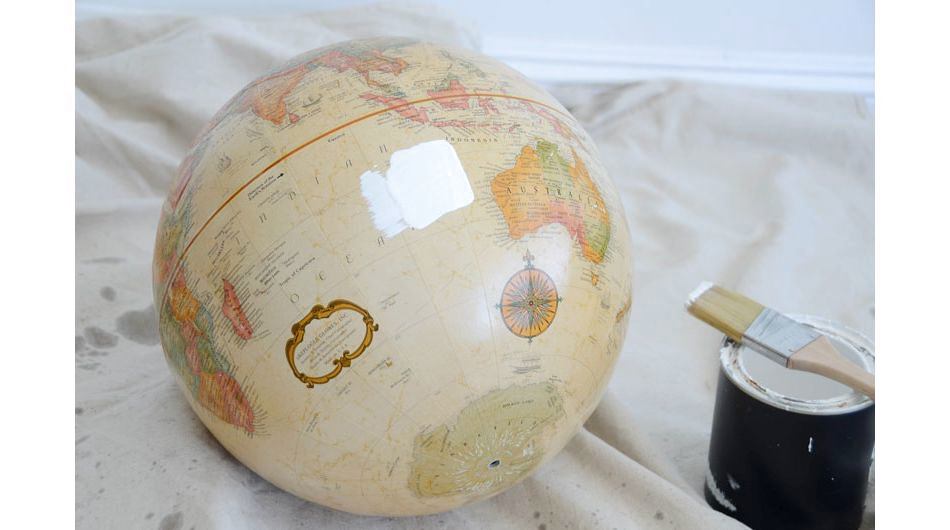
2.
So, take a brush, white paint and paint along the equator line.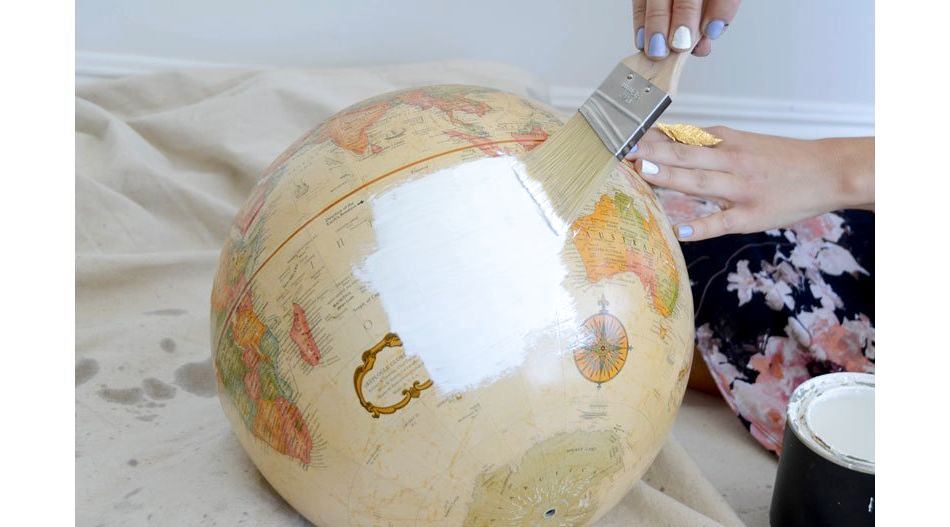
3.
Once the globe is dry, take a pencil and trace the contours of the world's continents. Remember your geography lessons and outline maps.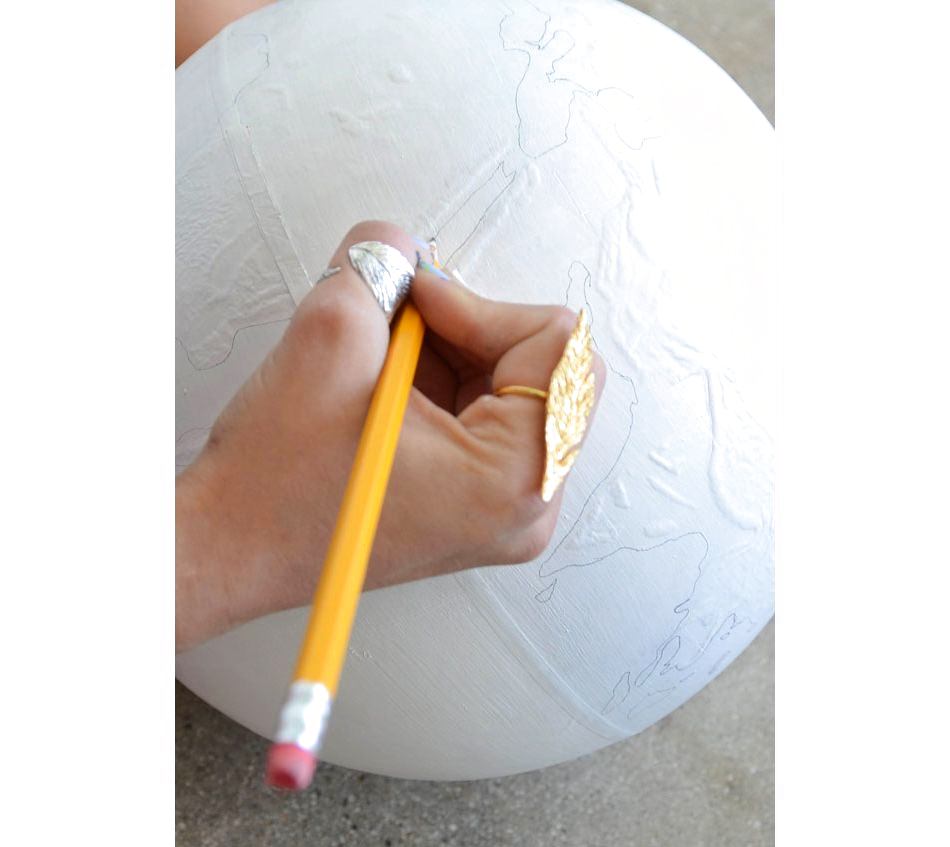
4.
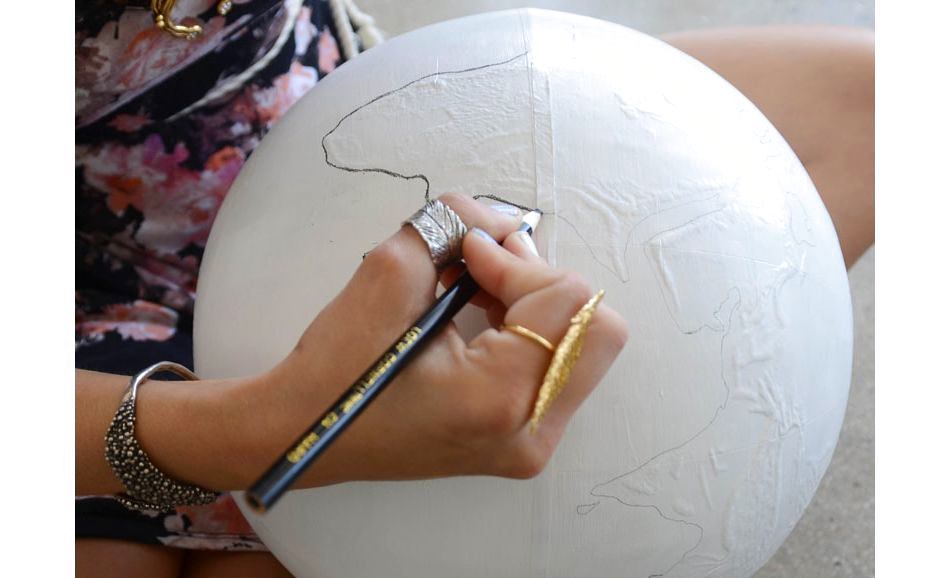
To make the globe look impressive, additionally outline all the lines with a charcoal pencil.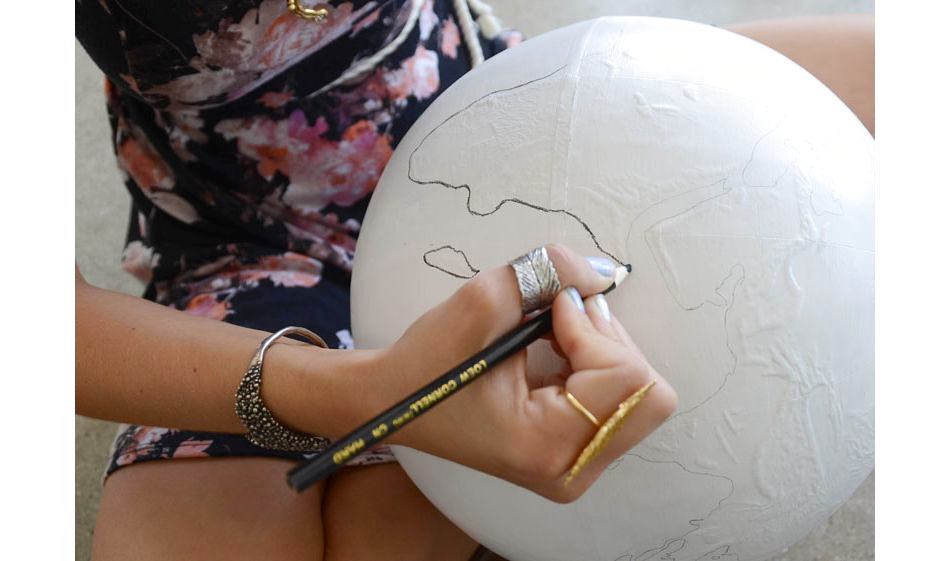
5.
Now you will need an eraser. Lightly blend all the drawn lines along the contour (not across). This will give the globe a more elegant vintage look.
6.
To prevent lines from smudging, spray the entire globe area. Let it dry.
7.
Place the globe on the base with the frame (or remove the tape if you used it). That's all, but there are a few finishing touches you can make to make it special...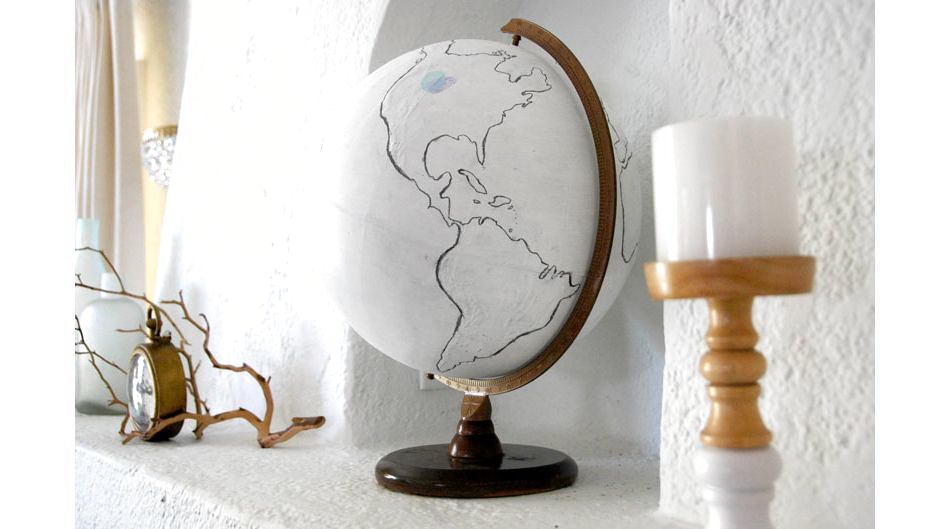
8.
The final touch in the design of the globewill be your colored mark. For example, where you dream of going. Dip your fingers in the ink sponges (choose the color of your choice) and leave your fingerprints on the globe wherever you want.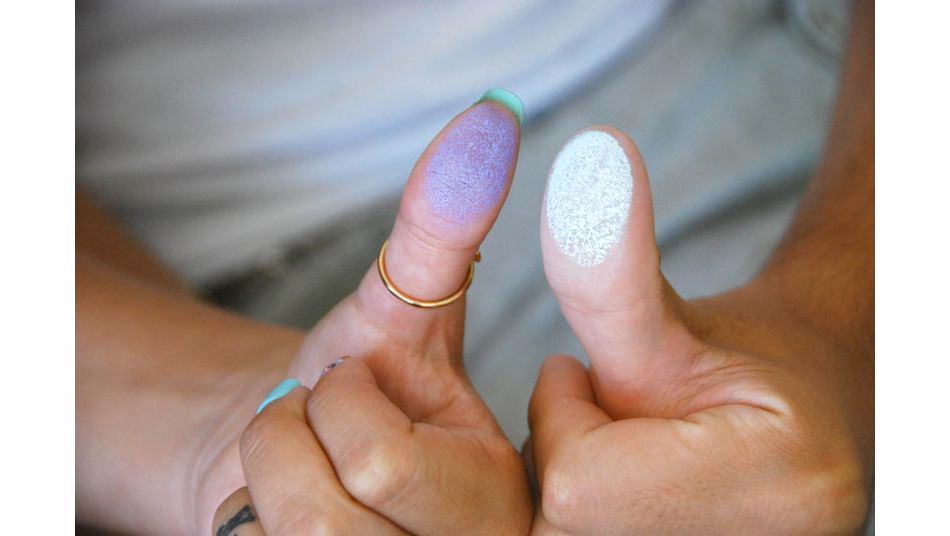
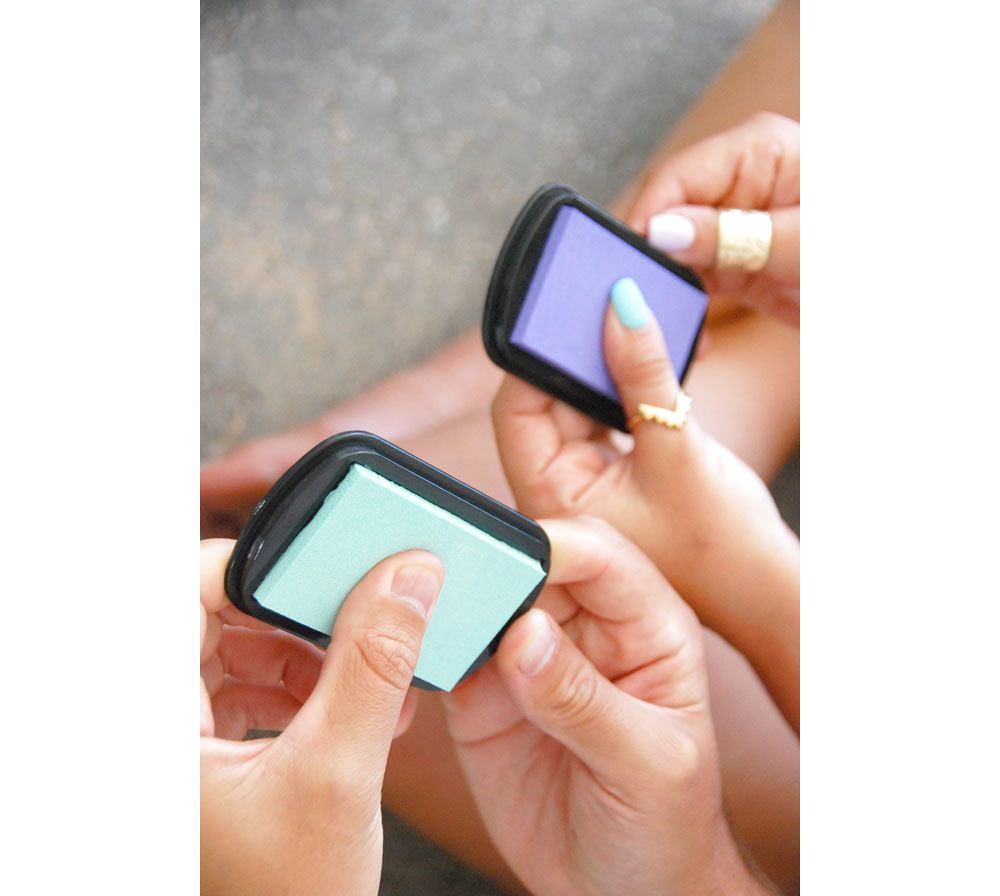 The result is a stylish globe that is easy tofits into the light interior. If you add a vintage suitcase, wooden spools and any animal-shaped figurines to the space, the apartment's decor will take on an adventurous character. mrkate.com
